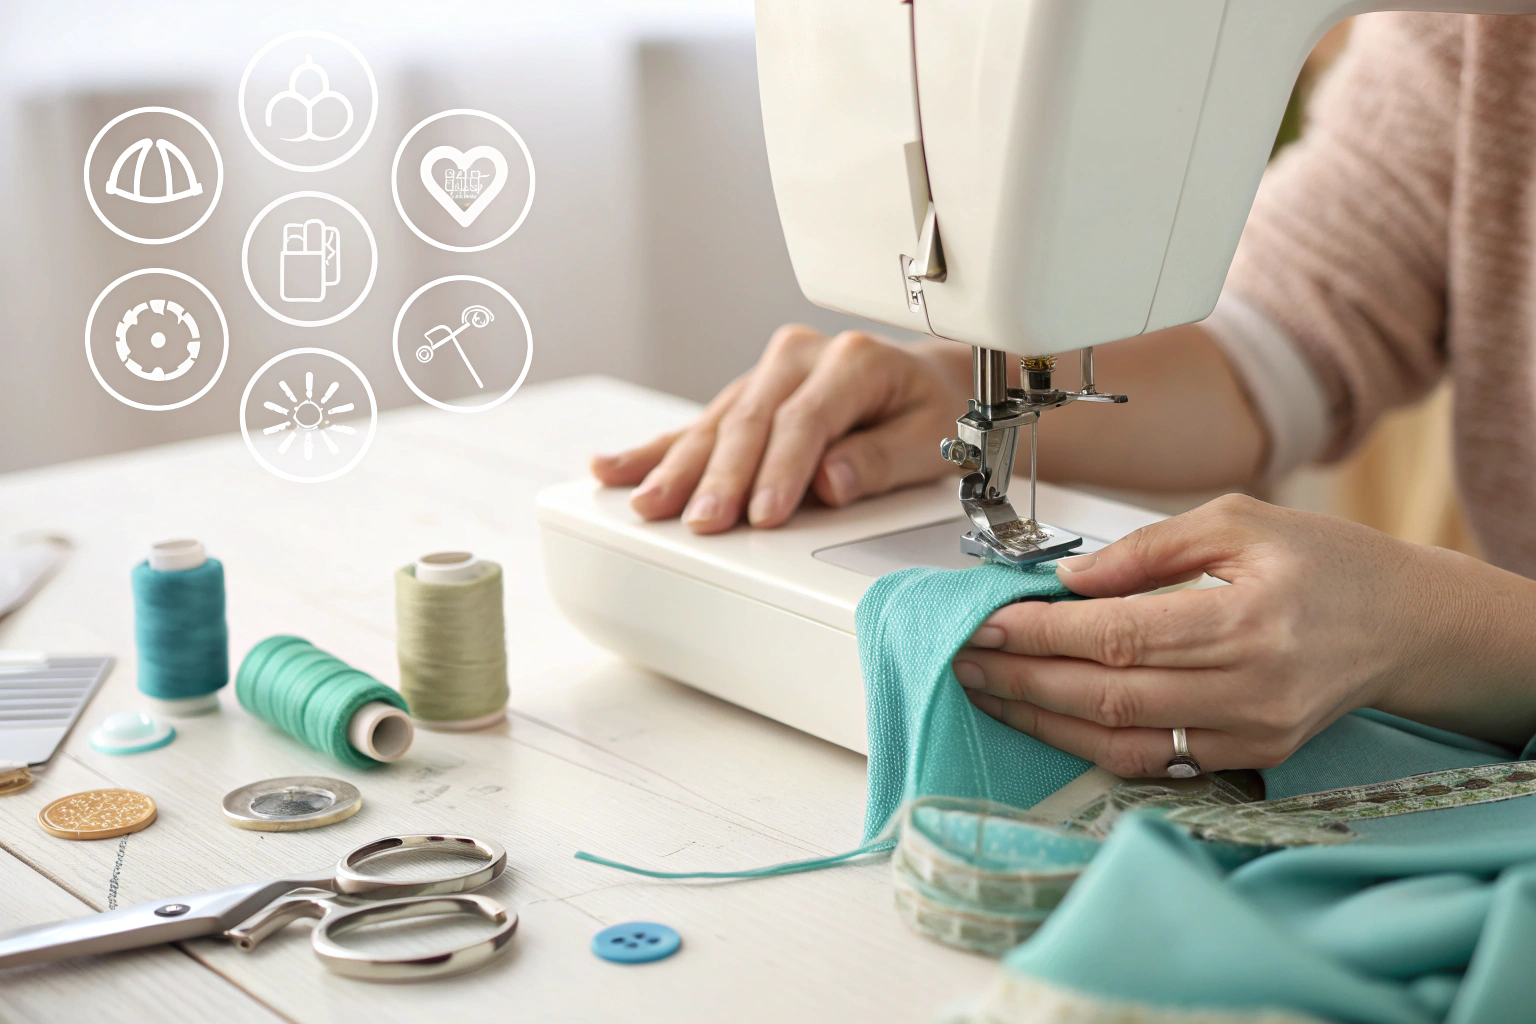
Knowing how to thread a sewing machine is the fundamental process of guiding thread from the spool through various guides, tension discs, and levers down to the needle. Correct threading is crucial because it creates the proper tension needed to form a balanced stitch with the bobbin thread. This process is often a source of frustration for new sewists, but mastering it is essential to prevent tangled threads, skipped stitches, and other common machine problems.
Key Benefits at a Glance
- Improved Stitch Quality: Ensures your machine forms strong, even, and consistent stitches, giving your projects a professional, polished finish.
- Fewer Interruptions: Correct threading is the number one way to prevent frustrating issues like thread jamming, “bird’s nests” beneath the fabric, and broken needles.
- Increased Sewing Efficiency: Once mastered, you can change thread colors and re-thread your machine in under a minute, boosting your confidence and project speed.
- Protects Your Machine: Reduces unnecessary strain on the tension assembly and motor, helping to keep your sewing machine running smoothly and extending its operational lifespan.
- Creative Versatility: Unlocks the ability to confidently work with a wide range of thread types, from standard polyester to specialty metallic or silk threads, for diverse fabrics.
Purpose of this guide
This guide is designed for beginners who feel intimidated by their sewing machine and for experienced sewists needing a quick refresher. It solves the common problem of improper threading, which is the root cause of most sewing machine errors. Here, you will learn the universal, step-by-step path thread takes through any standard machine, from the spool pin to the needle’s eye. We’ll also cover tips for avoiding common mistakes—like threading with the presser foot down—to ensure you achieve perfect tension and smooth, beautiful stitches every time.
Introduction: Why Proper Threading Matters
When I first started sewing over two decades ago, I spent more time untangling thread jams than actually creating anything beautiful. Threading seemed like such a simple task, yet I consistently found myself wrestling with loops, knots, and frustrating stitching problems. Now, after years of teaching hundreds of students in my sewing workshops, I can thread any machine with my eyes closed – and I'm here to share that expertise with you.
Proper threading is the foundation of successful sewing, affecting everything from stitch quality to fabric tension. Through my years of teaching experience, I've discovered that once students master this fundamental skill, their confidence soars and their sewing transforms from frustrating to fulfilling. This comprehensive guide distills decades of hands-on teaching into clear, foolproof instructions that will have you threading like a professional.
Safety First: Preparation Steps
Before touching any thread, I always teach my students to develop essential safety habits that become second nature. Always turn off your sewing machine before beginning the threading process – I learned this lesson the hard way when a student accidentally pressed the foot pedal while I was demonstrating, resulting in a bent needle and a valuable teaching moment about the importance of proper preparation.
Turn off the power switch completely, not just the light, and ensure the foot pedal is positioned where it won't be accidentally activated. Raise both the presser foot and needle to their highest positions using the handwheel, creating optimal space for thread to move freely through all guides and tension points.
“To prevent needle breakage and thread tangling, always raise the presser foot and needle before threading your sewing machine, and follow each threading guide closely as shown in your manual.”
— Easy Sewing for Beginners, June 2024
Source link
Before You Begin: Understanding Your Machine Parts
In my workshops, I always start with a "parts identification game" where students point to and name each threading component – this simple exercise transforms mechanical memorization into intuitive understanding. The key players in your threading journey include the spool pin (which holds your thread), thread guides (which direct the path), tension discs (which control thread tightness), the take-up lever (which creates the stitch loop), and the needle (your final destination).
Understanding these components' functions makes threading logical rather than mystifying. The thread path follows a specific route designed by engineers to create balanced tension and proper stitch formation. When students grasp why each component exists, they stop seeing threading as a random sequence of moves and start recognizing it as an elegant system working together to create beautiful stitches.
Threading the Top Thread
The upper threading process follows a specific sequence that I've refined through years of teaching to ensure consistent success. Start by placing your thread spool on the spool pin with the thread unwinding in the direction indicated by your machine's threading diagram – typically counterclockwise for vertical pins and from the back for horizontal pins.
Guide the thread through each threading point in order: from the spool to the first thread guide, around or through the tension discs, up through the take-up lever, down through the remaining thread guides, and finally through the needle eye. Never skip a threading point – each guide serves a specific purpose in creating proper tension and stitch formation.
The key to mastering this process is developing a consistent routine. I teach my students to visualize the threading path as a roadmap with mandatory checkpoints, using the mnemonic "Over, Around, Through, and Down" to remember the essential movements. Take your time initially – speed develops naturally with practice, but accuracy must be learned deliberately.
Pull approximately 4-6 inches of thread through the needle toward the back of the machine before proceeding to bobbin installation. This tail length prevents the thread from pulling out during initial stitching while providing enough material for the machine's mechanism to catch and form proper stitches.
Raising the Needle and Presser Foot
Proper needle and presser foot positioning creates the foundation for successful threading by opening all the pathways through which your thread must travel. I teach students to think of this step as "opening the gates" – when the presser foot is raised, tension discs separate to allow easy thread passage, and when the needle is at its highest point, the take-up lever is positioned for optimal thread insertion.
Use the handwheel to manually raise the needle rather than using the machine's power – this gives you precise control and prevents accidental activation of the motor. Turn the handwheel toward yourself (counterclockwise when viewed from the side) until the needle reaches its highest position, which also positions the take-up lever at its optimal point for threading.
Following the Thread Path
The thread path through your sewing machine follows an engineered sequence designed to create proper tension and stitch formation. I've developed a visual roadmap system for my students: imagine the thread as a car following a highway with specific exit ramps that cannot be missed.
Start from the spool pin and follow the numbered guides or arrows on your machine, typically moving from right to left, then down through tension discs, up to the take-up lever, and back down toward the needle. Each threading point serves a specific function – guides direct the thread smoothly, tension discs control tightness, and the take-up lever creates the lifting motion necessary for stitch formation.
Using the Built-in Needle Threader
Modern sewing machines often include automatic needle threaders that can save time and reduce eye strain, though these mechanisms require gentle handling and proper technique. I demonstrate this feature in every workshop because when used correctly, it eliminates the frustration many sewers experience with manual needle threading.
Position the needle threader according to your machine's instructions, typically by lowering a small hook mechanism that catches the thread and pulls it through the needle eye. The key is using gentle pressure – I've seen too many students damage these delicate mechanisms by forcing them. If your needle threader isn't working smoothly, check that you're using the correct needle size and that the threading mechanism is properly aligned.
Threading the Needle Manually
When automatic threaders aren't available or functioning, manual needle threading becomes essential. I teach my students a steady-hand technique that involves bracing both hands against the machine for stability – your thread-holding hand against the machine body and your needle-guiding hand resting on the needle area.
Cut your thread at a diagonal angle to create a sharp point, and ensure adequate lighting – I recommend a bright LED sewing light positioned to eliminate shadows around the needle area. Hold the thread close to its tip to minimize wavering, and approach the needle eye straight-on rather than from an angle. If you're having difficulty, try using a needle threader tool or consider switching to a larger needle size.
“Once the thread is passed through the guides and take-up lever, ensure that approximately 5 cm (2 inches) of thread is pulled through the needle toward the rear of the machine for proper stitching.”
— Brother Support, May 2024
Source link
Threading the Bobbin
Bobbin threading creates the lower half of every stitch, and proper installation is crucial for balanced tension and smooth fabric feeding. I often tell my students that the bobbin is like the foundation of a house – if it's not right, nothing else will work properly. The bobbin thread must move freely while maintaining consistent tension to interlock correctly with the upper thread.
Different machines use either top-loading (drop-in) or front-loading bobbin systems, each with specific threading requirements. Regardless of your system type, the bobbin thread must be positioned to unwind in the correct direction and pass through any tension controls built into the bobbin case or machine bed.
Always ensure your bobbin is wound evenly with thread that matches your project requirements. An unevenly wound bobbin creates tension inconsistencies that appear as irregular stitches, puckering, or thread loops on your fabric surface. I keep several pre-wound bobbins in commonly used thread colors to maintain sewing momentum during projects.
Top-Loading Bobbin Systems
Top-loading bobbins, also called drop-in bobbins, are my preferred choice for teaching beginners because they're visible and accessible during the threading process. Remove the bobbin cover plate and drop the bobbin into the case with the thread unwinding in the direction indicated by the arrows or diagrams near the bobbin area.
Pull the thread through the tension slot or guide, typically located on the side of the bobbin case, ensuring it clicks into place with a slight resistance that indicates proper tension engagement. The thread should pull smoothly but not freely – you should feel slight resistance when tugging the bobbin thread, confirming that the tension mechanism is properly engaged.
Front-Loading Bobbin Systems
Front-loading systems require inserting the bobbin into a removable case before installing both components into the machine. While these systems can seem intimidating initially, I've found that students who master front-loading systems often prefer them for their precision and control over bobbin tension.
Insert the bobbin into the case so the thread unwinds in the correct direction – typically clockwise when viewed from above. Pull the thread through the tension slot in the bobbin case, feeling for the slight click that indicates proper engagement. Hold the bobbin case by its latch, not its body, to avoid displacing the bobbin during installation into the machine.
Winding a Bobbin Properly
Proper bobbin winding ensures consistent thread delivery and prevents tension problems during sewing. I teach my students to wind bobbins at moderate speed with even thread distribution – rushing this process creates loose spots that cause stitching irregularities later.
Place an empty bobbin on the bobbin winding spindle and engage the winding mechanism according to your machine's instructions. Guide the thread evenly across the bobbin width as it winds, preventing thread buildup in any single area. Stop winding when the bobbin is full but not overstuffed – excess thread prevents proper fitting in the bobbin case and can cause tension problems.
Testing Your Threading Success
Before starting any project, I always perform a threading test using fabric scraps identical to my intended project material. This simple step has saved me countless hours of frustration and project repairs throughout my career. A proper test reveals threading errors, tension problems, and needle compatibility issues before they affect your actual work.
Sew several rows of straight stitching, examining both the top and bottom of your test fabric. Perfect threading produces even, balanced stitches with no loops, puckering, or thread breaks. The stitches should look identical on both fabric sides, with top and bottom threads interlocking smoothly within the fabric layers rather than sitting on either surface.
What Good Threading Looks Like
Properly threaded machines produce stitches where the top and bobbin threads interlock precisely at the center of the fabric layers, creating flat, even seams without visible loops or thread tension irregularities. I teach my students to examine their test stitches under good lighting, looking for the telltale signs of perfect threading: consistent stitch length, balanced thread tension, and smooth fabric feeding without puckering.
The "perfect stitch" standard I use in my workshops shows threads that lie flat against the fabric surface, with no bobbin thread visible on the top side and no top thread loops visible on the bottom side. Keep a sample of perfect stitching as a reference point – I maintain a collection of ideal stitches on various fabrics to help students recognize quality results.
Troubleshooting Common Threading Problems
Threading problems manifest in recognizable patterns that I've cataloged through years of helping frustrated students. Thread loops on the fabric surface typically indicate incorrect bobbin threading or tension issues, while frequent thread breaks often point to improper upper threading or worn needle problems.
My "threading problem decision tree" starts with examining the stitch appearance, then systematically checking each threading point until the issue is identified. Skipped stitches usually indicate needle or threading path problems, while tension irregularities suggest issues with the tension discs or bobbin installation. Don't assume complex problems – in my experience, 90% of threading issues stem from simple oversights that are easily corrected.
The key to effective troubleshooting is systematic checking rather than random adjustments. I teach students to re-thread completely when problems arise, rather than trying to guess which component might be causing issues. This approach takes slightly more time initially but prevents the frustration of chasing multiple small problems simultaneously.
Top Thread Problems
Upper threading issues typically manifest as thread breaks, skipped stitches, or loops appearing on the fabric's bottom surface. When students bring me these problems, I start by checking the thread path – missed thread guides are the most common culprit, followed by incorrect tension disc engagement and improper needle threading.
Re-thread the upper portion completely, paying special attention to the take-up lever and tension discs. Many beginners miss the take-up lever because it moves during sewing, making it less obvious than stationary guides. I teach students to always thread with the take-up lever at its highest position to ensure proper engagement.
Bobbin Thread Problems
Bobbin-related issues appear as loops on the fabric's top surface, uneven stitch formation, or jamming in the bobbin area. My diagnostic routine starts with checking bobbin installation direction – incorrect bobbin orientation causes immediate threading problems that prevent proper stitch formation.
Remove the bobbin completely and reinstall, ensuring the thread unwinds in the correct direction and passes through all tension points. Verify that the bobbin case (for front-loading systems) is properly seated and that any tension screws haven't been inadvertently adjusted. I keep a small screwdriver in my sewing kit specifically for bobbin case tension adjustments when needed.
Machine-Specific Threading Tips
Different sewing machine brands have unique threading characteristics that I've learned through teaching students with various equipment types. Brother machines typically feature intuitive threading paths with clear markings, while Singer machines often require more attention to tension disc engagement. Janome machines generally provide excellent threading diagrams right on the machine body.
Regardless of brand, the fundamental principles remain consistent – thread must follow the designated path, engage all tension points, and maintain proper sequence. I encourage students to photograph their successfully threaded machines for future reference, creating personalized threading guides that account for their specific model's quirks. Threading a sewing machine typically involves placing the thread on the spool pin, guiding it through thread guides, tension discs, the take-up lever, and finally through the needle. For stepwise details, refer to this threading guide.
Finding Model-Specific Instructions
When students can't locate their original manual, I guide them to manufacturer websites where threading diagrams are typically available for download. Search using your complete model number, usually found on a label inside the machine or on the back panel.
YouTube demonstrations specific to your machine model can be invaluable, but verify the information against official sources. I maintain a collection of common machine manuals in my workshop specifically to help students who've lost their original documentation. Taking photos of your machine's threading diagram ensures you'll always have reference information available.
Common Threading Myths Debunked
One persistent myth I encounter is that "any thread can be used in any machine" – this simply isn't true. Thread weight, fiber content, and quality significantly impact threading success and stitch formation. I've seen students struggle with beautiful vintage threads that weren't designed for modern high-speed machines.
Another common misconception is that threading order doesn't matter as long as all guides are used. The sequence is specifically engineered to create proper tension progression, and skipping ahead in the threading path creates problems even when all components are eventually engaged. I demonstrate this principle in workshops by deliberately threading out of sequence to show the resulting stitch problems.
"Tighter tension always means better stitches" is perhaps the most damaging myth I encounter. Over-tightened tension causes thread breaks, puckering, and premature wear on machine components. Proper tension creates balanced stitches without stressing the thread or fabric excessively.
Advanced Threading Techniques
Specialty sewing situations require modifications to standard threading procedures that I've mastered through decades of custom garment construction and teaching advanced workshops. Metallic threads need gentler tension settings and sometimes require bypassing certain tension points to prevent breakage. Thick decorative threads may require larger needles and adjusted presser foot pressure.
Invisible threads used for quilting and hemming need specific handling techniques to prevent melting from friction heat. I've developed threading modifications for each specialty thread type, allowing my students to expand their creative possibilities while maintaining professional results.
These advanced techniques build upon solid basic threading knowledge – master the fundamentals first before attempting specialty applications. The confidence gained from consistent basic threading success provides the foundation for experimenting with creative thread choices.
Threading Twin and Triple Needles
Multiple needle threading requires separate thread paths for each needle, typically using two spool pins or a dual-spool setup. I teach this technique in my intermediate classes because it opens possibilities for decorative stitching, pin-tucks, and professional-looking hems.
Each needle must have its own thread source to prevent tangling and tension inconsistencies. Follow the standard threading path for each thread, keeping them separated throughout the process. Most machines require using two bobbins or a special twin-needle bobbin for proper stitch formation. The key to success is maintaining consistent tension across all threads while preventing them from tangling during the threading process.
Threading for Specialty Fabrics
Different fabric types require threading adaptations that I've learned through extensive work with challenging materials in my custom sewing business. Leather and vinyl need heavy-duty threads and often require bypassing some tension points to accommodate the thread weight. Silk fabrics demand gentle tension settings and high-quality threads to prevent snagging.
Stretch fabrics benefit from ballpoint needles and slightly loosened tension to accommodate fabric movement without breaking threads. I maintain fabric-specific threading notes that detail the adjustments needed for consistently successful results with challenging materials. For advice on choosing suitable thread types, visit the thread essentials page.
Conclusion: Practice Makes Perfect
Threading proficiency develops through consistent practice and patient attention to detail – qualities I've watched develop in hundreds of students over my teaching career. What seems complex initially becomes automatic with repetition, and the confidence gained from mastering threading transforms the entire sewing experience from frustrating to fulfilling.
Remember that every expert sewist once struggled with threading basics. Be patient with yourself, focus on accuracy over speed, and celebrate small victories along the way. With the techniques I've shared from decades of teaching experience, you have everything needed to thread any machine confidently and create beautiful projects with professional-quality results.
Frequently Asked Questions
Learning how to thread a sewing machine step by step begins with raising the presser foot and turning off the machine for safety, then placing the thread spool on the pin and guiding the thread through the upper thread guides. Next, pull the thread down through the tension mechanism, up through the take-up lever, and back down to the needle, threading it from front to back while ensuring it catches any additional guides. Finally, use the handwheel to lower and raise the needle to pull up the bobbin thread, and test on scrap fabric to confirm smooth operation.
To thread the bobbin on a sewing machine, first wind the bobbin by placing an empty one on the winder spindle, threading from the spool through the bobbin tension guide, and engaging the winder while pressing the foot pedal. Once wound, insert the bobbin into the case or drop-in holder, following your machine’s direction for pulling the thread through the slot and under the tension spring. Pull the bobbin thread up through the needle plate by holding the upper thread and turning the handwheel, ensuring both threads are ready for sewing.
Common mistakes when learning how to thread a sewing machine include forgetting to raise the presser foot, which prevents proper tension, and missing thread guides or the take-up lever, leading to uneven stitching. Another frequent error is threading the needle from the wrong direction or not pulling enough thread tail, causing jams or breaks. Always double-check the bobbin insertion and ensure the machine is off during threading to avoid these issues and prevent damage.
You’ll know you’ve threaded your sewing machine correctly if the thread pulls smoothly without resistance and the stitches form evenly on both sides of the fabric during a test sew. Check for proper tension by ensuring no loops or bunches appear, and verify that both upper and bobbin threads interlock neatly in the middle of the fabric layers. If issues like skipping stitches or thread breakage occur, rethread following your machine’s manual to confirm accuracy.
Thread bunching up under fabric, often called bird’s nesting, is commonly caused by improper threading of the sewing machine, such as the upper thread not being seated correctly in the tension discs or take-up lever. It can also result from a mismatched or incorrectly inserted bobbin, or if the bobbin thread isn’t pulled up properly before starting to sew. To fix this, rethread both the upper and bobbin threads carefully, ensure the presser foot is up during threading, and test on scrap material.


