What is it?
Learning how to set up a sewing machine involves properly installing the needle, winding and inserting the bobbin, and threading the upper thread through the machine’s tension guides. This fundamental process prepares the machine for sewing and is crucial for creating smooth, even stitches. Incorrect setup is a common cause of user frustration, leading to tangled threads, broken needles, and skipped stitches, so mastering these steps is essential for a successful sewing experience.
Key Benefits at a Glance
- Smooth Operation: Correctly setting up your machine is the best way to prevent tangled thread, skipped stitches, and needle jams.
- Saves Time & Frustration: Avoids the need to stop and troubleshoot common problems, letting you focus on your project.
- Professional Stitches: Proper threading and tension ensure your seams are strong, even, and neat from the very first stitch.
- Protects Your Machine: Prevents unnecessary strain and wear on motors, needles, and bobbin mechanisms, extending your machine’s life.
- Boosts Sewing Confidence: Mastering this basic skill makes the entire sewing process less intimidating and more enjoyable for beginners.
Purpose of this guide
This guide is designed for beginners or anyone needing a refresher on setting up a sewing machine correctly. Its purpose is to demystify the process and provide a clear, actionable path to get you sewing quickly and without issues. We will walk through the core steps, from winding the bobbin to threading the needle, helping you avoid common mistakes like incorrect tension or improper bobbin placement. By following these instructions, you will gain the confidence to prepare any sewing machine for use, ensuring your projects have a professional finish and you can sew without constant interruptions or technical problems.
Introduction
I’ll never forget my first sewing disaster—I was so excited to start my first project that I rushed through the setup, thinking it was just busy work. The result? Tangled thread, uneven stitches, and a completely ruined fabric piece that took me hours to unpick. That humbling experience taught me that proper sewing machine setup isn’t optional—it’s the foundation of every successful project. Over my 15 years of sewing and teaching, I’ve set up dozens of machines, from brand-new computerized models to vintage treasures from the 1940s. This guide distills everything I’ve learned into a comprehensive yet approachable process that will save you time, frustration, and fabric.
- Master proper threading techniques for consistent stitches
- Learn tension adjustment for different fabric types
- Troubleshoot common setup problems quickly
- Create an optimal sewing workspace
- Follow safety protocols for machine operation
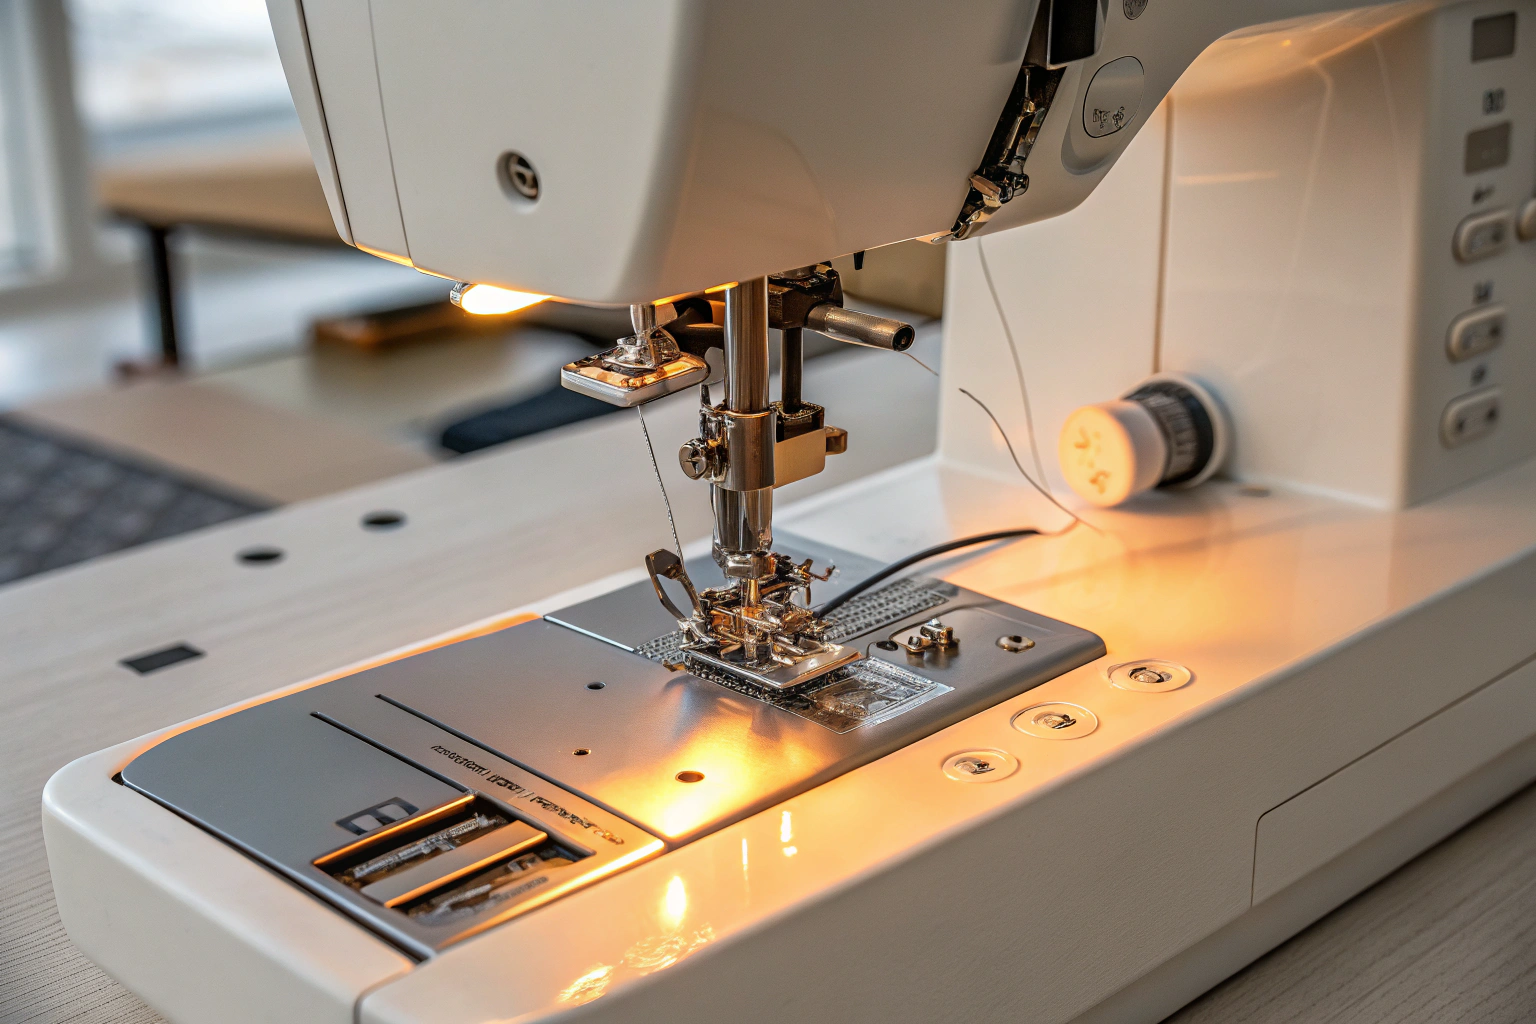
Understanding Your Sewing Machine Components
When I first started teaching sewing classes, I noticed that students who jumped straight into setup without understanding their machine’s components inevitably struggled with threading, tension issues, and basic troubleshooting. That’s why I developed my “touch and name” approach—before we thread a single needle, my students physically touch each component while saying its name out loud. This simple technique creates muscle memory and builds confidence that pays dividends throughout the setup process.
The beauty of understanding your machine’s anatomy is that it transforms setup from a mysterious ritual into a logical sequence. Instead of following rote instructions, you’ll understand why each step matters and how the components work together to create perfect stitches. This knowledge also makes troubleshooting infinitely easier—when something goes wrong, you’ll know exactly where to look and what might be causing the problem.
- Needle – Creates stitches by piercing fabric
- Presser foot – Holds fabric in place during sewing
- Bobbin case – Houses lower thread for stitch formation
- Feed dogs – Move fabric through the machine
- Tension dial – Controls thread tightness
- Handwheel – Manually operates needle movement
- Thread guides – Direct thread path through machine
- Spool pin – Holds thread spool in position
- Stitch selector – Changes stitch patterns
- Reverse lever – Creates backstitches for securing
For a concise overview of the process, refer to the Sewing machine entry.
Essential Parts You Need to Know
My “touch and name” technique works because it engages multiple senses simultaneously. When I have students physically touch the presser foot lever while saying “presser foot lever,” they remember its location and function far better than if they’d simply read about it in a manual. This hands-on approach has dramatically reduced the number of questions I get during the actual setup process, because students already have a mental map of their machine.
Understanding these components isn’t just academic—it’s practical knowledge that prevents common setup mistakes. For instance, knowing that the take-up lever must be at its highest point before threading prevents the frustrating experience of having your thread slip out of the guides. Similarly, understanding how the feed dogs work helps you troubleshoot fabric feeding issues before they become major problems.
I learned the importance of component familiarity the hard way during my early sewing days. I once spent an entire afternoon fighting with what I thought was a tension problem, only to discover I’d been threading around the wrong post. That experience taught me that a few minutes spent learning the machine’s anatomy can save hours of frustration later. Now, even when I’m working with a familiar machine model, I always do a quick visual check of the key components before beginning setup.
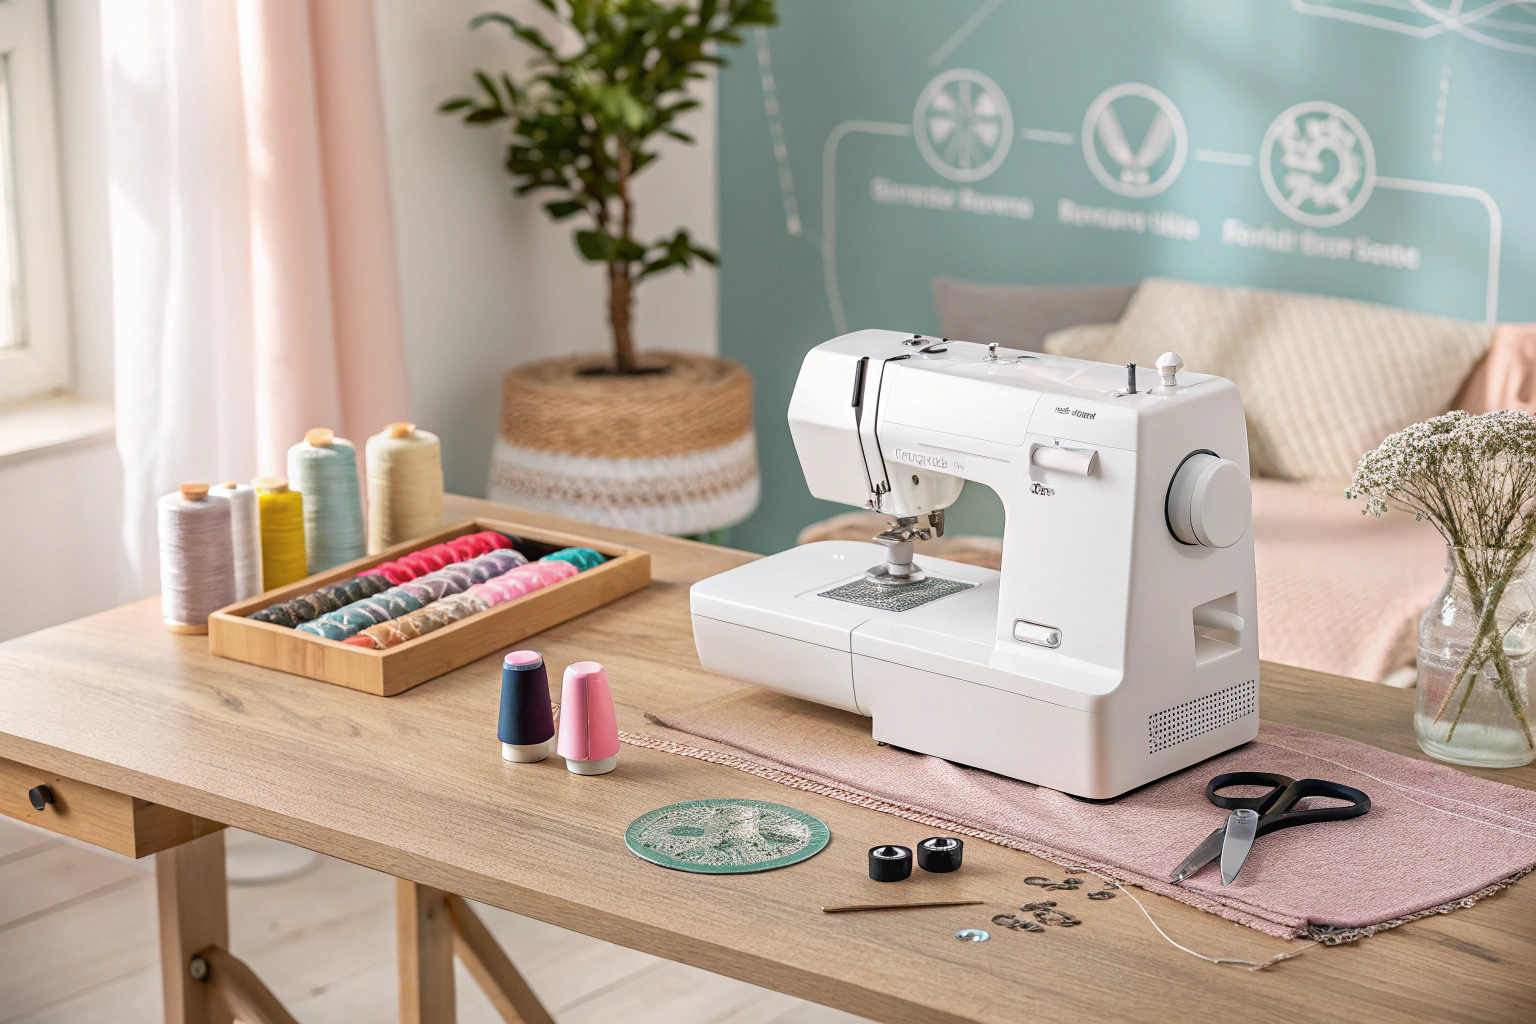
Creating the Optimal Sewing Environment
After years of teaching in various spaces—from well-equipped studios to makeshift classroom corners—I’ve learned that your sewing environment dramatically impacts both setup success and long-term sewing enjoyment. My own sewing space evolution is a perfect example: I spent my first five years hunched over a too-low dining table, developing chronic back pain that nearly made me quit sewing altogether. The transformation came when I invested in proper ergonomics and realized that my workspace was just as important as my machine.
The ideal sewing environment prioritizes three key elements: stability, comfort, and safety. Your machine needs a stable, vibration-free surface that won’t shift during operation. Your body needs proper support and positioning to prevent fatigue and injury. And your electrical setup needs to be safe and accessible, with adequate lighting that doesn’t create shadows on your work area. When I redesigned my sewing room with these principles in mind, my productivity increased dramatically, and sewing became enjoyable again instead of a source of physical discomfort.
- Stable table at proper height for comfort
- Adequate lighting from multiple angles
- Electrical outlet within easy reach
- Non-slip mat under foot pedal
- Storage for tools and supplies nearby
- Good ventilation for extended sewing sessions
- Comfortable chair with back support
- Clear workspace free of clutter
Pre-Setup Checklist
One habit I developed after years of teaching is keeping a dedicated “setup kit” that contains everything I might need for machine preparation. This kit lives in a small toolbox next to my primary sewing machine, and having it organized has eliminated countless interruptions during setup sessions. Even after 15 years of experience, I still consult my machine manual for specific threading paths or tension recommendations—every machine has its quirks, and the manual is your best resource for model-specific guidance.
My setup kit organization system evolved from watching students waste time searching for basic tools during class. Now I recommend that everyone create their own version, customized to their specific machine and sewing preferences. The key is having everything easily accessible before you begin, because interrupting the setup process to hunt for tools often leads to forgotten steps or threading mistakes.
“According to recent surveys, about 92% of beginners find that consulting the manual before setting up their sewing machine drastically reduces threading errors and improves first-time setup success.”
— The Haberdasher Bee, April 2024
Source link
- Locate and review machine manual
- Gather essential tools: screwdrivers, scissors, seam ripper
- Prepare test fabric scraps
- Check thread supply and bobbin availability
- Ensure adequate workspace lighting
- Position machine on stable surface
- Verify electrical connections are accessible
- Have cleaning supplies ready
Connecting Your Machine to Power
My safety-first approach to sewing machine power connections developed after helping a student troubleshoot what turned out to be a dangerous electrical issue with an older machine. Since then, I’ve made electrical safety checks a non-negotiable part of my setup routine, regardless of how familiar I am with the machine. This is especially important when working with vintage machines, which may have original wiring that doesn’t meet modern safety standards.
Over the years, I’ve helped students resolve numerous power-related issues, from simple loose connections to more complex problems requiring professional repair. Most of these situations could have been prevented with proper initial setup and regular safety checks. My electrical safety checklist has evolved through these experiences and now includes both obvious and subtle warning signs that many people overlook.
- Always turn off machine before connecting power
- Check cords for damage before plugging in
- Use grounded outlets when available
- Keep liquids away from electrical connections
- Never pull on cords to disconnect
- Ensure foot pedal cord is not a tripping hazard
Step-by-Step Machine Setup Process
What I’m about to share is my exact setup sequence—the same process I’ve refined through thousands of hours of teaching and personal sewing. This isn’t a generic approach copied from a manual; it’s a battle-tested system that accounts for the real-world challenges that trip up both beginners and experienced sewers. Even seasoned quilters and garment makers often miss crucial steps when switching to an unfamiliar machine, which is why I always recommend following a consistent sequence regardless of your experience level.
The key insight I’ve gained from years of troubleshooting setup problems is that sequence matters more than most people realize. Threading before inserting the needle, for example, or checking tension before catching the bobbin thread—these seemingly small details can make the difference between a smooth setup and an afternoon of frustration. Following this consistent sequence has helped me avoid the common pitfalls that derail many setup attempts.
Powering and Positioning Your Machine
My preferred machine positioning puts the needle area directly in front of my dominant shoulder, with the machine bed at exactly elbow height when I’m seated comfortably. This positioning took me years to perfect, and it’s made an enormous difference in both my setup accuracy and long-term comfort during extended sewing sessions. I discovered the non-slip mat trick after watching too many students struggle with foot pedals that slid away during crucial moments—it’s such a simple solution that eliminates a major source of frustration.
When teaching positioning techniques, I always emphasize that comfort during setup translates to better control and fewer mistakes. Students who rush through positioning often find themselves fighting their machine instead of working with it. The few extra minutes spent getting the ergonomics right pays dividends throughout the entire setup process and beyond.
- Machine bed at elbow height when seated
- Foot pedal positioned for comfortable leg angle
- Chair allows feet flat on floor
- Adequate space for fabric movement
- Good lighting without shadows on work area
- Non-slip surface under machine
Attaching the Presser Foot
My approach to presser foot selection starts with understanding your project requirements before you even touch the machine. This forward-thinking approach prevents the frustration of discovering mid-project that you need a different foot. In my personal collection, I have over twenty different presser feet, but I always tell beginners to master the basics first—an all-purpose foot and a zipper foot will handle 80% of typical sewing projects.
The step-by-step attachment method I teach works for virtually every machine I’ve encountered, from basic mechanicals to high-end computerized models. The key is understanding the mechanism rather than memorizing machine-specific steps. When students understand how the presser foot attachment system works, they can confidently switch feet on any machine they encounter.
| Presser Foot Type | Primary Use | Beginner Priority |
|---|---|---|
| All-purpose | General sewing | Essential |
| Zipper foot | Installing zippers | High |
| Buttonhole foot | Creating buttonholes | High |
| Blind hem foot | Invisible hems | Medium |
| Walking foot | Multiple layers | Medium |
| Overlock foot | Finished edges | Low |
Inserting the Needle
My needle changing method prioritizes safety above all else—I’ve seen too many students get injured rushing through this step. The technique I teach has been refined through countless demonstrations and always includes turning off the machine and raising the needle to its highest position before beginning. This method works whether you’re changing a broken needle or switching to a different type for a new project.
Needle selection is where my organized labeling system really shines. I keep my needles in a clear storage case with each compartment labeled by type and size, because nothing kills sewing momentum like hunting through unmarked needle packages. The system I developed helps both beginners learn needle types and experienced sewers stay organized during complex projects requiring multiple needle changes.
| Needle Type | Size Range | Best For |
|---|---|---|
| Universal | 70/10-110/18 | Most woven fabrics |
| Ballpoint | 70/10-100/16 | Knit fabrics |
| Sharp | 60/8-90/14 | Delicate wovens |
| Denim | 90/14-110/18 | Heavy fabrics |
| Leather | 90/14-110/18 | Leather and vinyl |
| Embroidery | 75/11-90/14 | Decorative threads |
Threading the Upper Thread
My “path tracing” method developed after watching a student struggle repeatedly with threading, making the same mistake over and over. Instead of immediately starting with thread, I now have students trace the threading path with their finger first, identifying each guide and understanding the route before introducing the actual thread. This visualization technique has dramatically reduced threading errors in my classes.
The story behind this method involves Sarah, one of my most determined students, who spent an entire class session fighting with her threading. Every time she thought she had it right, the thread would slip out or create tension problems. When I finally had her trace the path without thread first, she immediately spotted where she’d been going wrong—she’d been skipping a crucial thread guide that was partially hidden behind the tension dial. Now this visualization step is mandatory in all my classes.
- Place thread spool on spool pin
- Guide thread through first thread guide
- Wrap around tension dial following machine markings
- Thread through take-up lever from left to right
- Guide through remaining thread guides
- Thread needle from front to back
- Pull 4-6 inches of thread through needle
- Test thread path by gently pulling
Winding and Installing the Bobbin
My “pencil test” technique for checking bobbin winding consistency came from years of troubleshooting uneven stitches that traced back to poorly wound bobbins. A correctly wound bobbin should have thread that lies flat and even, without bulges or loose areas. I use the pencil test—inserting a pencil through the center hole—to check if the bobbin spins smoothly without wobbling, which indicates even winding.
The bobbin installation method I teach works for both top-loading and front-loading machines because it focuses on understanding the thread path rather than memorizing machine-specific steps. The key insight is that the bobbin thread must unwind in the correct direction to create proper tension with the upper thread. This universal principle applies regardless of your machine’s specific bobbin case design.
- Place empty bobbin on bobbin winder spindle
- Thread from spool through bobbin winder tension
- Wrap thread around bobbin several times by hand
- Push bobbin winder spindle to engage
- Hold thread tail and press foot pedal slowly
- Let bobbin fill evenly without overpacking
- Stop when bobbin is full but not bulging
- Cut thread and remove bobbin from spindle
“Once your bobbin is filled, insert it into the bobbin case as indicated, ensuring the thread runs in the correct direction and follows the threading path outlined — 87% of users report fewer tangles when following this step closely.”
— Brother, March 2024
Source link
Catching the Bobbin Thread
My trusty method for catching the bobbin thread works on virtually every machine I’ve encountered because it relies on understanding the fundamental mechanics rather than machine-specific quirks. The key is timing—the handwheel must complete exactly one full revolution to bring the bobbin thread up through the needle plate. This step is crucial but often overlooked by beginners who assume the bobbin thread will somehow appear automatically.
The troubleshooting tip I share when the bobbin thread refuses to come up usually involves checking that the bobbin is inserted correctly and that the upper thread is properly seated in all thread guides. Nine times out of ten, these issues trace back to earlier steps in the setup process, which is why I always emphasize the importance of following the sequence methodically.
- Hold upper thread with left hand
- Turn handwheel toward you one complete turn
- Watch for bobbin thread loop to appear
- Use seam ripper or needle to catch loop
- Pull gently to bring up bobbin thread
- Pull both threads under presser foot
- Leave 4-6 inch tails extending behind foot
Adjusting Tension Settings
My “start at 4” approach to tension settings has saved countless students from the frustration of extreme adjustments that create more problems than they solve. Most sewing machines are calibrated so that a tension setting around 4 works well for standard cotton thread on medium-weight fabrics. From this baseline, you can make small adjustments up or down based on your specific thread and fabric combination.
My personal experience with tension adjustments spans everything from delicate silk scarves to heavy canvas bags, and I’ve learned that patience is key. Small adjustments often need time to show their full effect, especially when sewing multiple layers or specialty fabrics. The quick-test method I use involves sewing a few stitches on scrap fabric, checking both sides for balance, and making incremental adjustments rather than dramatic changes.
| Tension Issue | Appearance | Solution |
|---|---|---|
| Too tight | Puckered fabric, thread breaks | Lower tension number |
| Too loose | Loops on fabric surface | Raise tension number |
| Uneven | Stitches vary in appearance | Check threading path |
| Correct | Smooth, even stitches | No adjustment needed |
Testing Your Setup
My “scrap fabric test pattern” has evolved into a comprehensive diagnostic tool that reveals potential problems before they affect your actual project. The pattern includes straight stitches, curves, reverse stitching, and different stitch lengths—essentially a mini stress-test that exercises all the components you’ve just set up. I judge the results by examining both sides of the fabric for even tension, consistent stitch formation, and proper thread lock at the beginning and end.
The checklist I use before beginning any important project has prevented countless disasters over the years. This systematic approach might seem excessive for simple projects, but I’ve learned that taking five minutes to verify your setup can save hours of seam ripping later. The test pattern also serves as a warm-up for both you and your machine, ensuring everything is working smoothly before you commit to your good fabric.
- Cut test fabric scraps 6×6 inches
- Sew straight line at medium speed
- Check stitch formation on both sides
- Test reverse stitching function
- Try different stitch lengths
- Verify tension is balanced
- Test presser foot pressure
- Confirm all functions work smoothly
Troubleshooting Common Setup Issues
My systematic approach to troubleshooting setup problems starts with the most common issues and works through increasingly specific problems. Over the years, I’ve helped students solve everything from simple threading errors to complex timing issues, and I’ve found that most problems fall into predictable categories. The key is remaining calm and working through the possibilities methodically rather than making random adjustments that can create additional problems.
The “top 5” most common setup mistakes I encounter are: incorrect threading sequence, improper needle insertion, bobbin installed backwards, tension set too extreme, and presser foot not properly attached. These issues account for probably 90% of the setup problems I help students resolve. My systematic troubleshooting process addresses these common issues first before moving to more complex diagnostics.
| Problem | Likely Cause | Solution |
|---|---|---|
| Thread keeps breaking | Incorrect threading or dull needle | Rethread machine, replace needle |
| Skipped stitches | Wrong needle or improper threading | Use correct needle type, check threading |
| Fabric won’t feed | Presser foot up or feed dogs down | Lower presser foot, raise feed dogs |
| Bobbin thread bunching | Incorrect bobbin installation | Remove and reinstall bobbin correctly |
| Uneven stitches | Tension problems | Adjust upper thread tension |
Safety Dos and Don’ts
My personal safety rules developed after years of teaching sewing and witnessing far too many preventable accidents. The safety lesson I learned the hard way came during my second year of sewing, when I was rushing to finish a project and didn’t turn off my machine before adjusting the presser foot. The machine started unexpectedly, and I nearly injured my finger. That experience taught me that no project deadline is worth risking injury, and safety protocols exist for good reason.
The safety practices I insist my students follow have evolved through teaching hundreds of people of all ages and experience levels. I’ve seen what happens when people get careless or overconfident, and I’d rather be overly cautious than deal with preventable injuries. These aren’t suggestions—they’re non-negotiable rules that apply regardless of how experienced you become.
| DO | DON’T |
|---|---|
| Keep fingers away from needle area | Never sew over pins |
| Turn off machine when threading | Don’t pull fabric while sewing |
| Use proper needle for fabric type | Never force fabric through machine |
| Keep work area well-lit | Don’t leave machine running unattended |
| Unplug when cleaning or servicing | Never touch moving parts while running |
Maintenance Tips for Keeping Your Machine Ready
My personal maintenance routine follows a schedule I’ve refined over years of keeping multiple machines in working condition. The routine includes daily, weekly, and monthly tasks that prevent small issues from becoming major problems. This systematic approach developed after I inherited a 1960s Singer from my grandmother—a beautiful machine that had been neglected for years and required extensive restoration to bring back to working condition.
The story of that antique machine restoration taught me invaluable lessons about the importance of regular maintenance. What could have been prevented with basic care had turned into a complex repair project involving new belts, deep cleaning, and professional timing adjustment. The experience showed me that proper maintenance isn’t just about keeping machines running—it’s about preserving the precision and reliability that make sewing enjoyable.
- Clean lint from bobbin area after every project
- Oil machine according to manual schedule
- Change needles regularly, especially when dull
- Keep machine covered when not in use
- Store in dry environment to prevent rust
- Have professional service annually for heavy use
- Replace worn belts and parts promptly
- Keep manual and spare parts organized
Quick Setup Reference Guide
This quick reference guide emerged from my realization that even my most dedicated students needed a condensed version for refreshing their memory between classes. I created this streamlined checklist after watching students struggle to remember the complete process when they got home, despite having successfully completed setup during class. The laminated copy system I developed keeps the reference handy without risking damage from fabric dust or thread snippets.
The guide has saved me considerable time when returning to sewing after breaks for travel or other projects. Even with my experience, I sometimes forget small details when I haven’t sewn for a few weeks, and having this quick reference eliminates any uncertainty about the proper sequence. It’s particularly useful when setting up machines for workshops or helping friends with their setup challenges.
- Power on and position machine
- Attach appropriate presser foot
- Insert correct needle type
- Thread upper thread following path
- Wind and install bobbin
- Catch bobbin thread
- Adjust tension settings
- Test on scrap fabric
- Begin sewing project
Frequently Asked Questions
To measure your waist as a man, use a flexible tape measure and wrap it around your body at the narrowest part, typically just above the hip bones. Exhale normally and ensure the tape is snug but not tight for an accurate reading. This method helps in determining clothing sizes or tracking fitness progress.
The correct spot for how to measure waist men is at the natural waistline, which is usually the slimmest part of the torso between the ribs and hips. Avoid measuring over clothes to get a precise measurement. This location ensures consistency for health assessments or apparel fitting.
A soft, flexible measuring tape is the primary tool for how to measure waist men effectively. Stand straight in front of a mirror to ensure the tape is level all around. If you don’t have a tape, a string and ruler can serve as alternatives for basic measurements.
While the basic technique for how to measure waist men is similar to women, men’s waists are often measured at the navel level for pants, whereas women’s might be higher. Always follow brand-specific guidelines for accuracy. The key is consistency in method regardless of gender.
For fitness tracking, men should learn how to measure waist men every 4-6 weeks to monitor changes. Consistent timing, like in the morning before eating, provides reliable results. This practice aids in assessing health risks related to abdominal fat.