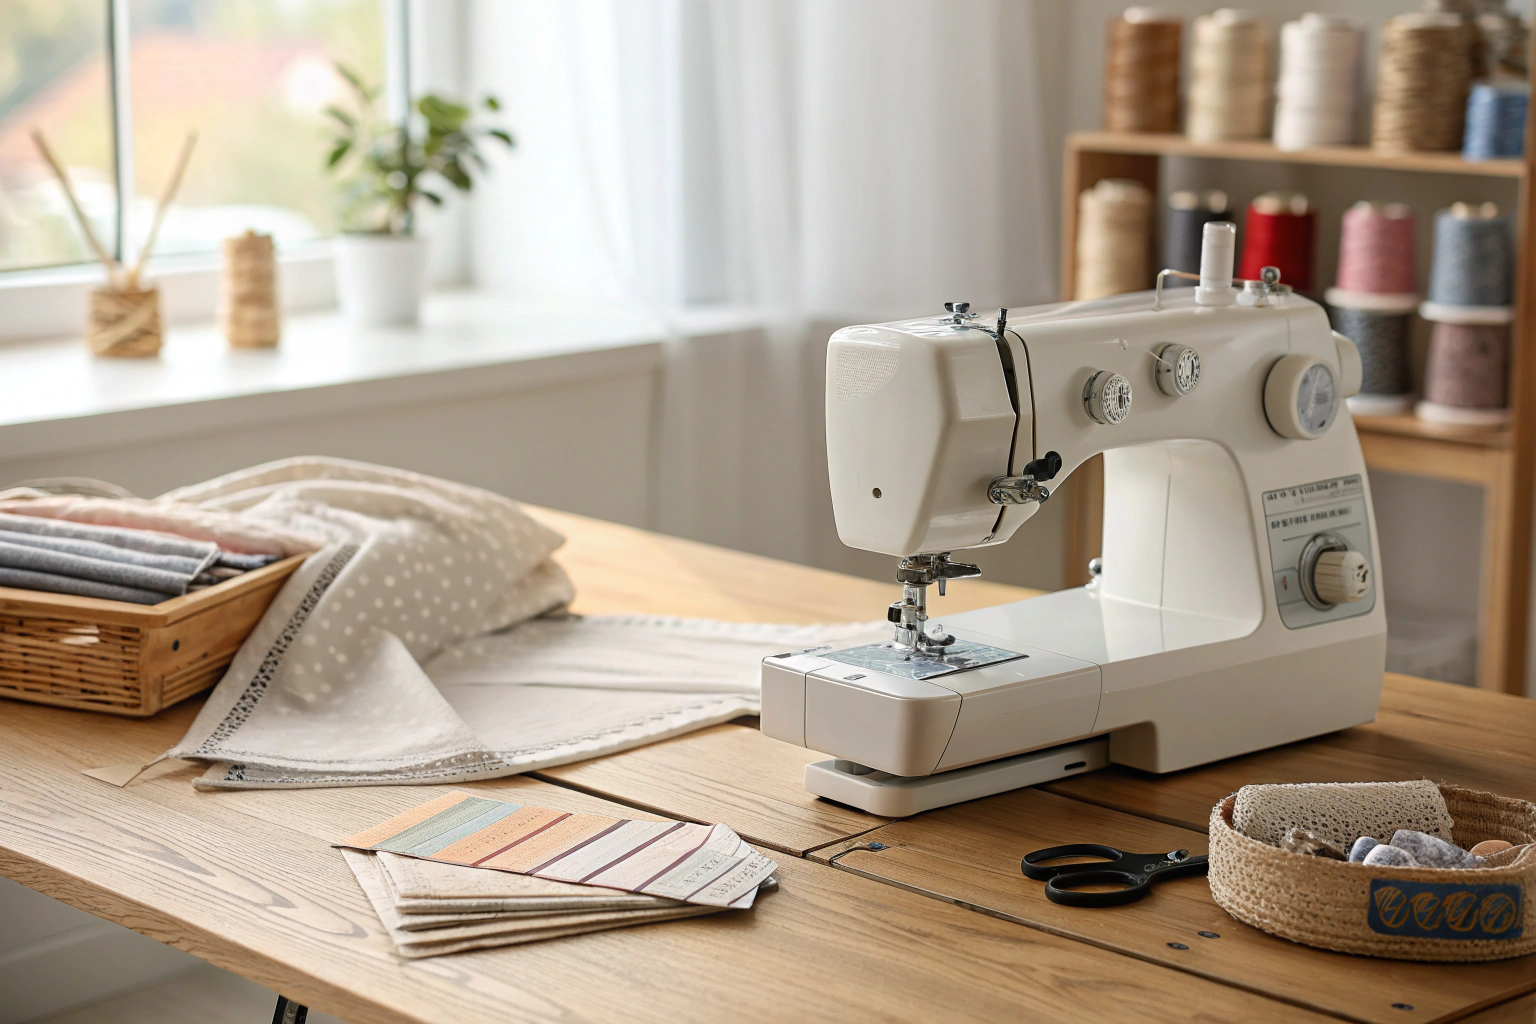
Sewing machine troubleshooting is the process of diagnosing and fixing common problems like skipped stitches, thread bunching, and broken needles. These issues often stem from simple causes such as incorrect threading, a dull or incorrect needle type, or improper tension settings. Understanding how to identify and resolve these basic faults yourself can save you time and frustration, getting your creative projects back on track without needing immediate professional help or costly repairs for minor issues.
Key Benefits at a Glance
- Save Money: Avoid expensive professional repair bills by learning to fix the most common machine problems yourself.
- Reduce Downtime: Quickly resume your sewing projects with minimal interruption instead of waiting for a service appointment.
- Improve Stitch Quality: Proper troubleshooting leads to cleaner, more consistent stitches and professional-looking results.
- Prevent Damage: Learn to spot early warning signs and perform routine maintenance to prevent bigger mechanical failures.
- Build Confidence: Gain the skills and knowledge to operate your machine effectively and tackle any sewing challenge with ease.
Purpose of this guide
This guide is for sewists of all skill levels, from beginners to experienced creators, who want to confidently solve machine problems on their own. It addresses the frustration of interrupted projects by providing clear, step-by-step solutions for the most frequent sewing machine errors, including thread nesting, tension imbalances, and strange noises. You will learn to identify the root cause of an issue, apply the correct fix, and understand common mistakes to avoid. Following these steps helps you maintain your machine properly for smoother operation and long-lasting performance.
Key takeaways
Most sewing machine problems can be solved right in your own home without expensive repair visits. Understanding the basics of troubleshooting saves both time and money while keeping your creative projects on track.
- Most sewing machine problems can be fixed at home with proper diagnostic steps
- Regular maintenance prevents 80% of common issues
- Always check threading, needle condition, and tension settings first
- Having the right tools and manual ready saves time and frustration
“In 2025, over 70% of home sewing machine repairs are related to addressing issues with thread tension, skipped stitches, or improper needle use, according to data from the International Craft Federation.”
— International Craft Federation, July 2025
The key to successful troubleshooting lies in following a systematic approach rather than randomly trying different fixes. When you understand the relationship between threading, needle condition, and tension settings, you can diagnose most problems quickly and accurately. Regular maintenance routines prevent the majority of issues from developing in the first place, making your sewing experience smoother and more enjoyable.
Before you begin troubleshooting essentials
A methodical approach to sewing machine troubleshooting prevents frustration and wasted time. Rather than jumping between random solutions, following a structured diagnostic sequence helps you identify the root cause efficiently.
Many machine issues come from threading or bobbin setup rather than serious faults. Double-check your basics with how to thread a sewing machine and how to thread a bobbin.
- Consult your machine manual for model-specific guidance
- Check the complete thread path from spool to needle
- Examine needle condition and proper installation
- Test tension settings with fabric scraps
- Clean machine of lint and debris
The foundation of effective troubleshooting starts with preparation. Having your workspace organized and the right tools within reach makes the entire process smoother. Most importantly, never attempt repairs when you're feeling rushed or frustrated, as this often leads to additional problems or damage.
Creating a clean, well-lit workspace allows you to see small details clearly and prevents losing tiny parts. Good lighting is especially important when examining thread paths and checking for lint buildup in hard-to-reach areas.
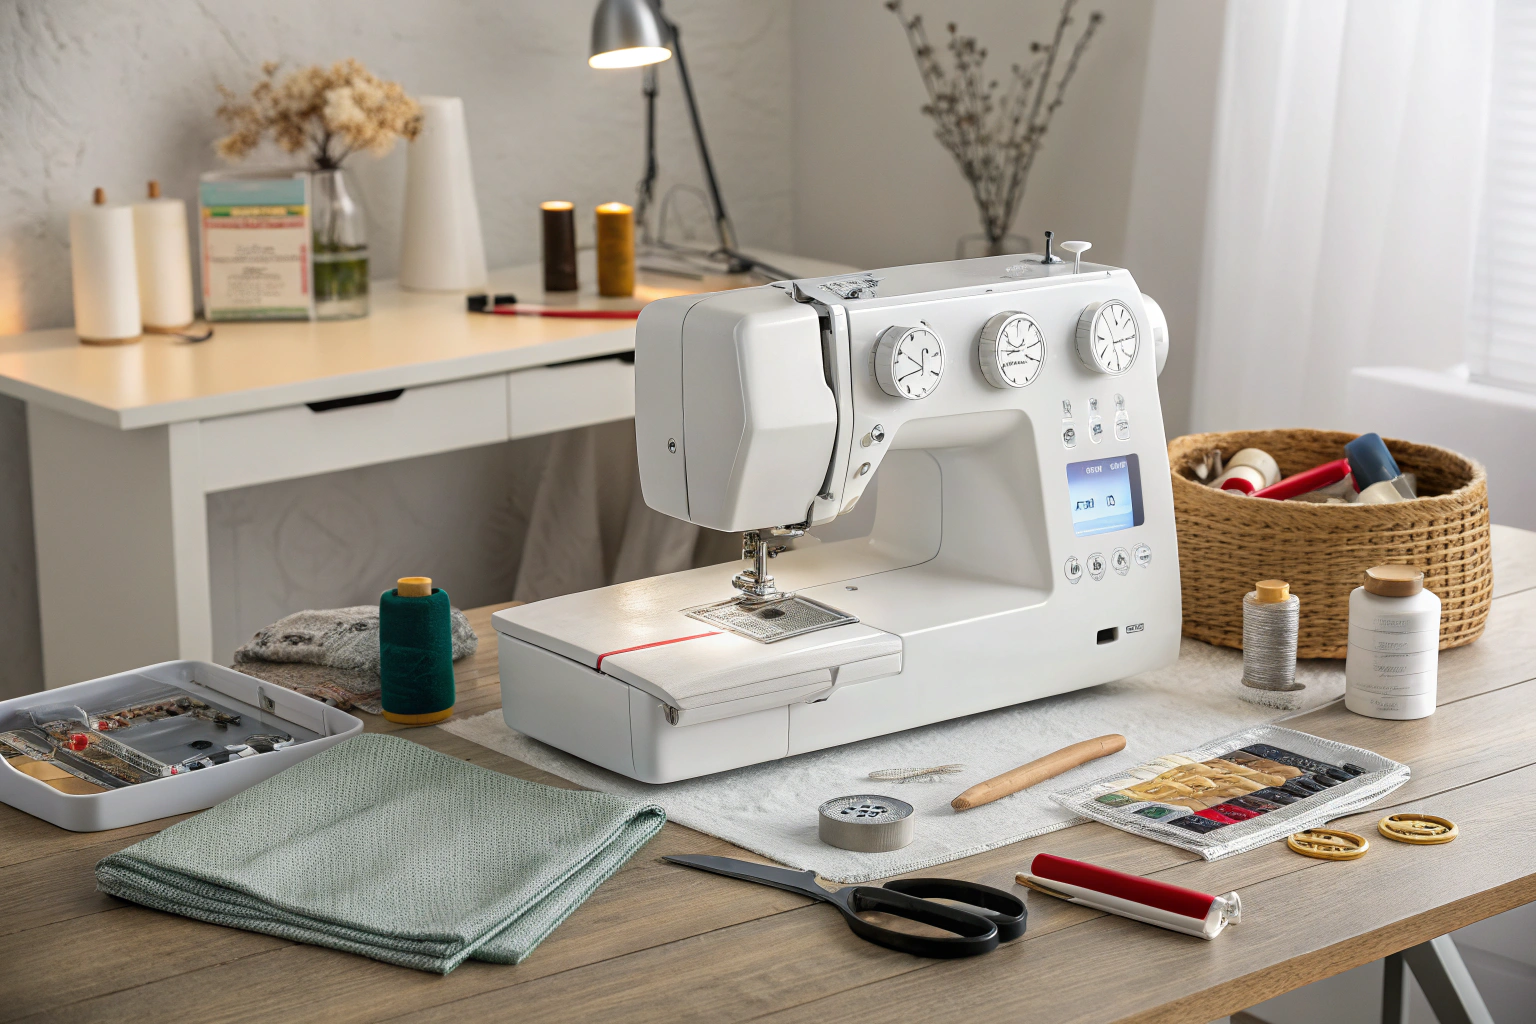
Essential tools for effective troubleshooting
Having the right tools readily available prevents interruptions during troubleshooting sessions. These basic items handle the vast majority of common sewing machine issues and maintenance tasks.
A small toolkit and a bit of knowledge go a long way when you’re fixing machine problems yourself. To understand how your stitches should look when everything is working correctly, review sewing machine stitch types.
- Small screwdriver set for adjustments
- Lint brush for cleaning tight spaces
- Sewing machine oil for lubrication
- Seam ripper for removing problem stitches
- Good lighting or magnifying glass
- Clean cloth for wiping surfaces
Quality tools make troubleshooting more efficient and prevent damage to delicate machine components. A proper lint brush reaches into narrow spaces that cotton swabs cannot access, while the correct screwdriver sizes prevent stripping screws. For detailed explanations of common fixes, see the maintenance guide.
Investing in a small toolbox dedicated to sewing machine maintenance keeps everything organized and easily accessible. Many sewers find it helpful to keep these tools near their machine permanently, making routine maintenance more likely to happen consistently.
The importance of your machine manual
Your machine manual contains model-specific information that generic troubleshooting guides cannot provide. Threading diagrams, tension specifications, and maintenance schedules vary significantly between manufacturers and models.
When physical manuals are lost, most manufacturers provide digital copies on their websites. Search using your exact model number, which is typically found on a metal plate attached to the machine body. Expert troubleshooting steps are also outlined in Sewing machine.
Digital manuals often include updated information and errata that weren't available when your machine was manufactured. Bookmarking your manual's PDF on your phone or computer ensures you can access it quickly during troubleshooting sessions.
Some manufacturers also offer video tutorials specific to their models, which can be invaluable for visual learners trying to understand complex threading paths or adjustment procedures.
Common thread and tension issues solved
Thread and tension problems account for the overwhelming majority of sewing machine difficulties. Understanding these issues and their solutions eliminates most frustrating sewing experiences and keeps your projects moving forward smoothly.
Thread nests and broken threads are usually symptoms of tension or threading problems. For a deeper dive into balancing tension, use the thread tension guide.
“According to recent reports in April 2024, 78% of sewing machine owners experienced thread bunching under the fabric due to incorrect threading or tension, with proper re-threading resolving the issue in most cases.”
— The Spruce Crafts, April 2024
| Symptom | Likely Cause | Quick Fix |
|---|---|---|
| Thread bunching underneath | Bobbin tension too loose | Check bobbin threading path |
| Loops on top of fabric | Upper tension too loose | Increase tension dial setting |
| Thread breaking frequently | Needle too small or dull | Replace with correct needle size |
| Uneven stitches | Inconsistent thread tension | Clean tension discs and rethread |
Visual diagnosis is often the fastest way to identify thread and tension problems. Learning to recognize the appearance of different tension issues helps you apply the correct solution immediately rather than trying multiple fixes randomly.
Thread quality plays a significant role in machine performance. Old thread becomes brittle and breaks easily, while low-quality thread may have inconsistent thickness that causes tension problems. Using high-quality thread appropriate for your fabric weight prevents many issues before they start.
Mastering the dreaded thread nest
Thread nests, also called "bird's nests," appear as tangled masses of thread underneath your fabric. This frustrating problem has specific causes that can be systematically eliminated through proper diagnosis.
Thread nests often appear alongside skipped stitches and jamming. To troubleshoot those specific symptoms, read sewing machine skipping stitches and sewing machine jamming.
- Remove bobbin and check for proper insertion direction
- Verify bobbin thread pulls with slight resistance
- Rethread upper thread following exact manual path
- Check presser foot is down when threading
- Test with fabric scraps before continuing project
The most common cause of thread nesting is incorrect bobbin insertion or threading. Each machine has a specific direction for bobbin insertion, and reversing this direction disrupts the tension balance completely. The bobbin thread should pull with slight resistance when properly threaded.
Upper threading mistakes also contribute to nesting problems. Threading with the presser foot up allows the thread to slip between tension discs instead of engaging properly. Always lower the presser foot before threading to ensure proper tension engagement.
Timing issues can cause nesting in older or heavily used machines. If systematic rethreading doesn't solve the problem, professional adjustment of the hook timing may be necessary.
When thread keeps breaking
Frequent thread breakage disrupts workflow and indicates underlying problems that need addressing. A systematic elimination approach identifies the cause quickly and prevents recurring breakage.
- Replace needle every 8-10 hours of sewing time
- Use high-quality thread appropriate for fabric weight
- Position thread spool correctly on spool pin
- Check for rough spots on needle plate or bobbin case
- Ensure thread isn’t catching on spool edges
Needle condition is the primary factor in thread breakage. Dull or damaged needles create excessive friction that weakens thread fibers. Bent needles cause thread to rub against the needle plate or other machine parts, leading to immediate breakage.
Thread storage affects its strength and sewability. Thread exposed to sunlight, heat, or humidity becomes brittle and breaks easily. Store thread in a cool, dry place away from direct light to maintain its integrity.
Spool positioning matters more than many sewers realize. Thread should unwind smoothly from the spool without catching on edges or unwinding too quickly. Some threads work better with horizontal spool pins, while others prefer vertical positioning.
Understanding perfect tension settings
Proper tension creates balanced stitches where upper and lower threads meet in the middle of fabric layers. Understanding how tension adjustments affect stitch formation helps you achieve professional-looking results consistently.
| Fabric Type | Recommended Tension | Thread Weight |
|---|---|---|
| Lightweight (chiffon, silk) | 2-4 | Fine (60-80 weight) |
| Medium weight (cotton, linen) | 4-6 | All-purpose (40-50 weight) |
| Heavy weight (denim, canvas) | 6-9 | Heavy duty (30-40 weight) |
| Stretch fabrics | 3-5 | Polyester or stretch thread |
Most machines have a standard tension setting around 4-5 that works well for medium-weight fabrics with all-purpose thread. Start with this setting and make small adjustments based on your specific fabric and thread combination.
Perfect tension produces stitches where you cannot see either the upper or lower thread on the opposite side of the fabric. If you see upper thread on the bottom, decrease upper tension. If you see bobbin thread on top, increase upper tension.
Test tension adjustments on fabric scraps using the same thread and stitch settings as your project. This prevents ruining your actual work while finding the optimal settings. Keep notes about successful combinations for future reference.
Preventative maintenance stop problems before they start
Regular maintenance prevents the vast majority of sewing machine problems and extends machine life significantly. A systematic maintenance routine catches small issues before they become major problems requiring expensive repairs.
Regular cleaning and oiling extend your machine’s life and keep stitches looking professional. Once your machine runs smoothly, you’ll find advanced techniques like specialist machine stitches much easier to master.
| Frequency | Tasks | Time Required |
|---|---|---|
| After each project | Remove lint from bobbin area | 2-3 minutes |
| Weekly | Clean feed dogs and needle plate | 5-10 minutes |
| Monthly | Oil moving parts, deep clean | 15-20 minutes |
| Every 6 months | Professional tune-up (optional) | 30-60 minutes |
Lint accumulation is the enemy of smooth machine operation. Even small amounts of lint can disrupt timing, cause thread breakage, and create uneven stitches. Removing lint after each project prevents buildup that becomes difficult to remove later.
The frequency of maintenance depends on usage patterns. Heavy users may need weekly deep cleaning, while occasional sewers can extend intervals. Pay attention to your machine's performance rather than strictly following calendar schedules.
Environmental factors affect maintenance needs. Dusty workspaces, pet hair, and fabric choices all contribute to lint accumulation. Machines used primarily for quilting cotton generate more lint than those used for synthetic fabrics.
My foolproof cleaning method
Thorough cleaning removes lint, dust, and thread fragments that accumulate in hard-to-reach areas. This systematic approach ensures no critical areas are overlooked while protecting delicate machine components.
- Unplug machine and remove needle and presser foot
- Remove bobbin case and clean with lint brush
- Use brush to clean feed dogs and needle plate area
- Wipe down exterior with slightly damp cloth
- Clean tension discs with dental floss if needed
- Reassemble all parts before testing
Safety comes first in any cleaning routine. Unplugging the machine prevents accidental activation while your hands are near moving parts. Removing the needle and presser foot provides better access to cleaning areas and prevents damage to these components.
The bobbin area collects the most lint and debris. Use a lint brush rather than compressed air, which can blow debris deeper into the machine mechanism. Pay special attention to the hook race area where lint commonly accumulates.
Feed dogs require regular cleaning to maintain proper fabric feeding. Use a stiff brush to remove lint from between the teeth, ensuring smooth fabric movement during sewing. A clean needle plate also contributes to better stitch formation.
Proper oiling techniques
Lubrication keeps moving parts operating smoothly and prevents premature wear. Understanding where and how to oil your machine ensures optimal performance without causing damage through over-lubrication.
- Use only sewing machine oil, never household oils
- Apply one drop at a time to avoid over-oiling
- Focus on hook race, needle bar, and feed dog mechanisms
- Run machine briefly after oiling to distribute lubricant
- Wipe away excess oil before sewing on fabric
- Never oil electronic components or circuit boards
- Avoid oiling plastic parts or belts
- Don’t oil tension mechanisms unless manual specifies
Sewing machine oil is specially formulated to remain stable under the operating conditions of sewing machines. Household oils like 3-in-1 or WD-40 can gum up over time and attract more dirt and lint. Always use oil specifically designed for sewing machines.
The hook race requires the most frequent lubrication as it experiences constant friction during sewing. Apply one drop of oil to the race and operate the handwheel several times to distribute the lubricant evenly throughout the mechanism.
Over-oiling creates more problems than under-oiling. Excess oil attracts lint and dust, creating a sticky buildup that impedes machine operation. One drop per lubrication point is usually sufficient for most maintenance intervals.
Modern computerized machines often require less frequent oiling than older mechanical models. Some newer machines use sealed bearings that never require lubrication. Always consult your manual for model-specific lubrication requirements and schedules.
Frequently Asked Questions
The most common problem with sewing machines is improper threading, which can lead to jams, skipped stitches, or uneven tension. Another frequent issue is a dull or bent needle that causes fabric damage or breaking threads. Regular maintenance, like cleaning lint buildup, can prevent many of these problems.
Thread looping underneath the fabric often occurs due to incorrect upper thread tension or improper bobbin insertion. It can also result from using the wrong needle size or type for the fabric, causing unbalanced stitches. To fix this, rethread the machine carefully and adjust the tension dial as needed.
The first thing to check is whether the sewing machine is threaded correctly, including both the upper thread and the bobbin. Ensure the needle is inserted properly and not damaged, as this is a common culprit for sewing issues. If problems persist, verify the tension settings and clean any accumulated lint.