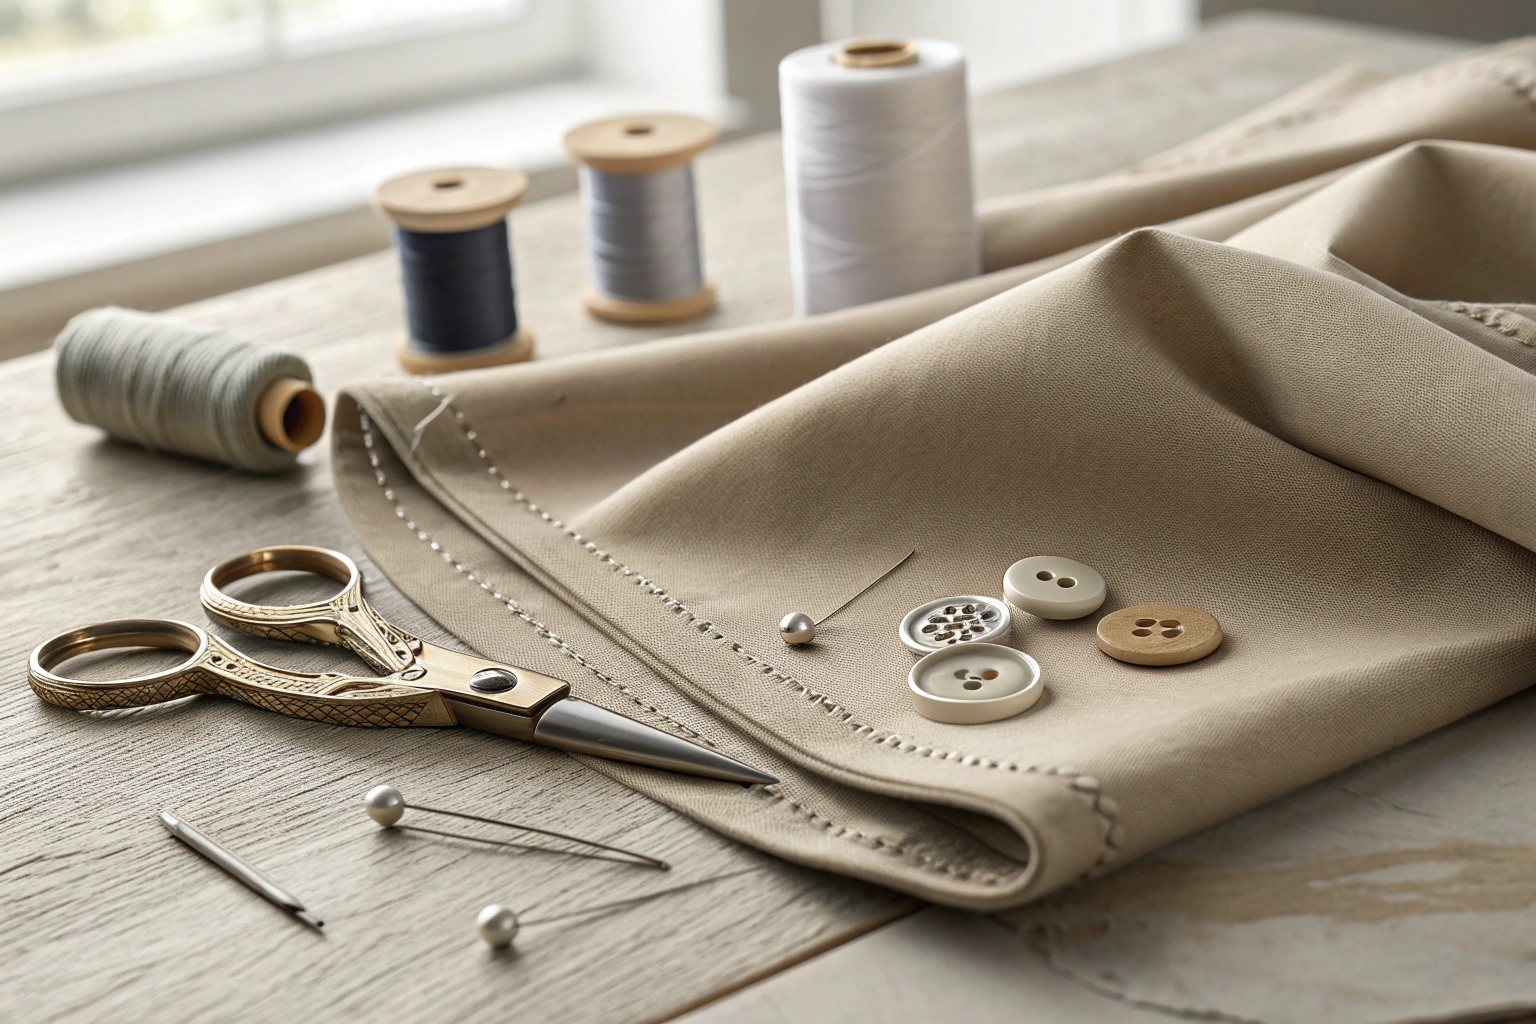
How to sew button holes involves creating a secure opening in fabric that allows a button to pass through without the material fraying. This skill is essential for making professional-looking garments. Whether using a modern sewing machine with a one-step buttonhole foot or stitching by hand for a traditional finish, the process requires precise marking and careful stitching. The main goal is to create a durable closure that withstands regular use and looks clean and polished.
Key Benefits at a Glance
- Professional Finish: Achieve clean, durable buttonholes that give your handmade or altered garments a polished, store-bought look, elevating your sewing projects.
- Enhanced Durability: A properly stitched buttonhole reinforces the surrounding fabric, preventing common issues like tearing and fraying with repeated use and washing.
- Perfect Customization: Gain full control over the placement, size, and style of your buttonholes, ensuring a perfect fit and function for any garment or button type.
- Easy Repairs & Upcycling: Confidently fix damaged buttonholes on favorite clothes or add new closures to existing items, giving them a fresh look and extending their lifespan.
- Save Time and Money: Avoid the cost and inconvenience of professional tailoring services by mastering this fundamental and highly valuable sewing skill at home.
Purpose of this guide
This guide is designed for sewers of all levels, from beginners tackling their first shirt to experienced creators looking to refine their finishing techniques. It breaks down the process of how to sew button holes, solving the common challenges of puckered fabric, uneven stitches, and fear of cutting the fabric open. You will learn clear, step-by-step instructions for both machine and hand-sewn methods. We’ll cover essential tips for marking, stabilizing fabric, and avoiding common mistakes, empowering you to create strong, perfectly sized buttonholes for a flawless finish on any project.
Understanding button hole basics
Buttonholes represent one of the most essential yet often intimidating aspects of garment construction. After teaching sewing for over a decade, I've watched countless students struggle with these seemingly simple openings, only to discover that understanding the fundamentals transforms buttonholes from a source of anxiety into a mark of craftsmanship.
Buttonholes work together with darts, seams and hems to shape and close your garments. For a fuller view of garment construction techniques, read how to sew darts.
A buttonhole serves dual purposes in garment construction: it provides the functional mechanism for secure closure while contributing to the overall aesthetic appeal of the finished piece. Every buttonhole consists of four critical components that work together to create a durable, professional-looking fastening system.
| Buttonhole Component | Function | Quality Impact |
|---|---|---|
| Bartacks | Reinforcement at ends | Prevents tearing |
| Side stitching | Edge finishing | Clean appearance |
| Opening width | Button accommodation | Proper fit |
| Stitch density | Durability | Professional look |
The bartacks at each end provide crucial reinforcement, preventing the inevitable stress from button use from tearing through the fabric. Side stitching creates clean, finished edges that won't fray over time, while the opening width must accommodate your specific button without being so loose that the closure fails or so tight that excessive force damages the surrounding fabric.
For foundational concepts on buttonhole construction, the buttonhole overview page provides essential background.
Understanding proper sizing requires measuring your button's diameter and adding approximately 1/8 inch for ease. Thick buttons, particularly those with shanks, may require additional width. The standard buttonhole length typically ranges from 5/8 inch for small shirt buttons to 1.5 inches for coat buttons, though custom applications may vary significantly.
- Buttonholes serve both functional closure and decorative purposes
- Proper sizing prevents button strain and fabric damage
- Standard orientations are horizontal for stress and vertical for efficiency
- Quality depends on preparation, tools, and technique execution
Common types of button holes
The world of buttonhole construction offers numerous variations, each designed for specific applications and aesthetic goals. Understanding when to use each type transforms your sewing from basic functionality to professional craftsmanship. Through years of working with different garment styles, I've learned that type selection often determines the difference between amateur and professional-looking results.
Machine-made buttonholes dominate everyday sewing due to their speed and consistency. These standard buttonholes work excellently for shirts, casual dresses, and children's clothing where durability matters more than couture finishing. The uniform stitch pattern creates clean lines that complement modern garment construction techniques.
| Type | Best For | Difficulty | Appearance |
|---|---|---|---|
| Machine Standard | Everyday garments | Easy | Clean, uniform |
| Keyhole | Heavy coats, thick buttons | Medium | Professional |
| Bound | Tailored jackets | Hard | Couture finish |
| Hand-sewn | Heirloom pieces | Hard | Custom artisan |
| Stretch | Knit fabrics | Easy | Flexible |
Keyhole buttonholes feature a rounded end that accommodates thick buttons or those with prominent shanks. These prove essential for heavy coats, blazers, and garments where substantial buttons create stress points. The keyhole design distributes tension more effectively than standard rectangular openings.
Bound buttonholes represent the pinnacle of tailoring craftsmanship. Created by folding fabric strips to form finished edges, they eliminate visible stitching on the garment's right side. While time-intensive, bound buttonholes elevate jackets and coats to couture standards.
Hand-sewn buttonholes offer unparalleled customization and durability. Master tailors often prefer hand techniques for bespoke garments, wedding attire, and heirloom pieces where time investment justifies superior results. The dense, precise stitching creates buttonholes that improve with age.
Stretch buttonholes utilize specialized stitching patterns that accommodate knit fabrics' natural movement. These prevent the tearing common when standard buttonholes meet fabric stretch, making them essential for activewear and comfortable casual garments.
Buttonhole orientation and placement conventions
Proper buttonhole orientation significantly impacts both garment function and appearance. The choice between horizontal and vertical placement affects how stress distributes across the fabric and influences the garment's overall drape and closure security.
Horizontal buttonholes excel at handling stress because they distribute pulling forces across the buttonhole's width rather than concentrating tension at specific points. This orientation prevents the gaping common in poorly designed garments and maintains closure integrity under movement. Professional seamstresses typically prefer horizontal buttonholes for fitted garments, jackets, and anywhere secure closure matters most.
- Horizontal buttonholes handle stress better and prevent gaping
- Vertical buttonholes are faster for mass production
- Women’s garments: right side over left (button on right)
- Men’s garments: left side over right (button on left)
- Center front placement maintains garment balance
Vertical buttonholes serve mass production well due to faster stitching times and simplified machinery setup. They work adequately for lightweight fabrics and loose-fitting garments where stress remains minimal. However, vertical orientation concentrates pulling forces at the buttonhole ends, potentially causing premature failure in high-stress applications.
Traditional placement conventions reflect historical dressing practices and continue influencing modern garment design. Women's clothing typically features buttons on the right side with buttonholes on the left, creating right-over-left overlap. Men's garments reverse this arrangement, placing buttons on the left side with right-over-left closure.
These conventions originated from practical considerations: wealthy women historically had servants who dressed them, making right-over-left easier for someone facing the wearer. Men dressed themselves and often wore swords on their left side, making left-over-right more practical for drawing weapons without catching clothing.
Center front placement ensures visual balance and proper garment drape. Buttonholes positioned off-center create pulling that distorts the garment's intended silhouette and may cause premature wear at stress points.
Essential preparation steps
Successful buttonhole creation depends more on thorough preparation than advanced technique. In my early sewing career, I learned this lesson through several ruined garments where inadequate preparation led to puckered, uneven, or improperly sized buttonholes that destroyed hours of careful construction work.
Stable fabric and correct needle choice make buttonholes much more reliable. If your fabric is misbehaving before you even start, check your machine with sewing machine troubleshooting.
“Stabilizing your fabric is key to long-lasting buttonholes. Most patterns call for interfacing in areas where buttonholes will go. Interfacing strengthens the fabric, making sure your buttonholes can withstand repeated wear.”
— Seamwork, March 2024
Source link
Interfacing application represents the most critical preparation step, yet many sewers skip or inadequately execute this crucial foundation. Proper interfacing prevents fabric stretching during stitching, eliminates puckering around completed buttonholes, and provides the stability necessary for long-term durability.
- Apply interfacing to buttonhole area for stability
- Mark buttonhole placement with removable markers
- Test stitch settings on fabric scraps
- Check thread tension and machine maintenance
- Verify button size matches planned opening
Fusible interfacing works well for most applications, providing consistent bonding and eliminating shifting during construction. Choose interfacing weight that complements your fabric – lightweight for delicate materials, medium weight for general use, and heavy interfacing for coats and structured garments. Apply interfacing to both the buttonhole side and the button side for balanced support.
Accurate marking prevents costly mistakes that cannot be easily corrected. Use removable fabric markers or tailor's chalk to indicate buttonhole placement, ensuring consistent spacing and alignment. Double-check measurements against your pattern and actual buttons before proceeding.
- Never skip interfacing – it prevents stretching and puckering
- Always test on scraps to avoid ruining your project
- Mark carefully – incorrect placement cannot be easily fixed
Testing on fabric scraps reveals potential issues before they affect your finished garment. Use identical fabric, interfacing, and thread to evaluate stitch quality, tension settings, and buttonhole appearance. This small time investment prevents major disappointments and allows adjustments without consequences.
Selecting the right tools
Quality tools dramatically influence buttonhole outcomes, yet many sewers attempt this precise work with inadequate equipment. After testing numerous brands and styles throughout my teaching career, I've identified essential tools that consistently produce professional results regardless of skill level.
| Tool | Purpose | Quality Impact | Essential Level |
|---|---|---|---|
| Buttonhole foot | Guides stitching | High | Required |
| Sharp seam ripper | Safe opening | Medium | Essential |
| Buttonhole cutter | Clean cuts | High | Recommended |
| Quality interfacing | Stabilization | Very High | Required |
| Marking tools | Accurate placement | Medium | Essential |
The buttonhole foot represents your most important investment. Generic feet often lack the precision guides and proper spacing that ensure consistent results. Invest in the foot specifically designed for your machine model, as the precise fit eliminates the wobbling and uneven feeding that creates poor buttonholes.
Sharp seam rippers enable safe buttonhole opening without damaging surrounding stitches. Dull rippers require excessive force that often leads to torn fabric or cut threads beyond the intended opening. Replace seam rippers annually or whenever they require pressing rather than light pressure to cut threads.
Buttonhole cutters create cleaner openings than scissors or seam rippers, particularly for multiple buttonholes requiring identical appearances. These specialized tools guide cutting blades along precise paths, eliminating the wavy cuts common with freehand cutting methods.
Quality marking tools ensure accurate placement without damaging fabric or leaving permanent marks. Water-soluble markers work well for most fabrics, while tailor's chalk suits delicate materials that might react to chemical markers. Test marking tools on scraps before using them on finished garments.
Tips for better buttonholes
Professional-quality buttonholes result from small technique refinements rather than expensive equipment or advanced skills. These tested methods, developed through years of troubleshooting student problems and perfecting my own techniques, consistently improve buttonhole appearance and durability.
A smooth, even buttonhole depends heavily on balanced tension and correct stitch selection. Use the thread tension guide and types of sewing machine stitches to fine-tune your settings.
- Stitch over buttonholes twice for better definition and durability
- Use tissue paper under fabric to prevent puckering on difficult materials
- Loosen upper thread tension slightly for smoother stitching
- Cut buttonholes with sharp blade from center outward to preserve bartacks
- Test thread color on scraps – contrast can be intentionally decorative
Double-stitching creates denser, more defined buttonholes that resist wear better than single-pass stitching. Simply stitch the complete buttonhole, then immediately stitch over it again without moving the fabric. This technique particularly benefits lightweight fabrics that might otherwise show sparse stitching.
“When you’re done sewing, insert a pin across each end of the buttonhole and carefully cut the opening between the stitches with a small, sharp pair of scissors or a seam ripper for clean results. Apply a drop of fray check to the raw edges of the hole to prevent fraying and secure the stitches.”
— Seamwork, March 2024
— Source link
Tissue paper placement under difficult fabrics prevents the puckering and feed problems that plague stretchy, slippery, or loosely woven materials. Tear away the tissue after stitching, leaving clean buttonholes without fabric distortion. This technique particularly helps with knits, silks, and fabrics with problematic drape characteristics.
Tension adjustment affects stitch formation and fabric handling. Slightly loose upper tension allows smoother thread flow and reduces fabric pulling during stitching. However, avoid excessive loosening that creates loose, sloppy stitches. Test tension changes on scraps to find the optimal setting for your specific fabric and thread combination.
Safe cutting preserves the bartacks that provide buttonhole strength. Cut from the center toward each end using short, controlled strokes rather than attempting single cuts that might slip and damage reinforcement stitching. Place pins across each bartack before cutting to prevent accidental cuts beyond the intended opening.
Machine sewn button holes
Modern sewing machines excel at creating consistent, professional buttonholes that rival hand-sewn quality while requiring fraction of the time investment. Understanding your machine's capabilities and maintaining proper setup ensures reliable results across various fabric types and garment applications.
Machine buttonholes offer significant advantages over hand methods for everyday sewing projects. The consistent stitch formation, precise sizing, and repeatable results make machine methods ideal for garments requiring multiple identical buttonholes. Additionally, machine stitching provides adequate durability for most applications while allowing efficient completion of sewing projects.
- Clean and oil machine for smooth operation
- Install correct buttonhole foot for your machine
- Check needle sharpness and thread quality
- Test tension settings on fabric scraps
- Verify stitch width and density settings
Machine maintenance directly affects buttonhole quality. Clean lint from the feed dogs, bobbin area, and tension discs before beginning buttonhole work. Oil moving parts according to your machine's manual, as smooth operation prevents the jerky feeding that creates uneven stitches.
Needle selection impacts stitch formation and fabric handling. Use sharp needles appropriate for your fabric weight – universal needles for general use, ballpoint for knits, and microtex for tightly woven fabrics. Replace needles after every major project or when they show signs of dulling, as damaged needles create poor stitch quality and may damage fabric.
Thread quality affects both appearance and durability. Use high-quality thread that matches your fabric's care requirements and weight. Polyester thread works well for most applications, providing strength and colorfastness. Cotton thread suits natural fabrics but may lack the strength needed for heavily stressed buttonholes.
Using a one step button hole foot
Automatic buttonhole feet revolutionize buttonhole creation by eliminating guesswork and ensuring consistent sizing. These specialized attachments measure your button and create perfectly sized openings without manual adjustments or multiple setup steps.
The one-step process begins with proper foot installation and button placement. Insert your button into the foot's button holder, ensuring it sits securely against the measuring guide. This automatic sizing feature eliminates the calculations and test stitching required for manual methods.
- Attach one-step buttonhole foot to machine
- Insert button into foot’s button holder
- Select automatic buttonhole setting
- Position fabric and lower presser foot
- Engage buttonhole lever if required
- Press foot pedal – machine completes automatically
- Raise presser foot and cut opening carefully
Machine setup requires selecting the appropriate buttonhole stitch from your machine's menu. Most machines offer several buttonhole styles including standard, stretch, and keyhole options. Choose the style that best matches your button type and fabric characteristics.
Density adjustment allows customization for different fabric weights. Heavier fabrics benefit from denser stitching that provides adequate coverage and durability. Lighter fabrics work better with less dense stitching that doesn't overwhelm the material or create excessive bulk.
Tension optimization improves stitch formation and prevents fabric puckering. Through experimentation, I've discovered that slightly loosening the upper tension often produces smoother buttonholes with better thread distribution. This adjustment particularly helps when working with challenging fabrics or achieving specific aesthetic goals.
Manual machine button holes
Basic sewing machines without automatic features can still produce excellent buttonholes through manual four-step processes. This method offers greater control over stitch placement and density while working well for sewers who prefer hands-on techniques or need to accommodate specific design requirements.
Manual buttonholes require creating each component separately: two bartacks and two rows of zigzag stitching. This approach allows customization of each element's density, width, and length according to specific needs. The control advantage particularly benefits delicate fabrics where automatic settings might be too aggressive.
| Feature | One-Step Automatic | Manual Four-Step |
|---|---|---|
| Setup time | Quick | Longer |
| Consistency | Very high | Skill dependent |
| Control | Limited | Complete |
| Delicate fabrics | Good | Excellent |
| Machine requirement | Automatic feature | Basic zigzag |
The process begins with marking buttonhole endpoints and creating the first bartack using dense zigzag stitches. Maintain consistent stitch width and ensure adequate density for reinforcement. Move to the first side using narrow zigzag stitches, maintaining even spacing and consistent thread coverage.
Box shape creation requires precise turning and positioning. After completing the first side, create the second bartack using identical settings to the first. Complete the buttonhole with the second side, matching the first side's stitch width and density for professional appearance.
Marking technique ensures symmetrical results when creating multiple buttonholes. Use a ruler and removable markers to indicate both buttonhole placement and internal division points. This preparation eliminates guesswork during stitching and ensures consistent spacing across all buttonholes.
Using vintage buttonhole attachments
Vintage sewing machines often feature specialized buttonhole attachments that create exceptionally beautiful buttonholes with distinctive character. These attachments, while requiring additional setup time, produce results that modern automatic systems rarely match in terms of aesthetic appeal and craftsmanship quality.
My introduction to vintage attachments came through an elderly seamstress who demonstrated the superior finishing possible with these older systems. The dense, precise stitching and perfect bartack formation convinced me that vintage attachments deserve consideration for special projects despite their complexity.
- Lower or cover feed dogs on machine
- Attach vintage buttonhole attachment to low shank
- Select metal template for desired buttonhole size
- Position fabric in attachment frame
- Set machine to straight stitch
- Guide attachment through complete cycle
- Remove fabric and cut opening with sharp blade
Setup requires disabling the machine's feed dogs since the attachment controls fabric movement. Most vintage attachments work with low-shank machines and require straight-stitch capability rather than zigzag functions. The attachment's mechanical action creates the zigzag motion necessary for buttonhole formation.
Template selection determines buttonhole size and style. Metal templates typically offer limited size options compared to modern systems, but the available sizes often match common button dimensions perfectly. The templates guide the attachment through precise movements that create exceptionally even stitching.
Quality advantages include superior bartack formation and consistent stitch density that rivals hand-sewn work. The mechanical precision of vintage attachments often exceeds modern electronic systems in terms of stitch placement and thread distribution. However, the setup time and size limitations make these attachments best suited for special projects rather than everyday sewing.
Hand sewn button holes
Hand-sewn buttonholes represent the pinnacle of sewing craftsmanship, offering unmatched customization and durability for garments deserving the highest quality finishing. While requiring significant time investment, hand techniques produce buttonholes that improve with age and wear, developing character impossible to achieve through machine methods.
Tailored hand-sewn buttonholes combine the strength of machine stitching with the control of hand sewing. For more hand techniques to pair with them, see the hand sewing stitch guide.
The decision to hand-sew buttonholes typically relates to garment importance and personal satisfaction rather than mere functionality. Wedding gowns, heirloom pieces, and bespoke tailoring justify the time investment through superior results and lasting quality that machine methods cannot match.
| Aspect | Machine Method | Hand Method |
|---|---|---|
| Time required | 2-5 minutes | 30-60 minutes |
| Customization | Limited | Complete |
| Durability | Good | Excellent |
| Appearance | Uniform | Artisan quality |
| Skill level | Basic | Advanced |
Traditional hand techniques allow complete control over stitch spacing, thread tension, and reinforcement placement. This flexibility enables adjustments for specific fabric characteristics, button requirements, and aesthetic preferences impossible to achieve through predetermined machine settings.
Thread selection significantly impacts both appearance and performance of hand-sewn buttonholes. Silk thread provides superior drape and ages beautifully, while cotton offers traditional characteristics suitable for period garments. Specialty buttonhole twist creates particularly dense, durable stitching ideal for heavily used garments.
The learning curve for hand buttonholes extends beyond basic sewing skills, requiring patience and practice to develop consistent results. However, the satisfaction of creating perfect hand-sewn buttonholes and the superior quality they provide justify the effort for serious sewers and special projects.
The tailored button hole technique
Professional tailored buttonholes combine traditional hand methods with practical modifications that improve efficiency without sacrificing quality. This approach, refined through years of teaching and personal practice, makes hand-sewn techniques accessible while maintaining the superior results expected from bespoke work.
The tailored approach emphasizes proper preparation and tool selection as much as stitching technique. Using appropriate threads, maintaining consistent tension, and following systematic procedures ensures professional results even for sewers new to hand buttonhole construction.
- Cut precise opening with sharp blade
- Prepare gimp thread or buttonhole twist
- Begin with bartack at one end using purl stitch
- Work buttonhole stitch along first side
- Create second bartack at opposite end
- Complete second side with matching density
- Secure thread ends invisibly on wrong side
- Press lightly to set stitches
- Trim any loose threads carefully
- Test button fit and adjust if needed
Thread preparation involves selecting appropriate materials for your specific project. Silk thread works beautifully for luxury garments, providing excellent drape and aging characteristics. Cotton thread suits traditional applications and period reproductions. Buttonhole twist offers maximum durability for heavily stressed applications.
Waxing thread lightly prevents tangling during the extended stitching process while improving thread handling characteristics. Beeswax provides traditional treatment, while modern thread conditioners offer similar benefits with easier application.
- Use silk thread for luxury garments and better drape
- Wax thread lightly to prevent tangling during stitching
- Maintain consistent stitch spacing for professional appearance
- Practice on scraps before working on final garment
Stitch execution requires maintaining consistent spacing and tension throughout the buttonhole. The purl stitch creates dense bartacks that provide essential reinforcement, while the buttonhole stitch forms clean, durable edges along the opening sides. Practice on scraps helps develop the muscle memory necessary for consistent results.
Finishing techniques include careful pressing to set stitches without flattening their dimensional quality. Light steam pressing works well for most fabrics, while delicate materials may require dry pressing or professional finishing methods to achieve optimal results.
Frequently Asked Questions
To sew a buttonhole step by step, start by marking the position on your fabric, then use a sewing machine with a buttonhole foot to stitch the outline, bartack, and cut the slit. For men’s clothing like pants, understanding how to measure waist men ensures the buttonhole placement fits perfectly around the waistline. Always test on scrap fabric first to avoid errors.
The different types of buttonholes include machine-stitched, hand-sewn, bound, and keyhole buttonholes, each suited for various fabrics and garment styles. In men’s attire, such as shirts or trousers, keyhole buttonholes are common for added durability, especially when tailoring to precise measurements like how to measure waist men for a custom fit. Choosing the right type enhances both functionality and aesthetics.
To hand sew a buttonhole, mark the slit length, cut it carefully, and use buttonhole stitches to reinforce the edges with thread, working from one end to the other. This method is ideal for delicate fabrics or when making repairs on men’s garments, where knowing how to measure waist men helps position buttonholes accurately for comfort. Finish by knotting the thread securely to prevent fraying.
Yes, you can sew a buttonhole without a buttonhole foot by using a zigzag stitch on your machine to manually create the sides and bartacks, guiding the fabric carefully. For men’s clothing projects, such as waistbands, combining this technique with proper how to measure waist men guidelines ensures the buttonhole aligns well with the body’s proportions. Practice on scraps to master the even stitching required.
Common mistakes to avoid when sewing buttonholes include not stabilizing the fabric, incorrect sizing, and cutting the slit too early, which can lead to fraying or uneven results. When working on men’s apparel, like fitted trousers, always incorporate accurate how to measure waist men techniques to prevent placement errors that affect the garment’s fit. Testing your machine settings beforehand also helps achieve professional-looking buttonholes.
