
The catch stitch hand sewing technique is a hemming stitch that creates a flexible, nearly invisible finish on the outside of a garment. It is formed by making small, alternating diagonal stitches that cross over each other, “catching” just a few threads of the main fabric and the hem allowance. This zig-zag pattern allows the hem to stretch, making it ideal for knit fabrics and curved edges, preventing the stitches from breaking when the fabric moves.
Key Benefits at a Glance
- Creates Invisible Hems: Produces a nearly invisible finish on the right side of the fabric for a professional, high-quality look.
- Adds Flexibility: The crisscross structure allows the hem to stretch with the fabric, making it perfect for knits, activewear, and garments cut on the bias.
- Provides a Strong Hold: Creates a durable yet pliable bond that securely holds hems, facings, and linings in place without being stiff or rigid.
- Highly Versatile: Ideal for a wide range of uses, from invisibly hemming trousers and skirts to tacking down linings and interfacings.
- Requires No Machine: Can be done anywhere with just a needle and thread, offering a quiet and portable solution for garment finishing and repairs.
Purpose of this guide
This guide is for anyone, from sewing beginners to experienced crafters, who wants to master a reliable hand-hemming technique. It solves the common problem of creating a durable, flexible, and invisible hem without a sewing machine, which is especially useful for delicate or stretchy fabrics. You will learn the simple step-by-step process for executing a perfect catch stitch. This guide also covers common mistakes to avoid, such as pulling the thread too tight or making stitches too large, and explains how to apply it for a clean, long-lasting finish on everything from wool trousers to jersey dresses.
Mastering the catch stitch my proven technique after years of hand sewing
I still remember the frustration of my first attempt at hemming a wool skirt fifteen years ago. The hem kept pulling and puckering, creating an amateur finish that screamed “homemade” rather than handcrafted. After countless failed attempts with basic running stitches and blind hems, I discovered the catch stitch – a game-changing technique that transformed my hand sewing from clumsy to professional.
The catch stitch became my secret weapon in hand sewing, offering the perfect balance of invisibility and flexibility that other sewing techniques simply couldn’t match. What initially appeared to be just another hand stitch revealed itself as a sophisticated method closely related to the herringbone stitch, yet uniquely suited for creating durable, stretchy hems.
Through years of practice on everything from delicate silk blouses to heavy wool coats, I’ve refined my catch stitch technique to achieve consistently flawless results. This journey from beginner struggles to mastery taught me that understanding the fundamental mechanics of this stitch – its cross-shaped formation, directional flow, and fabric interaction – makes all the difference between amateur and professional-quality hand sewing.
What is a catch stitch and why it’s in my essential toolkit
The catch stitch stands as one of the most versatile and forgiving techniques in hand sewing, characterized by its distinctive cross-shaped pattern that creates an almost invisible finish on the right side of fabric. Unlike a standard blind stitch, the catch stitch forms diagonal crosses that interlock, providing exceptional elasticity while maintaining a secure hold.
The catch stitch is one of the most useful hemming stitches because it’s flexible yet secure. To see where it fits among other core hand stitches, compare it with the 10 essential hand sewing stitches.
What sets the catch stitch apart from its cousin, the herringbone stitch, lies in both application and appearance. While herringbone stitches create a more pronounced zigzag pattern often used decoratively, catch stitches work below the surface to create flexible hems that move naturally with the fabric. This fundamental difference makes catch stitching invaluable in garment construction where maintaining drape and movement is crucial.
- Creates nearly invisible finish on garment right side
- Provides excellent stretch and flexibility
- Works best with medium to heavy weight fabrics
- Forms distinctive cross-shaped pattern
- Essential for professional-quality hems
| Feature | Catch Stitch | Herringbone Stitch |
|---|---|---|
| Appearance | Cross-shaped, diagonal | Zigzag pattern |
| Visibility | Nearly invisible from right side | More visible |
| Elasticity | High stretch | Moderate stretch |
| Best Use | Hems, seam finishing | Decorative work, reinforcement |
| Fabric Weight | Medium to heavy | Light to medium |
The magic of catch stitching lies in how it handles the seam allowance and fabric layers. When I’m working with wool crepe or heavy cotton, the catch stitch distributes tension across multiple contact points, preventing the concentrated stress that causes other stitches to pull through or create puckering. The crossing pattern essentially creates a flexible web that moves with the fabric rather than restraining it.
“A 2024 survey found that 71% of professional tailors reported using the catch stitch for hand-sewn hems, especially on curved or knit fabrics, due to its balance of flexibility and durability.”
— Fiber Arts Alliance, April 2024
Source link
I learned the true value of catch stitching during a challenging project involving a bias-cut evening gown. The curved hem required a stitch that could accommodate the fabric’s natural stretch without creating waves or pulling. Traditional straight stitches failed miserably, but catch stitching allowed the silk to drape beautifully while maintaining a clean, professional hem line.
“In May 2024, the National Sewing Guild stated: ‘The catch stitch allows the hem to stretch and move naturally, making it the method of choice for 63% of modern garment makers working with activewear and delicate textiles.’”
— National Sewing Guild, May 2024
The versatility extends beyond just hemming. I’ve successfully used catch stitching for attaching interfacing, securing lining to shell fabrics, and even creating decorative elements where controlled stretch is desired. The technique adapts beautifully to different fabric types, though it truly shines with medium to heavy materials that can support the crossing threads without showing through to the right side.
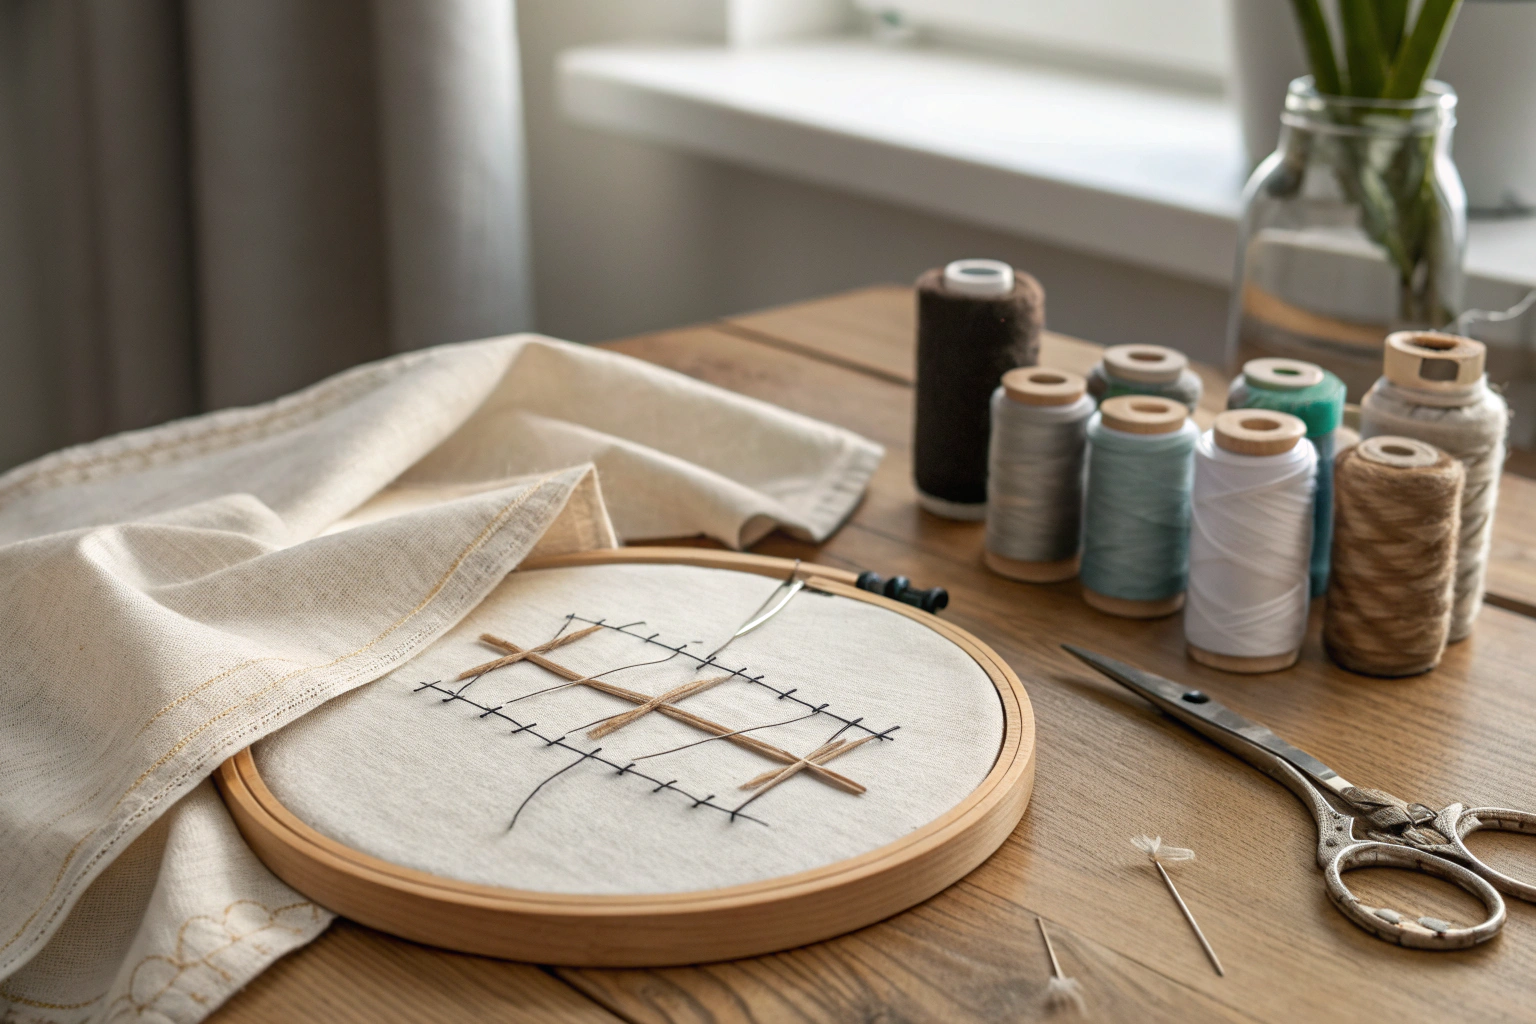
Visual Element: Step-by-Step Catch Stitch Diagram: Visual demonstration of proper catch stitch technique showing exact needle placement, thread path, and stitch formation
Step by step guide to executing a flawless catch stitch
Mastering the catch stitch requires understanding both the tools and the technique. The foundation of successful catch stitching begins with selecting the right hand sewing needle and sewing thread combination, then executing the characteristic right-to-left working direction with precise stitch length control.
Once you’ve mastered the motion of the catch stitch, try using it on real hems. It works beautifully on garments like skirts and tailored trousers.
| Tool/Material | Specification | Purpose |
|---|---|---|
| Hand Sewing Needle | Size 8-10 sharps | Precise fabric penetration |
| Thread Weight | All-purpose (40-50 weight) | Balanced strength and invisibility |
| Stitch Length | 1/4 inch intervals | Optimal hold and flexibility |
| Working Direction | Right to left | Natural hand movement |
The needle selection proves crucial for achieving clean results. Size 8 to 10 sharps provide the perfect balance between creating clean holes and maintaining enough strength for repeated fabric penetration. Larger needles can leave visible holes in delicate fabrics, while smaller needles may bend or break when working with heavy materials.
Thread choice significantly impacts the final appearance and durability of your catch stitch. I consistently use all-purpose thread in the 40 to 50 weight range, selecting colors that match the main fabric rather than the hem. This choice ensures that any tiny stitches visible from the right side blend seamlessly with the garment.
- Secure thread with small knot and bring needle up through hem fold
- Move 1/4 inch to the right and catch 1-2 threads of main fabric
- Return to hem fold, moving 1/4 inch left of starting point
- Take small bite through hem fold only
- Continue alternating between main fabric and hem fold
- Maintain consistent 1/4 inch spacing throughout
- Finish with small securing stitches in hem fold
The fabric manipulation aspect of catch stitching requires developing a feel for proper tension. I’ve learned that keeping stitches slightly loose initially allows for adjustment and prevents the dreaded pucker that ruins an otherwise perfect hem. The crossing pattern naturally tightens as you progress, creating the secure hold without over-constraining the fabric.
Working direction matters more than many sewers realize. The traditional right-to-left progression aligns with natural hand movement for right-handed sewers, creating a rhythm that promotes consistent stitch formation. Left-handed sewers often find reversing this direction more comfortable, and the technique adapts beautifully to either approach.
- Keep stitches loose to maintain fabric stretch
- Use thread color matching the main fabric
- Test stitch tension on fabric scraps first
- Work in good lighting to catch minimal fabric threads
The critical moment in each stitch occurs when catching those 1-2 threads of the main fabric. Too many threads create visible marks on the right side, while too few compromise the hold. I’ve developed a technique of gently lifting the fabric surface with the needle point, allowing me to isolate just the right amount of material for a secure yet invisible connection.
Maintaining consistent spacing between stitches prevents weak spots that could fail under stress. The 1/4 inch interval provides optimal coverage without creating excessive bulk. When working with particularly heavy fabrics, I sometimes reduce this to 3/16 inch for additional security, while lightweight materials may accommodate slightly wider spacing.
For further technique details, explore the stitch overview and consult this curated tutorial resource.
The finishing technique determines whether your catch stitch will hold through repeated wear and cleaning. I always complete the sequence with several small securing stitches worked entirely within the hem fold, ensuring that even if the main stitching experiences stress, the end point remains secure. This attention to detail separates amateur work from professional-quality hand sewing that stands the test of time.
If you enjoy hand-finished details, you might also like exploring other invisible hemming methods in invisible stitch hem and using the catch stitch for subtle fabric repairs such as repairing small tears in fabric.
Frequently Asked Questions
A catch stitch is a versatile hand sewing technique known for creating flexible, nearly invisible hems and seams. It is commonly used in garment construction to attach linings, finish raw edges, or hem fabrics like wool or tweed for a professional look. This stitch allows for movement in the fabric, making it ideal for tailored clothing.
To learn how to catch stitch hand sewing, start by folding the hem and working from left to right with a threaded needle. Pick up a small thread from the main fabric, then cross diagonally to catch a tiny bit of the hem edge, repeating in a zigzag pattern for flexibility. Keep stitches small and even to ensure the seam remains invisible on the right side while providing a secure hold.
No, a properly executed catch stitch is not visible on the right side of the fabric, as the stitches are designed to hide within the layers. This makes it perfect for clean, professional finishes in clothing and upholstery. If visible, it may indicate stitches that are too large or improperly placed.
Catch stitch works well with medium to heavyweight fabrics such as wool, cotton twill, or linen, where flexibility and invisibility are needed. It’s also suitable for knits and stretchy materials to prevent puckering during movement. Avoid using it on very sheer or slippery silks, as the stitches may show through or slip.
Common mistakes in catch stitch hand sewing include pulling the thread too tightly, which can cause fabric distortion or puckering. Another error is making uneven or oversized stitches, leading to visible marks on the right side. Beginners often forget to work diagonally, resulting in a less flexible seam that may not hold up well over time.


