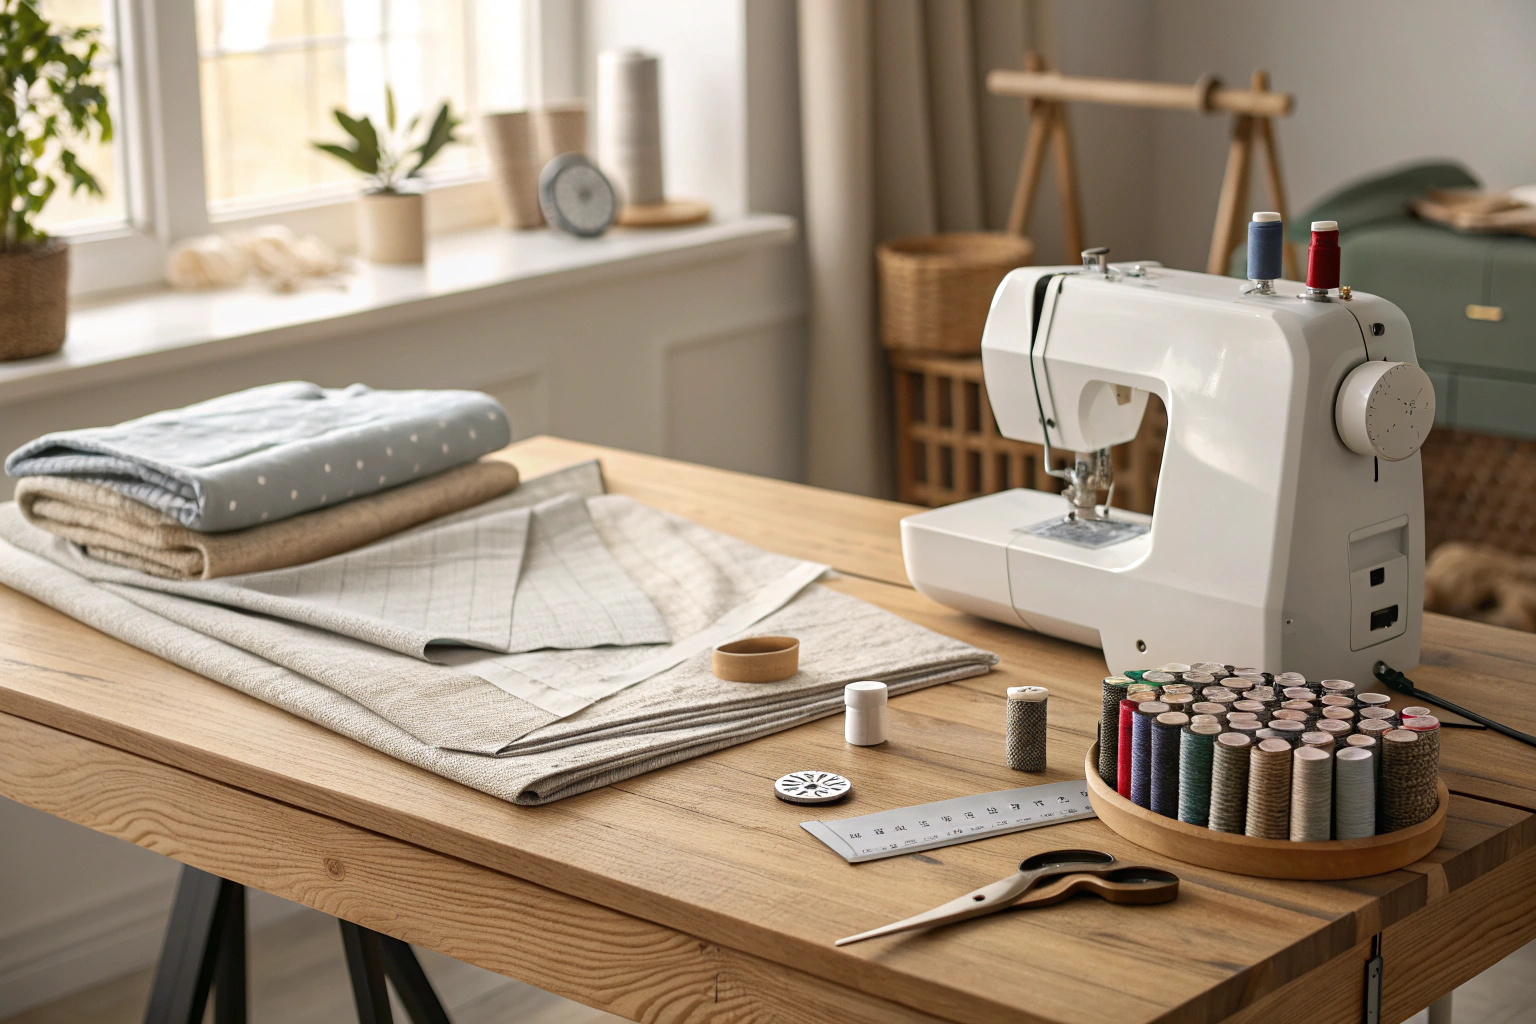
Learning how to baste sewing means creating long, temporary stitches to hold fabric pieces together before the final, permanent seam is sewn. This technique prevents fabric from shifting, puckering, or stretching, which is especially useful for slippery materials, matching patterns, or test-fitting a garment. Basting stitches are made to be easily removed without damaging the fabric, ensuring a more professional and accurate final result on your sewing projects.
Key Benefits at a Glance
- Achieve Better Accuracy: Basting holds layers of fabric securely in place, preventing shifting and ensuring perfectly aligned seams, corners, and patterns.
- Simplify Fit Adjustments: Easily try on a garment and make necessary alterations to the fit before committing to a permanent seam, saving you from a time-consuming fix later.
- Manage Difficult Fabrics: Gain control over slippery, stretchy, or bulky fabrics like silk, knits, or velvet that tend to move around during machine sewing.
- Attach Complex Pieces: Confidently attach tricky elements like zippers, collars, sleeves, and pockets by basting them in place first for precise positioning.
- Save Time on Seam Ripping: Removing long, loose basting stitches is significantly faster and easier than unpicking a tight, permanent machine stitch if you make a mistake.
Purpose of this guide
This guide is designed for beginner to intermediate sewers who want to improve the quality and precision of their projects. It solves the common problem of misaligned seams, fabric puckering, and ill-fitting garments that often result from fabric layers shifting during sewing. Here, you will learn the fundamental techniques for both hand and machine basting, understand when to use each method, and discover how to avoid common errors. Following these steps will help you tackle more complex patterns with confidence and achieve polished, professional-looking results every time.
Introduction to the Art of Basting in Sewing
I still remember the first time I watched my grandmother prepare a complex dress pattern, carefully securing each piece with long, loose stitches before committing to the permanent seams. What seemed like extra work at the time was actually the secret to her impeccable garment construction. Basting – the art of temporary stitching – transforms sewing from guesswork into precision craftsmanship.
This foundational technique serves as the bridge between cutting your fabric and creating professional-quality finished pieces. When you master basting, you gain the ability to test fit, adjust alignment, and prevent costly mistakes before they become permanent. Professional seamsters and home sewers alike rely on these temporary stitches to ensure their garments hang properly, seams align perfectly, and complex construction details come together seamlessly.
- Master temporary stitching techniques that prevent costly mistakes
- Learn when basting saves time versus when it’s optional
- Understand both hand and machine basting applications
- Develop professional-quality garment construction skills
Whether you’re working with slippery silk, bulky wool, or intricate pattern pieces, basting provides the control and confidence needed to achieve professional results. This comprehensive guide will teach you when, why, and how to incorporate basting into your sewing practice, elevating your skills from amateur to accomplished.
What is Basting and Why It’s Essential for Quality Sewing
Basting is a temporary stitching technique used to hold fabric layers together before permanent construction. These removable stitches serve multiple critical functions: maintaining fabric alignment, enabling precise fitting adjustments, marking construction lines, and stabilizing pieces during assembly. Unlike permanent seaming, basting stitches are designed for easy removal once their purpose is fulfilled.
Basting lets you test fit and design before committing to permanent seams and hems. It’s especially useful when you’re planning precise alterations like hemming pants or adjusting darts.
The fundamental principle behind basting lies in its relationship to fabric behavior. Different fabric types respond uniquely to handling – slippery materials like satin tend to shift during sewing, while bulky fabrics can create uneven seam allowances. Basting addresses these challenges by providing temporary security that allows you to work with confidence.
For comprehensive background, see the basting basics.
Professional garment construction relies heavily on basting for complex operations like setting sleeves, matching plaids, and creating smooth curved seams. The technique prevents the fabric shifting that leads to puckered seams, misaligned patterns, and poor fit. When you invest time in proper basting, you eliminate the need for time-consuming corrections later.
| Aspect | With Proper Basting | Without Basting |
|---|---|---|
| Fabric Alignment | Perfect seam matching | Shifted or uneven seams |
| Fitting Accuracy | Precise adjustments possible | Difficult to modify after stitching |
| Professional Finish | Clean, even results | Puckered or distorted fabric |
| Time Investment | More upfront, less corrections | Quick start, extensive rework |
The key to understanding basting’s value lies in recognizing that it precedes permanent stitching for good reason. This preliminary step allows you to test the construction, make adjustments, and ensure everything aligns correctly before committing to irreversible seams.
Common Misconceptions About Basting
Many sewers, especially beginners, harbor misconceptions about basting that prevent them from utilizing this valuable technique effectively. The most persistent myth suggests that basting wastes time – a belief that stems from focusing on the immediate task rather than the overall project timeline.
In reality, proper basting prevents fabric shifting, which saves significant time that would otherwise be spent correcting misaligned seams, removing and re-sewing crooked stitches, or dealing with puckered fabric. When you consider the time investment holistically, basting actually accelerates project completion by eliminating common problems before they occur.
Another widespread misconception claims that machine basting always replaces hand basting. While machine methods offer speed advantages, hand basting provides superior control for delicate fabrics, curved seams, and precision work. The choice between techniques should be based on fabric type, seam complexity, and desired outcome rather than blanket assumptions about efficiency.
- DON’T assume basting always wastes time – it prevents costly mistakes
- DON’T think machine basting replaces hand basting in all situations
- DON’T skip basting on slippery or delicate fabrics
- DO use basting for complex seams and curved areas
- DO choose basting method based on fabric type and project complexity
Some sewers also believe that basting is only necessary for beginners or complex projects. This misconception overlooks the fact that even experienced seamsters use basting for challenging fabrics, precise pattern matching, and professional-quality results. The technique serves as quality insurance regardless of skill level.
When to Use Basting in Your Sewing Projects
Understanding when basting provides maximum value helps you make informed decisions about time investment. Certain fabric characteristics and construction situations particularly benefit from temporary stitching support.
Slippery fabrics represent the most obvious candidates for basting. Materials like silk, satin, and lightweight polyester have a tendency to shift during sewing, making it nearly impossible to maintain consistent seam allowances without preliminary securing. The smooth surface texture that makes these fabrics beautiful also makes them challenging to control under the presser foot.
Bulky materials present different challenges that basting addresses effectively. Multiple layers of thick fabric can create uneven feeding through the machine, resulting in one layer advancing faster than others. Basting ensures all layers move together uniformly, preventing the stretching and distortion that leads to poor fit.
- Slippery fabrics (silk, satin, polyester)
- Bulky materials requiring precise alignment
- Curved seams and complex construction details
- Garments requiring fitting adjustments
- Projects with multiple fabric layers
- Delicate fabrics prone to shifting
- Professional garment construction
Curved seams demand special attention because they involve sewing along bias grain lines where fabric naturally stretches. Without basting, these seams often pucker or distort, creating unsightly results that are difficult to correct. Complex construction details like setting sleeves, attaching collars, or matching plaids also benefit significantly from preliminary securing.
Projects requiring fitting adjustments represent another prime application for basting. When you need to test the fit before final construction, basting allows you to assemble the garment temporarily, make necessary modifications, and then proceed with confidence to permanent stitching.
Hand Basting Techniques When and How to Use Them
Hand basting provides the ultimate control for precision sewing work. This method allows you to feel the fabric’s behavior, adjust tension as needed, and work with delicate materials that might be damaged by machine stitching. The slower pace of hand work translates into superior accuracy for complex applications.
Hand basting builds directly on your basic hand sewing skills. If you need a refresher on the stitches themselves, revisit essential hand sewing stitches.
The fundamental advantage of hand basting lies in the greater control it provides over fabric manipulation. You can adjust each stitch individually, accommodate varying fabric thicknesses, and navigate curves with precision that machine methods cannot match. This control becomes particularly valuable when working with expensive fabrics where mistakes carry significant cost.
“Hand basting stitches should be about a quarter inch apart and not pulled too tightly. Once permanent stitches are sewn, pull out the basting easily if you didn’t sew over them.”
— MadamSew, April 2025
Source link
Different hand basting techniques serve specific purposes based on the construction requirements and fabric characteristics. Understanding when to apply each method ensures optimal results for your particular project needs.
- Even Basting: Create uniform 1/4 inch stitches with equal spaces for general seaming
- Uneven Basting: Make long stitches (1/2 inch) with short spaces for quick temporary holds
- Diagonal Basting: Use slanted stitches across seam lines for extra security on bias cuts
- Slip Basting: Work from right side for precise pattern matching on plaids and stripes
Even basting works best for standard seaming operations where consistent hold is needed along the entire seam length. The uniform stitch size provides reliable security while remaining easy to remove. Uneven basting offers speed advantages for simple applications where temporary holding is the primary goal rather than precision alignment.
Diagonal basting excels with bias-cut fabrics and curved seams because the angled stitches accommodate the natural stretch and movement of these challenging areas. Slip basting enables perfect pattern matching by allowing you to work from the right side of the fabric, ensuring precise alignment of stripes, plaids, or other directional patterns.
Machine Basting Methods Speed and Efficiency
Machine basting offers significant speed advantages over hand methods while maintaining adequate security for most applications. This technique works particularly well for straight seams, simple construction, and projects where time efficiency takes priority over ultimate precision.
Long-stitch machine basting relies on correct tension and smooth feeding. If your basting stitches are uneven or snag, check sewing machine skipping stitches and sewing machine jamming.
The key to successful machine basting lies in proper machine settings that create easily removable stitches while providing sufficient hold during construction. Standard sewing settings create tight, secure stitches that are difficult to remove – the opposite of what basting requires.
“Machine basting can be done using a long stitch length; set the stitch length to 4 or 5 to make stitches that are easy to remove after permanent sewing.”
— SewDIY, February 2025
Source link
Machine basting proves ideal for straight seams where precision hand control is not essential. The technique works well with stable fabrics that don’t require the careful handling that delicate materials demand. Projects with multiple similar seams benefit particularly from machine basting’s speed advantages.
| Setting | Recommended Value | Purpose |
|---|---|---|
| Stitch Length | 5-6mm | Easy removal while maintaining hold |
| Thread Tension | 1-2 | Prevents thread breaking during removal |
| Needle Size | Match fabric weight | Prevents fabric damage |
| Thread Color | Contrasting | Easy identification for removal |
The extended stitch length creates loose stitches that hold fabric adequately while remaining easy to remove. Reduced tension prevents the thread from embedding too deeply into the fabric, which could make removal difficult or damage delicate materials. Using contrasting thread color helps you identify basting stitches quickly during the removal process.
Proper needle selection based on fabric weight prevents unnecessary holes that might remain visible after stitch removal. The goal is temporary security that leaves no permanent trace once removed.
Removing Basting Stitches Best Practices
Safe and efficient basting stitch removal requires systematic approach that protects your fabric while eliminating all traces of temporary stitching. Improper removal techniques can damage fabric, leave visible holes, or create distortion that affects the final garment appearance.
Clean removal of basting stitches helps protect delicate fabrics and decorative work. If you regularly work with embroidery, pair these tips with how to remove embroidery without damaging fabrics.
The removal process should be planned from the beginning of basting. Using contrasting thread colors, avoiding excessive tension, and considering fabric characteristics during initial stitching all contribute to easier removal later. Professional sewers always think ahead to the removal stage when creating their basting stitches.
Different fabric types require adapted removal approaches. Delicate materials like silk or lace need gentle handling to prevent snags or tears, while sturdy fabrics can tolerate more aggressive removal techniques. The key lies in matching your approach to the specific fabric characteristics.
- Cut every 4th or 5th stitch with small scissors or seam ripper
- Gently pull thread segments rather than yanking continuous lengths
- Work from the bobbin thread side when removing machine basting
- Use tweezers for stubborn thread bits in delicate fabrics
- Press seam lightly after removal to eliminate thread impressions
The systematic cutting approach prevents the fabric distortion that occurs when you attempt to pull out long continuous thread lengths. Breaking the thread into manageable segments allows controlled removal that maintains fabric integrity.
- Never pull basting threads forcefully – this can distort fabric grain
- Avoid using seam rippers on delicate fabrics like silk or lace
- Check for remaining thread bits before final pressing
Working from the bobbin side during machine basting removal takes advantage of the thread structure created by the sewing machine. The bobbin thread typically pulls out more easily than the needle thread, making removal faster and less likely to damage the fabric.
Final pressing after removal eliminates any thread impressions left in the fabric. Light steam and gentle pressure help restore the fabric’s natural texture and prepare it for the finished appearance. This final step ensures no evidence of the temporary stitching remains in your completed project.
Frequently Asked Questions
To baste when sewing, use a long, loose stitch either by hand or machine to temporarily hold fabric layers together. Start by threading your needle or setting your machine to a long stitch length, then sew along the seam line without backstitching. This technique is especially useful when learning how to measure waist for men during garment fitting, as it allows easy adjustments before permanent sewing.
A baste stitch is used to temporarily secure fabric pieces for fitting or alignment before final sewing, making it easier to test and adjust. It’s ideal for complex projects like tailoring men’s clothing, where precision is key. For instance, when figuring out how to measure waist men accurately, basting helps hold the pieces in place without committing to permanent seams.
Hand basting involves manually stitching with a needle and thread using long, even stitches, offering more control for delicate fabrics or precise areas. Machine basting uses a sewing machine set to a long stitch length for quicker application on larger sections. Both methods are helpful in processes like how to measure waist for men in custom tailoring, but hand basting is often preferred for intricate fittings.
To remove basting stitches, gently pull on the thread ends or use a seam ripper to cut every few stitches, then tug the threads out from the fabric. Work carefully to avoid damaging the material, especially after final sewing. This step is common after using basting to test fits, such as when learning how to measure waist men for pants or shirts.


