
Learning how to hem pants is the process of shortening pant legs to a desired length for a clean, tailored look. This prevents the cuffs from dragging on the ground, which causes fraying and creates a potential tripping hazard. While it may seem complex, several straightforward methods—including no-sew options—make it an accessible skill for anyone wanting to achieve a custom fit and prolong the life of their clothing.
Key Benefits at a Glance
- Save Money: Skip expensive alteration fees by mastering this simple DIY skill, saving you money on every pair of pants you own.
- Achieve a Perfect Fit: Customize your pant length to precisely match your favorite shoes, whether they are heels, boots, or sneakers, for a polished silhouette.
- Prevent Damage and Wear: A proper hem protects your pant cuffs from fraying, tearing, and collecting dirt, significantly extending the life of your garments.
- Enjoy Quick No-Sew Options: Use iron-on hem tape for a fast, durable fix that requires no needle or thread, making it perfect for last-minute adjustments.
- Increase Safety: Eliminating excess fabric around your feet reduces the risk of tripping over your pants, especially on stairs or uneven ground.
Purpose of this guide
This guide is for anyone, from complete beginners to those needing a quick refresher, who has pants that are too long. It solves the common problem of ill-fitting trousers that can look unprofessional and cause premature wear. You will learn clear, step-by-step methods for hemming pants using a sewing machine, by hand, or with no-sew alternatives like fusible tape. We also cover how to avoid common mistakes, such as creating an uneven hemline, so you can achieve a durable, professional-quality finish at home.
Introduction
As a professional tailor with over fifteen years of experience, I’ve witnessed countless pants transformed from ill-fitting to perfectly tailored through proper hemming techniques. Professional hemming isn’t just about shortening pants—it’s about enhancing the overall appearance and longevity of your trousers while ensuring they complement your personal style and body proportions.
- Master professional hand-hemming techniques for invisible results
- Learn when to choose hand vs. machine hemming methods
- Understand fabric-specific considerations for different trouser types
- Achieve perfect hem length and professional finishing
Whether you’re dealing with dress pants that need invisible stitching or casual trousers requiring quick alterations, understanding the fundamentals of hemming technique will save you money and give you complete control over your wardrobe’s fit and appearance.
Why proper hemming matters
The difference between properly hemmed pants and amateur alterations is immediately visible to anyone with an eye for quality clothing. Professional-looking hems create clean lines that enhance your silhouette, while poorly executed hemming can make even expensive trousers appear cheap and ill-fitted.
A well-stitched hem transforms how trousers hang and how long they last. If you’re working on skirts as well, compare the techniques in hem of a skirt – easy hemming techniques .
Proper hemming technique directly impacts garment longevity by ensuring seams remain strong and fabrics don’t fray prematurely. When you invest time in quality hemming, you’re preserving the structural integrity of your trousers while maintaining their intended drape and movement. Professional tailors understand that the hem serves as the foundation for how pants hang on your body—affecting everything from the break over your shoes to the overall proportion of your legs.
The visual impact extends beyond mere functionality. A well-executed hem creates a psychological impression of attention to detail and personal care. In professional settings, properly hemmed dress pants signal competence and respect for appearance standards, while casual wear benefits from the polished look that comes with precise alterations.
Why sew by hand
Hand-sewing produces superior results for dress pants and formal wear because it allows for invisible stitching that machine hemming simply cannot match. The key difference lies in stitch visibility—hand-sewn hems use techniques like slip stitching that catch only one or two threads of the outer fabric, making the stitching virtually undetectable from the right side of the garment.
Hand hemming gives you more control and an almost invisible finish, especially with delicate fabrics. For more detail on the stitches used here, revisit essential hand sewing stitches and invisible stitch hem .
Machine stitching, while faster and stronger, creates more visible lines that can detract from the sophisticated appearance of dress pants. The mechanical nature of sewing machine stitches also tends to create more tension in the fabric, which can cause puckering or distortion in delicate materials like wool or silk.
Professional tailors choose hand-sewing for high-end garments because it provides complete control over stitch placement and tension. This precision becomes especially important when working with expensive fabrics where visible stitching would compromise the garment’s value and appearance. Hand-hemming also allows for easier adjustments later, as the stitches can be removed and repositioned without leaving permanent holes or marks.
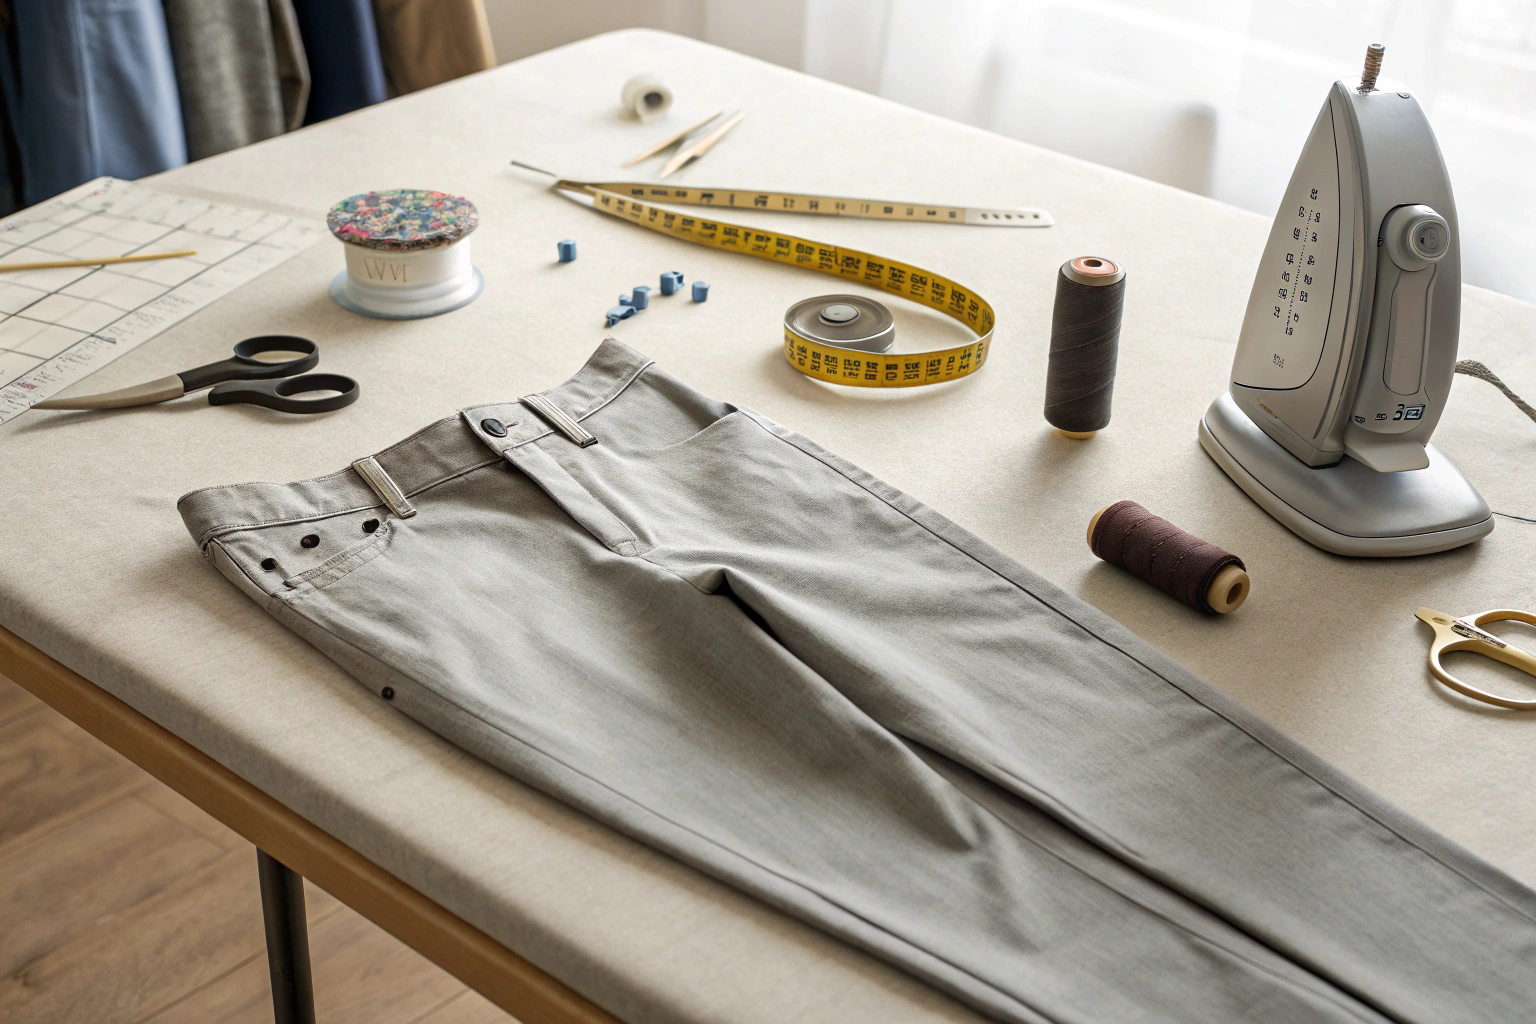
Essential tools and materials
Success in hemming depends heavily on having the right sewing tools at your disposal. Quality tools not only make the work easier but also ensure professional results that will withstand regular wear and washing.
- Sharp fabric scissors for clean cuts
- Hand-sewing needles (size 9-11 for most fabrics)
- Thread matching fabric color exactly
- Straight pins for marking and holding
- Measuring tape for accurate length
- Seam ripper for corrections
- Iron and pressing cloth
- Thimble for finger protection
The quality of your scissors directly affects the cleanliness of your cuts and the professional appearance of your finished hem. Invest in sharp fabric scissors and reserve them exclusively for sewing—using them on paper or other materials will dull the blades quickly.
Pressing tools and sharp shears matter just as much as your needle and thread. To get crisp hems and smooth creases, consider using spray starch and upgrade your cutting tools with high quality fabric scissors .
Thread selection requires careful attention to both color and weight. The thread should disappear against the fabric, and its weight should complement the fabric’s thickness. Heavier fabrics like denim require stronger thread, while delicate dress pants need fine thread that won’t create bulk in the seam.
Your needle choice impacts both the ease of stitching and the final appearance. Size 9 needles work well for lightweight fabrics, while size 11 handles medium-weight materials effectively. A sharp needle creates clean holes that close around the thread, while a dull needle can snag or damage delicate fibers.
Choosing the right hemming method
The decision between hand and machine hemming depends on several factors including fabric type, intended use, and desired appearance. Understanding these considerations helps you select the most appropriate technique for each project.
| Method | Best For | Visibility | Time Required | Skill Level |
|---|---|---|---|---|
| Hand Slip Stitch | Dress pants, formal wear | Nearly invisible | 30-45 minutes | Intermediate |
| Machine Blind Hem | Casual pants, bulk hemming | Minimal visibility | 10-15 minutes | Beginner |
| Machine Straight Stitch | Jeans, heavy fabrics | Visible topstitch | 5-10 minutes | Beginner |
Fabric characteristics play a crucial role in method selection. Delicate fabrics like wool gabardine or silk require the gentle approach of hand-sewing to prevent damage and maintain their luxurious appearance. Cotton and cotton blends adapt well to either method, while heavy fabrics like denim often benefit from the strength of machine stitching.
Consider the garment’s intended use when selecting your technique. Business attire demands invisible hems that won’t distract from professional appearance, while casual wear can accommodate more visible stitching. Work pants or utility trousers actually benefit from the added strength of machine hemming.
Your skill level and available time also influence the decision. Hand-hemming requires patience and practice to achieve professional results, but the investment pays off in superior appearance. Machine hemming offers speed and consistency, making it ideal for multiple garments or when time is limited.
Preparing your pants for hemming
Proper preparation forms the foundation of successful hemming and cannot be rushed or skipped. The standard allowance of 1.5 to 2 inches provides adequate fabric for creating a stable hem while allowing for future adjustments if needed.
- Try on pants with intended shoes and belt
- Mark desired length with pins while wearing
- Remove pants and lay flat on work surface
- Measure and mark consistent hem allowance (1.5-2 inches)
- Cut excess fabric leaving standard allowance
- Press fold line with iron for crisp edge
The fitting process requires wearing the shoes you’ll typically pair with the pants, as heel height significantly affects the appropriate hem length. Stand naturally and have someone mark the desired length while you’re wearing the garments—this ensures the most accurate measurement.
When measuring the hem allowance, work on a flat surface and use consistent measurements around the entire circumference. Uneven allowances create crooked hems that are difficult to correct later. Mark your measurements clearly with chalk or fabric markers before cutting.
Pressing the fold line creates a sharp crease that serves as your stitching guide and helps maintain consistent hem width. Use appropriate heat settings for your fabric type and always test on a hidden area first to avoid damage.
Finding the perfect length
Determining the ideal hem length depends on trouser style, occasion, and personal preference. Different pant styles have established conventions that create the most flattering appearance.
For dress pants, the hem should create a slight break at the front, allowing the fabric to rest gently on the shoe without pooling. This classic length works well for business attire and formal occasions. The back of the hem should fall approximately halfway down the heel of your shoe.
Casual trousers can accommodate more variation in length. Some prefer a “no break” look where the hem just touches the shoe, creating a clean, modern appearance. Others opt for a fuller break that creates horizontal folds above the shoe for a more relaxed style.
Consider your body proportions when determining length. Taller individuals can handle longer hems with more break, while shorter people benefit from cleaner, shorter hems that don’t overwhelm their frame. The key is maintaining proportion between your torso and leg length.
Folding and pinning the hem
Creating a precise fold requires attention to detail and proper technique. The fold line becomes the finished edge of your garment, so accuracy at this stage directly impacts the final appearance.
Begin by measuring your desired hem allowance from the marked length line. Mark this measurement consistently around the entire circumference before making any cuts. This ensures an even hem that won’t appear crooked or wavy when completed.
When folding the hem, work on a flat surface and fold along your marked line. The fold should be crisp and even, without any puckering or stretching of the fabric. Pin the fold in place at regular intervals, placing pins perpendicular to the fold line for easy removal during stitching.
Pay special attention to areas where seams intersect, as these can create bulk that affects the fold’s smoothness. You may need to trim seam allowances slightly to reduce bulk, but be conservative to avoid weakening the garment’s structure.
Hand hemming techniques
Hand-hemming represents the gold standard for invisible alterations, particularly on dress pants and formal wear. This method requires patience and practice but delivers superior results that justify the additional time investment.
If you like the control of hand sewing, you can reuse the same stitches shown here in many other projects. For structured guidance on slip stitches and other hand finishes, follow the hand sewing stitch guide .
- Thread needle with 18-inch length of matching thread
- Tie small knot at thread end
- Fold hem to desired length and pin in place
- Begin slip stitch from inside seam allowance
- Catch only 1-2 fabric threads with each stitch
- Space stitches 1/4 inch apart for security
- Finish with hidden knot inside hem fold
The key to successful hand-hemming lies in maintaining consistent stitch depth and spacing. Each stitch should catch only the minimum number of threads necessary to secure the hem while remaining invisible from the right side of the garment.
Work in good lighting and take frequent breaks to maintain precision. Rushing through hand-hemming inevitably leads to visible stitches or uneven results that compromise the professional appearance you’re trying to achieve.
Threading the needle and knotting
Proper thread preparation sets the stage for successful hand-hemming. Choose thread that matches your fabric color exactly—even slight variations become obvious in finished work.
Cut thread approximately 18 inches long to minimize tangling while providing sufficient length for substantial progress. Longer threads become difficult to manage and are more prone to knotting, while shorter lengths require frequent re-threading that slows progress.
Thread the needle and tie a small, secure knot at the end. The knot should be large enough to prevent pulling through the fabric but small enough to hide within the hem fold. Test your knot size on a fabric scrap if you’re unsure.
Consider using a thimble on your middle finger to protect against needle pricks and provide better control during stitching. This becomes especially important during longer hemming sessions or when working with thick fabrics.
The slip stitch method
The slip stitch creates nearly invisible hems by alternating between the hem fold and the main fabric, catching only minimal threads with each stitch. This technique requires practice but produces professional results indistinguishable from expensive tailoring.
Start your first stitch by inserting the needle into the hem fold, hiding the knot within the folded fabric. Bring the needle out at the fold edge, then catch 1-2 threads of the main fabric directly across from your exit point.
Move forward approximately 1/4 inch and repeat the process, alternating between the hem fold and main fabric. The stitches should create a zigzag pattern when viewed from inside the garment, but remain virtually invisible from the outside.
Maintain consistent tension throughout the stitching process. Too tight creates puckering, while too loose results in an unstable hem that may come undone with wear. Practice on fabric scraps until you develop the proper feel for appropriate tension.
Finishing the hem
Proper finishing ensures your hand-sewn hem remains secure through regular wear and cleaning. The final knot must be positioned where it won’t show or create bulk that affects the garment’s drape.
When you reach the end of your stitching, make several small stitches in the same location within the hem fold to secure the thread. This distributes stress across multiple points rather than relying on a single knot.
Create your final knot by passing the needle through a loop of thread before pulling tight. Position this knot inside the hem fold where it will remain hidden. Trim excess thread close to the knot to prevent loose ends from showing.
Press the completed hem lightly with appropriate heat settings for your fabric. This sets the stitches and creates the crisp edge that characterizes professional hemming work.
Machine hemming techniques
Machine hemming offers speed and consistency, making it ideal for casual pants, work wear, or when hemming multiple garments. Modern sewing machines provide several options for creating professional-looking hems with minimal hand-sewing skills required.
When you switch to machine hemming, tension and stitch choice become crucial. If your hem tunnels or puckers, troubleshoot with the thread tension guide and sewing machine troubleshooting .
- Install blind hem foot on sewing machine
- Set machine to blind hem stitch setting
- Fold hem and position under presser foot
- Align fabric guide with hem fold
- Test stitch on fabric scrap first
- Sew slowly maintaining consistent seam allowance
- Press finished hem for professional appearance
Thread your machine with matching thread and set it to a straight stitch with medium length (2.5 to 3). Position your needle ⅛ to ¼ inch from the top fold line with pants inside-out. Sew all the way around, securing with a backstitch at the start and end. For more advanced results, use a blind stitch for an invisible hem, which works well for delicate fabrics or formal looks.
“A sewing machine speeds up the process, creates stronger stitches, and gives your alterations a professional finish.”
— Widmers Cleaners, 2024
Source link
The blind hem foot guides the fabric and controls stitch placement, creating consistent results that rival hand-sewing in appearance. Practice with the blind hem foot on scrap fabric before working on your actual garment to understand how the mechanism functions.
Machine tension plays a crucial role in hem quality. Too much tension creates puckering, while insufficient tension results in loose stitches that may fail over time. Test your settings on fabric scraps that match your garment’s weight and characteristics.
Special considerations for different fabrics
Different fabric types require adapted hemming approaches to achieve optimal results. Understanding fabric characteristics helps you select appropriate techniques and avoid common problems that can ruin your hemming project.
- Denim: Use heavy-duty thread and longer stitches to prevent puckering
- Wool: Press with pressing cloth to avoid shine, allow extra ease
- Cotton: Standard techniques work well, pre-shrink before hemming
- Synthetic blends: Use sharp needle to prevent snags, test heat settings
- Linen: Handle carefully to prevent wrinkles, use French seam finish
- Stretch fabrics: Use ballpoint needle and stretch stitches
Denim requires special consideration due to its weight and weave structure. The thick fabric can cause needle deflection, leading to crooked stitches or skipped stitches. Use a heavy-duty needle (size 16 or 18) and adjust your machine’s presser foot pressure to accommodate the fabric’s thickness.
Wool fabrics demand gentle handling to preserve their texture and appearance. Always use a pressing cloth when ironing to prevent shine, and avoid excessive heat that can damage the fibers. Wool’s tendency to felt when exposed to heat and moisture requires careful pressing technique.
Synthetic fabrics can melt under excessive heat, making proper iron temperature crucial. Test heat settings on scraps before pressing finished hems. Some synthetic blends also have stretch properties that require special needles and stitches to maintain elasticity.
For additional insight on specialized hemming tools, explore resources that highlight time-saving pressing methods.
Finishing touches and troubleshooting
Quality control and problem-solving skills separate amateur alterations from professional results. Understanding common issues and their solutions helps you achieve consistent success across different fabric types and garment styles.
- Puckered hem: Remove stitches, re-press fold, use looser tension
- Visible stitches: Check thread color match, reduce stitch depth
- Uneven hem: Re-measure from waistband, adjust pin placement
- Bulky seams: Trim seam allowances to reduce bulk at side seams
- Fraying edges: Apply fray check or serge raw edges before hemming
Puckering typically results from excessive tension during stitching or inadequate pressing before sewing. The solution involves removing the problematic stitches, re-pressing the fold line, and adjusting machine tension settings before re-sewing.
Visible stitches on hand-sewn hems usually indicate catching too much fabric with each stitch or using thread that doesn’t match the fabric color. Correct this by using finer stitches that catch only one or two threads, and ensure perfect thread color matching.
Uneven hems require systematic measurement and correction. Use the waistband as your reference point and measure consistently around the entire garment. Mark corrections clearly before making adjustments to avoid compounding the problem.
For more guidance on beginner-friendly techniques, comprehensive video tutorials are available to walk you through each step.
Final touches and benefits
The completion process involves final pressing with appropriate heat settings for your fabric type. This step sets the stitches and creates the crisp edge that characterizes professional work. Use a pressing cloth for delicate fabrics and test heat settings on scraps when uncertain.
Inspect your completed hem from both sides, checking for consistent length, secure stitching, and proper pressing. The hem should lay flat without puckering or pulling, and hand-sewn hems should show no visible stitches from the right side.
Mastering hemming technique provides long-term benefits beyond immediate cost savings. You gain complete control over garment fit and appearance while developing skills that apply to other sewing projects. Well-hemmed pants enhance your professional image and extend garment life, making the time investment worthwhile for anyone serious about wardrobe management and personal appearance.
Frequently Asked Questions
The easiest way to hem pants is by using iron-on hem tape, which requires no sewing skills and can be done quickly at home. Simply fold the pants to the desired length, insert the tape, and press with a hot iron to secure the hem. Before starting, consider how the hem length relates to your overall fit, such as knowing how to measure waist for men to ensure balanced proportions.
To hem pants that are too long, first try them on with shoes to mark the ideal length, then fold and pin the excess fabric inside. Sew a straight stitch along the fold or use hem tape for a no-sew option, trimming any extra material for a clean finish. This process complements other fitting adjustments, like learning how to measure waist for men for a perfect overall look.
Hemming pants by machine is generally better for speed and durability, especially on sturdy fabrics like denim, as it provides even stitches quickly. Hand hemming is preferable for delicate materials or when you want an invisible finish, offering more control. Whichever method you choose, accurate measurements are key, similar to how to measure waist for men to achieve a tailored fit.
Essential tools for hemming pants include a sewing needle or machine, thread matching the fabric, pins, scissors, a measuring tape, and an iron for pressing. For no-sew options, hem tape or fabric glue can substitute for stitching. These tools help ensure precision, much like using a tape for how to measure waist for men accurately.
To prepare pants for hemming, wash and iron them first to prevent shrinkage and ensure a flat surface. Try on the pants with the intended shoes, mark the desired hem length with chalk or pins, and fold up the excess fabric evenly on both legs. This preparation is crucial for a professional result, akin to the accuracy needed when figuring out how to measure waist for men.


