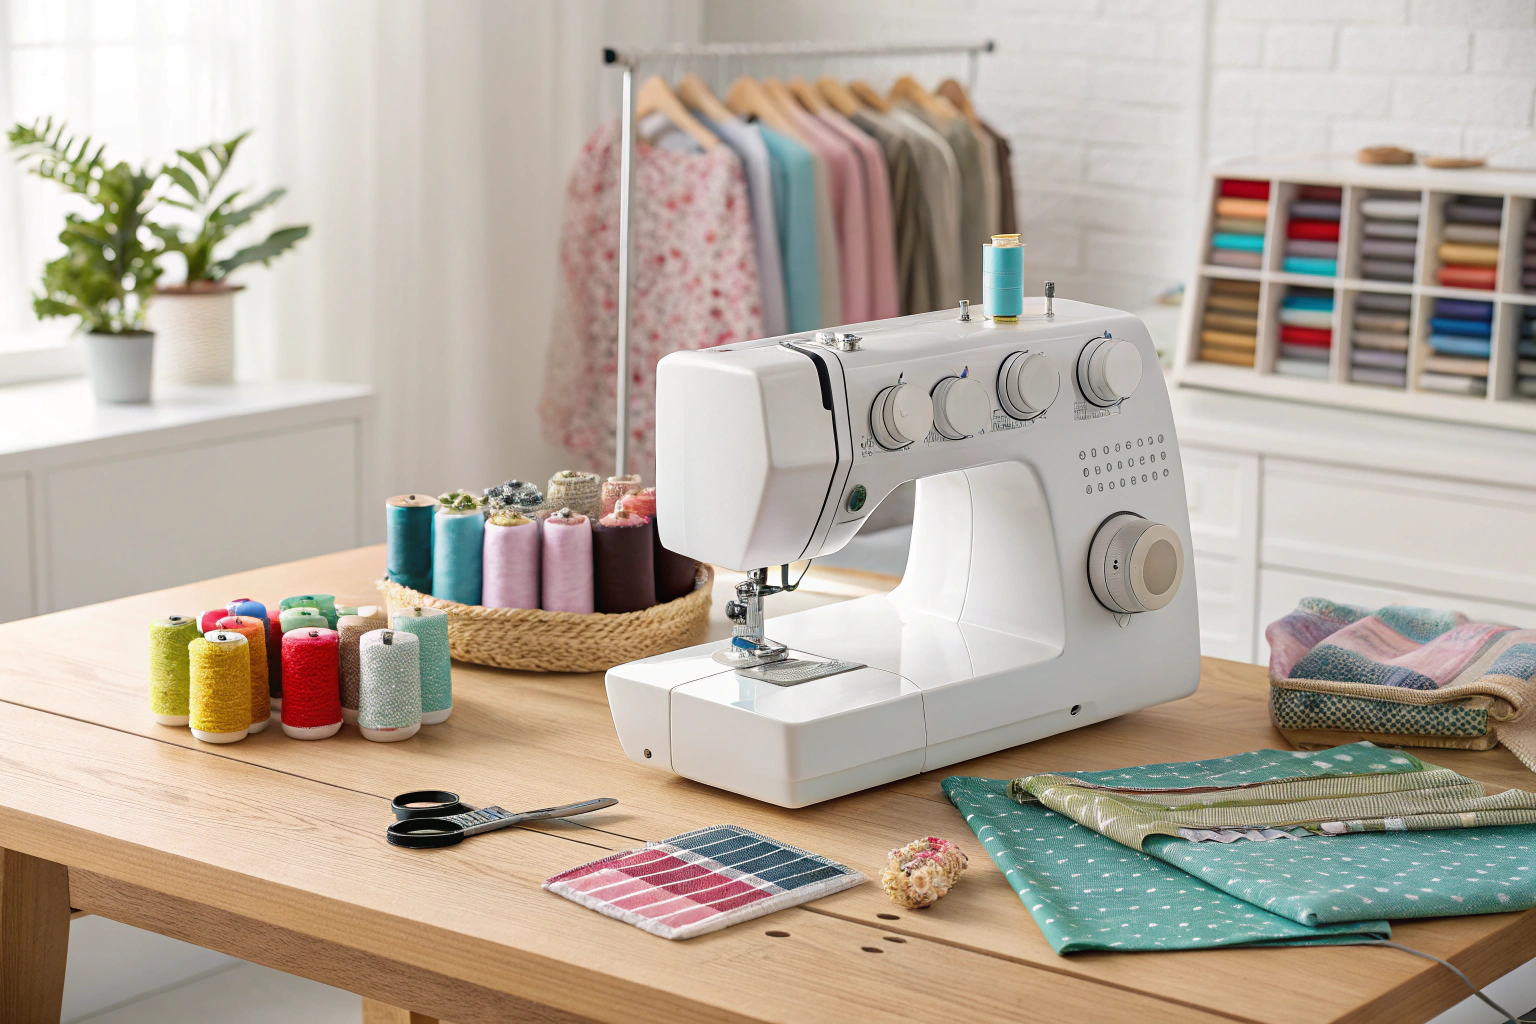
The types of stitches sewing machine models offer range from essential utility stitches for construction to decorative options for embellishment. Understanding these different stitches is key to creating durable, professional-looking projects, as using the wrong one can cause puckered seams, broken thread, or fabric damage. Most modern machines include a variety of built-in stitches designed for specific tasks like hemming, seaming knit fabrics, or creating buttonholes, helping you achieve the best results for any project.
Key Benefits at a Glance
- Stronger Seams: Use the right utility stitch (like a straight or stretch stitch) to create durable seams that withstand wear and washing.
- Work with Any Fabric: Select specific stitches for stretchy knits, delicate silks, or heavy denim to prevent puckering and skipped stitches.
- Professional Finishing: Prevent raw edges from fraying with overcasting or zigzag stitches, giving projects a clean, polished look without a serger.
- Save Time on Tasks: Quickly create perfect buttonholes, blind hems, or patch repairs using specialized automatic stitch functions on your machine.
- Add Creative Details: Elevate your projects from simple to stunning by using decorative, satin, or scallop stitches for beautiful topstitching and embellishments.
Purpose of this guide
This guide is for beginner and intermediate sewers who want to move beyond the basic straight stitch and unlock their sewing machine’s full potential. It solves the common problem of feeling overwhelmed by dozens of stitch icons on the machine’s dial. You will learn how to identify the most crucial utility stitches (straight, zigzag, blind hem, stretch) and understand their specific functions for different fabrics and tasks. By following this guidance, you can avoid common mistakes, fix sewing issues, and create stronger, more professional-looking garments and home décor with confidence.
Introduction: The world of sewing machine stitches
Picture this: you’ve just unboxed your new sewing machine, excited to start your first project, only to discover a bewildering array of stitch options staring back at you. Modern sewing machines can offer anywhere from 25 to over 600 different stitches, complete with cryptic symbols and numbers that seem designed to intimidate rather than inspire. If you’ve ever felt overwhelmed by this mechanical symphony of stitching possibilities, you’re not alone.
“Approximately 85% of modern sewing machines sold in North America as of January 2024 now offer built-in stitch functions for straight, zigzag, overlock, and buttonhole patterns, providing versatility for both garment construction and edge finishing.”
— Carolina CoverTech, January 2024
Source link
Here’s the reassuring truth: despite having hundreds of types of stitches sewing machine manufacturers pack into their devices, most experienced sewers rely on just 5-7 essential stitches for 90% of their projects. The key isn’t mastering every decorative flourish your machine offers, but understanding the fundamental sewing machine functions that will serve you reliably across countless projects. This comprehensive sewing machine stitch guide will cut through the complexity and focus on what truly matters for both beginners and experienced sewers looking to refine their technique.
Machine stitches vs hand stitches understanding the differences
Before diving into specific machine sewing techniques, it’s essential to understand how machine and hand sewing methods complement each other in the modern sewer’s toolkit. While this article focuses primarily on sewing machine capabilities, recognizing when to choose machine versus hand methods will make you a more versatile and skilled craftsperson.
While machine stitches offer speed and consistency, some finishes are still best done by hand. If you want to build a solid foundation in manual techniques too, start with 10 essential hand sewing stitches for beginners .
Machine sewing excels in speed, consistency, and strength, making it the go-to choice for construction seams, long straight runs, and any application where uniformity matters. The mechanical precision of a sewing machine creates identical stitches at remarkable speed, perfect for joining fabric pieces that need to withstand regular wear and washing. Modern machines form lockstitches by interlocking top and bobbin threads, creating exceptionally strong seams that won’t easily pull apart under stress.
Hand sewing, by contrast, offers unmatched control and subtlety. When you need to ease fullness around a curved seam, create nearly invisible hems, or make delicate repairs, hand techniques often produce superior results. Hand stitches can be adjusted mid-seam for varying fabric tensions, something even the most sophisticated machine cannot replicate.
| Aspect | Machine Stitches | Hand Stitches |
|---|---|---|
| Speed | Fast, consistent | Slow, variable |
| Strength | Very strong lockstitch | Moderate strength |
| Precision | Uniform stitch length | Variable, artistic |
| Best for | Construction seams, long runs | Delicate work, repairs |
| Visibility | Consistent appearance | Can be nearly invisible |
| Learning curve | Machine operation skills | Hand coordination skills |
The most accomplished sewers understand that machine and hand techniques aren’t competing methods, but complementary skills. You might use your sewing machine to quickly construct a garment’s main seams, then switch to hand techniques for setting sleeves, creating button holes, or adding finishing touches that require a more personal touch.
Understanding the basic stitch functions
Every stitch your sewing machine creates, from the simplest straight stitch to the most elaborate decorative pattern, serves one of four fundamental purposes. Understanding these categories is far more valuable than memorizing individual stitch numbers or symbols, as it helps you choose the right tool for each sewing challenge.
Understanding how each stitch behaves is much easier when you see them grouped by function. For a broader overview of how your machine forms and combines stitches, check out sewing machine stitch types .
Construction stitches form the backbone of any sewn item, literally holding pieces together. The straight stitch reigns supreme in this category, creating the strong seams that give structure to garments, home décor, and crafts. These stitches prioritize strength and reliability over appearance, though a well-executed construction seam can certainly be beautiful in its precision.
Finishing stitches prevent fabric edges from fraying while adding durability to seams and hems. The zigzag stitch leads this category, using its side-to-side motion to lock fabric threads in place. These stitches often serve double duty, both securing raw edges and accommodating fabric stretch in knit materials.
Most sewing machines organize these functions logically, with basic stitches easily accessible and decorative options grouped separately. The mechanical foundation remains consistent: your machine forms stitches by coordinating the needle’s up-and-down motion with the feed dog’s forward movement, while the zigzag mechanism adds side-to-side capability for more complex patterns.
- Construction stitches: Join fabric pieces together (straight stitch, lockstitch)
- Finishing stitches: Prevent fraying and add durability (zigzag, overlock)
- Decorative stitches: Add visual interest and embellishment
- Specialty stitches: Solve specific fabric or construction challenges
Understanding that all fancy stitches ultimately derive from these basic functions demystifies even the most complex sewing machine. Whether your machine offers 25 or 250 stitches, the fundamental principles remain the same. A decorative scallop stitch is simply a programmed sequence of zigzag movements, while a stretch stitch combines forward and backward motion to accommodate fabric give.
Essential utility stitches every sewer should master
Utility stitches are the workhorses of the sewing world, handling the vast majority of construction and finishing tasks across all types of projects. While decorative stitches capture attention with their visual appeal, these fundamental stitches quietly ensure that your creations hold together, look professional, and stand the test of time.
Once you know your core utility stitches, you can use them for temporary construction as well. To see how basting fits into your workflow, read how to baste sewing for perfect garment fitting .
- Utility stitches handle 90% of all sewing projects
- Master 5-7 essential stitches before exploring decorative options
- Focus on stitch function rather than memorizing machine numbers
- Most utility stitches are variations of straight and zigzag stitches
The selection criteria for “essential” designation comes down to versatility and frequency of use. These stitches appear in virtually every sewn item, from simple alterations to complex garment construction. Most importantly, they’re based on the lockstitch formation that domestic sewing machines create, where the top thread and bobbin thread interlock within the fabric layers to create exceptionally strong seams.
“The zigzag, straight, and overlock stitches together account for more than 90% of all machine stitching performed in both domestic and industrial applications in the United States, according to evaluation data from first quarter 2025.”
— BomCrewMall, March 2025
Source link
Rather than getting caught up in the bewildering array of stitch options modern machines offer, focus your energy on mastering these utility stitches. Once you can execute them consistently and understand when to apply each one, you’ll find that most sewing challenges become manageable. The fancy decorative stitches can wait until you’ve built a solid foundation with these essential techniques.
Straight stitch and its variations
The straight stitch stands as the most fundamental and versatile stitch in any sewer’s arsenal. This simple up-and-down needle motion, combined with consistent forward feed, creates the strong lockstitch formation that has anchored sewn items for over a century. Every sewing machine, from basic models to high-end computerized units, treats the straight stitch as stitch number one for good reason.
If your straight stitch doesn’t look right, the problem is often tension rather than the stitch type itself. Use the troubleshooting steps from Thread Tension Guide to dial in perfect straight stitches.
The magic of the straight stitch lies not just in its simplicity, but in its adaptability through length variations. By adjusting the stitch length dial or digital setting, you transform this single stitch type into multiple specialized tools. Short stitches (1.5-2mm) provide precision and strength for delicate fabrics and curved seams, while longer stitches (4-5mm) create temporary basting that holds pieces in place during fitting.
Understanding the lockstitch formation helps explain why straight stitches create such reliable seams. As the needle carries the top thread down through the fabric, it forms a small loop that the rotating bobbin hook catches and draws around the bobbin case. This mechanical dance, happening dozens of times per second, interlocks the threads within the fabric layers rather than simply laying them on the surface.
| Stitch Length | Application | Fabric Type |
|---|---|---|
| 1.5-2mm | Delicate seams | Silk, chiffon, lightweight |
| 2.5-3mm | Standard construction | Cotton, linen, medium weight |
| 3.5-4mm | Topstitching | Denim, canvas, heavy fabrics |
| 4-6mm | Basting | All fabrics (temporary) |
Medium-length straight stitches (2.5-3mm) handle the majority of general construction tasks, providing the ideal balance of strength and fabric compatibility. This setting works beautifully for seams in cotton quilting fabrics, linen garments, and most home décor projects. When you need visible topstitching for jeans or bags, increase the length to 3.5-4mm for a more pronounced appearance that won’t get lost in heavy fabrics.
Zigzag stitch applications
The zigzag stitch represents a quantum leap in sewing machine capability, adding horizontal needle movement to the basic straight stitch foundation. This side-to-side motion opens up entirely new possibilities for seam finishing, stretch accommodation, and decorative applications that straight stitches simply cannot achieve.
Zigzag stitches are essential for finishing raw edges, especially on garments. When you move on to actual hemming projects, try them in practice on how to hem pants like a professional tailor or on the hem of a skirt .
When working with stretch fabrics like knits, jersey, or spandex blends, the zigzag stitch becomes indispensable. The lateral movement allows the seam itself to stretch along with the fabric, preventing the dreaded broken stitches that occur when straight-stitched seams are stressed beyond their limit. This flexibility makes zigzag stitching essential for activewear, children’s clothing, and any garment that needs to move with the wearer.
Seam finishing represents another crucial zigzag application, particularly for sewers without access to a serger or overlock machine. By stitching along raw fabric edges with a medium-width zigzag, you effectively lock the fabric threads in place and prevent fraying. This technique works especially well on woven fabrics that tend to ravel, extending the life of your finished projects significantly.
| Width | Length | Purpose | Best Use |
|---|---|---|---|
| 1-2mm | 1.5-2mm | Stretch seams | Knit fabrics, activewear |
| 3-4mm | 2-3mm | Seam finishing | Woven fabrics, prevent fraying |
| 5-7mm | 3-4mm | Decorative edge | Visible finishing, appliqué |
| Variable | 0.5mm | Satin stitch | Dense decorative work |
The beauty of zigzag stitching lies in its infinite adjustability. Narrow zigzag stitches (1-2mm width) provide just enough stretch for lightweight knits without creating bulky seams, while wider settings (5-7mm) make bold decorative statements or secure appliqué edges. When you reduce the stitch length to 0.5mm while maintaining width, you create a satin stitch – essentially a solid line of thread perfect for monograms or decorative borders.
Specialty construction stitches
Beyond the fundamental straight and zigzag stitches lie specialized utility stitches designed to solve specific construction challenges. These overlock stitches and stretch stitches represent evolutionary improvements on basic techniques, combining multiple functions into single-pass operations that save time while improving results.
The overlock stitch addresses one of home sewing’s most persistent challenges: achieving professional-looking seam finishing without investing in a dedicated serger machine. This stitch typically combines a straight seam with zigzag edge finishing, trimming excess fabric while encasing the raw edge in thread. For sewers working with knit fabrics or items that will see heavy use, overlock stitches provide both construction strength and longevity.
Stretch stitches go beyond simple zigzag accommodation to create seams specifically engineered for knit fabrics and high-stress applications. These stitches often incorporate forward and backward motion patterns that build extra thread into the seam, allowing for significant stretch without breakage. Common in activewear and swimwear construction, stretch stitches ensure that seams perform as well as the fabrics they join.
For advanced details on finishing techniques, consult the Sewing Directory guide.
- DO use overlock stitch for knit hems and seam finishing without a serger
- DO use stretch stitch for activewear and swimwear construction
- DON’T use specialty stitches on every project – basic stitches often suffice
- DON’T skip testing specialty stitches on fabric scraps first
The key to successfully incorporating specialty stitches lies in understanding when they truly add value versus when simpler approaches work just as well. While overlock stitches excel at finishing knit hems and creating professional-looking seams, they’re often overkill for quilting cotton or simple home décor projects where basic straight and zigzag stitches provide perfectly adequate results.
Most importantly, always test specialty stitches on fabric scraps before committing to your actual project. These more complex stitch patterns can behave differently across various fabric weights and fiber contents, and what works beautifully on one material might create puckering or tension issues on another. The few minutes spent testing will save hours of frustration and potential project failure.
Frequently Asked Questions
Sewing machines feature various stitches, each serving specific purposes like seaming, hemming, or decorating fabrics. For instance, the straight stitch is ideal for basic construction, while the zigzag stitch handles edges and stretch. When tailoring men’s clothing, understanding these stitches alongside how to measure waist for men ensures well-fitted garments with durable finishes.
The straight stitch is typically the strongest on a sewing machine, offering reliable hold for woven fabrics and heavy-duty seams. For even greater strength, options like the triple straight stitch or reinforced backstitch can be used in high-stress areas. In projects like sewing men’s pants, pairing this stitch with accurate techniques on how to measure waist for men results in long-lasting, professional results.
For stretchy fabrics, the zigzag stitch and stretch straight stitch are excellent choices as they provide flexibility and prevent thread breakage during movement. Overlock or serger stitches also work well for clean, elastic seams on knits. When creating men’s athletic wear, combining these stitches with proper guidance on how to measure waist for men helps achieve comfortable, form-fitting designs.
There are countless types of stitches in sewing, but modern machines typically offer 10 to over 100 varieties, categorized into utility, decorative, and specialty stitches. Basic ones include straight, zigzag, and buttonhole, while advanced machines add more like embroidery options. For men’s tailoring projects, learning key stitches along with how to measure waist for men can simplify creating custom-fitted pieces.
Beginners should focus on mastering the straight stitch for seaming, the zigzag for finishing edges, and the buttonhole stitch for fasteners. These foundational stitches cover most simple projects and help build confidence with machine settings. As you progress to items like men’s belts or pants, incorporating skills like how to measure waist for men will enhance your overall sewing accuracy and results.
