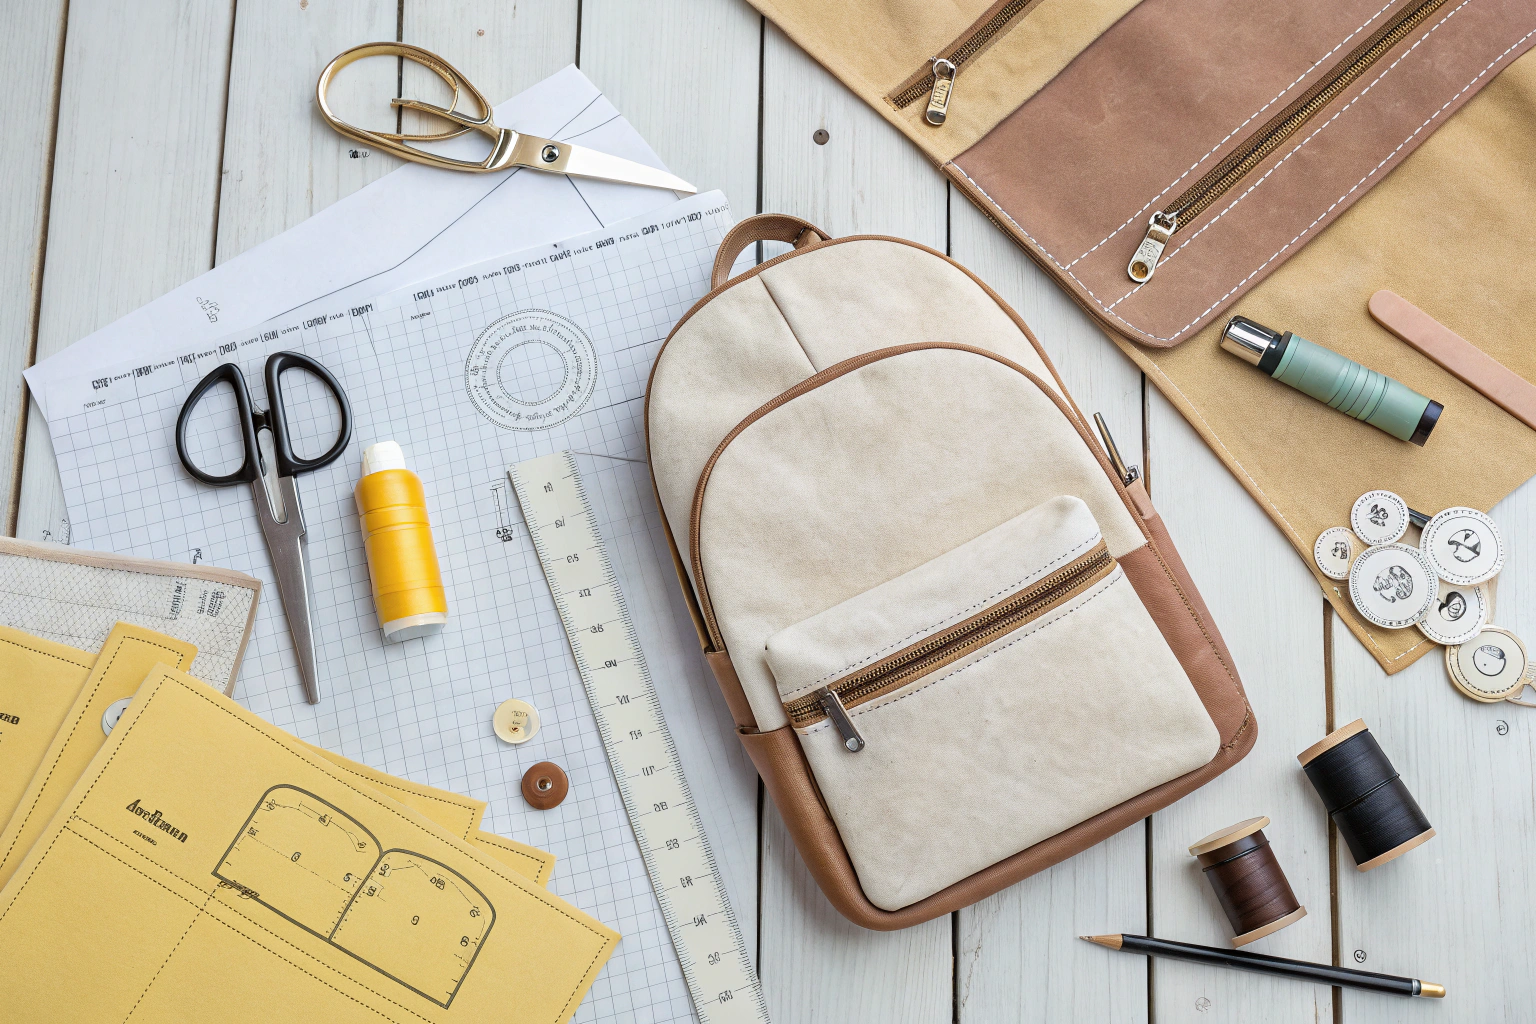
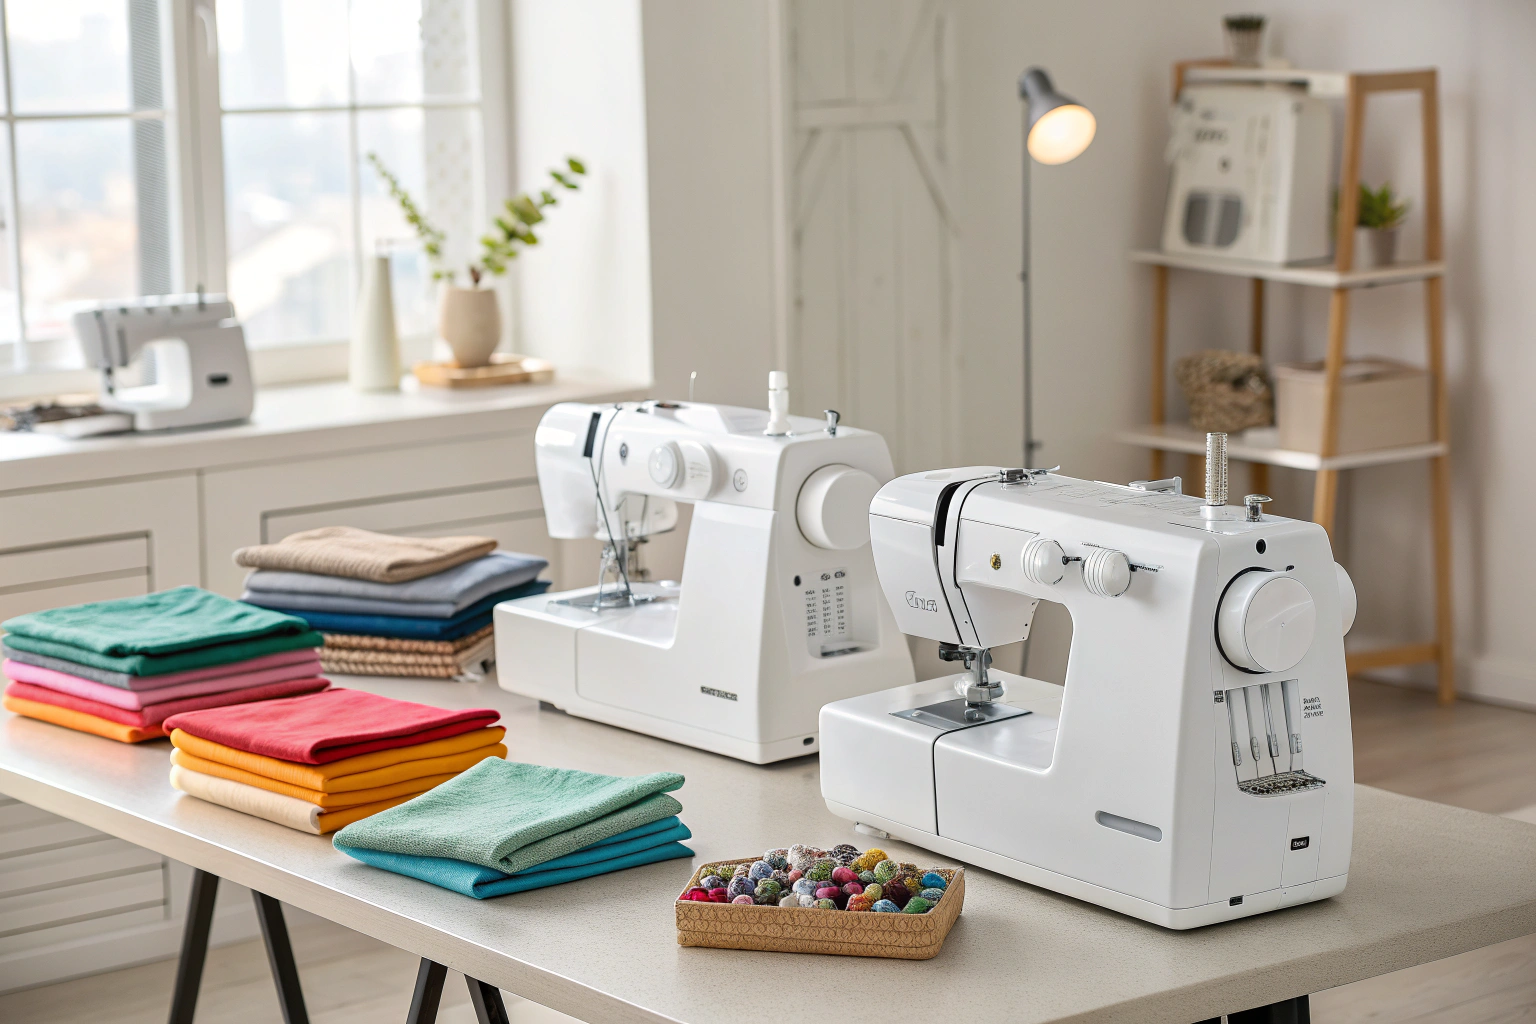
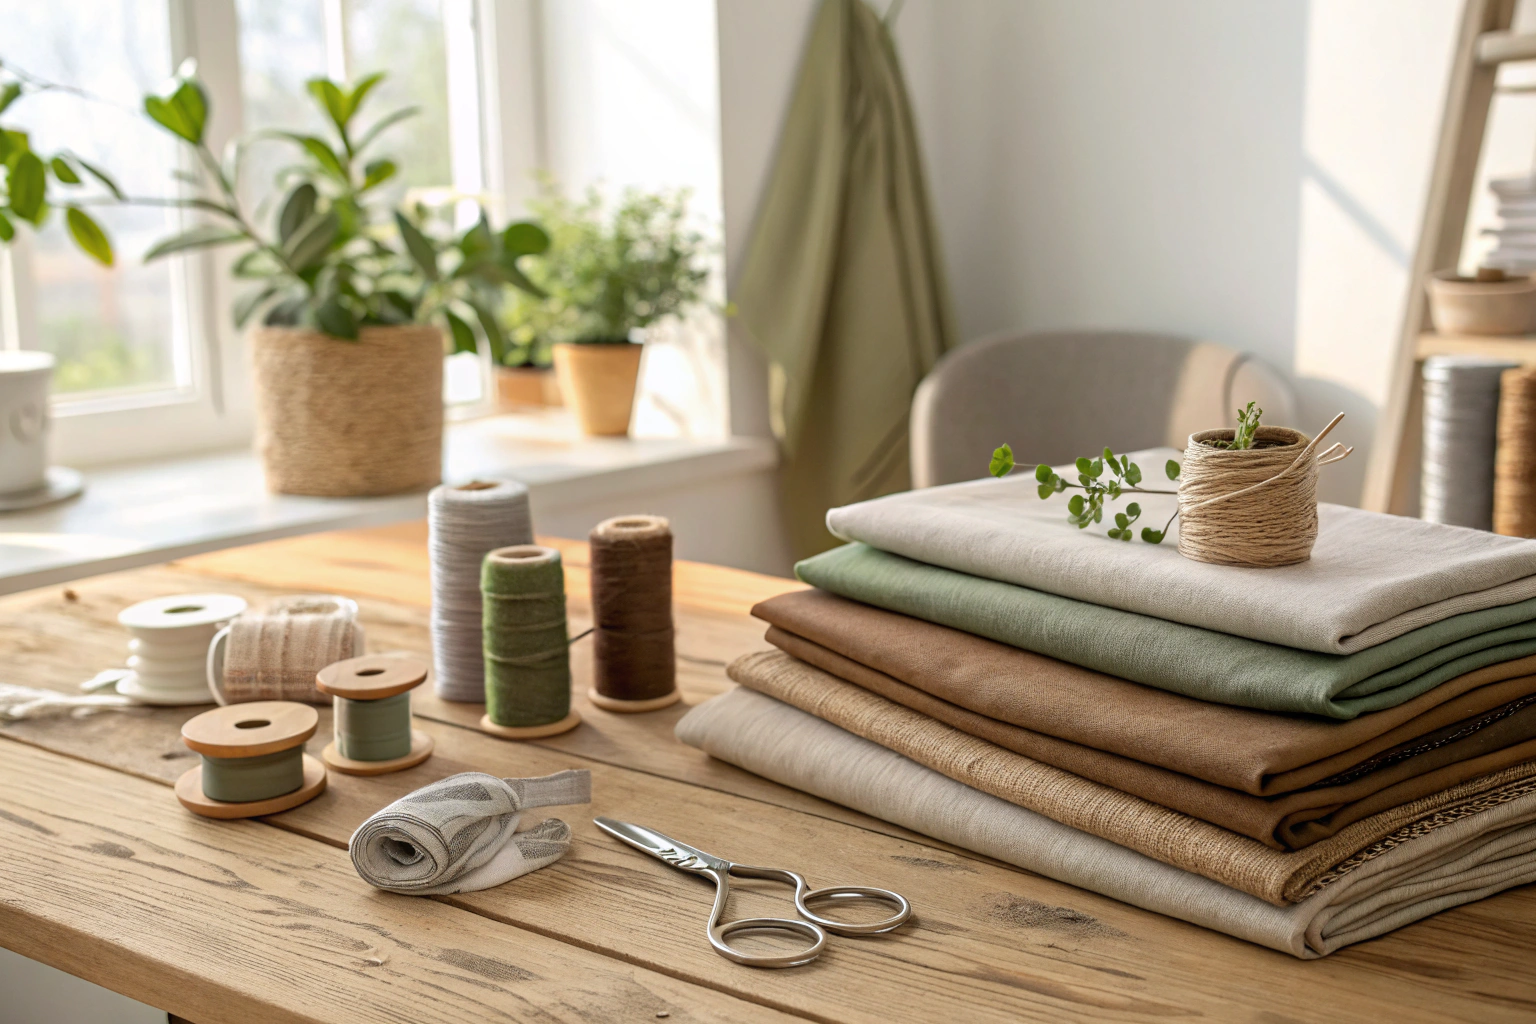
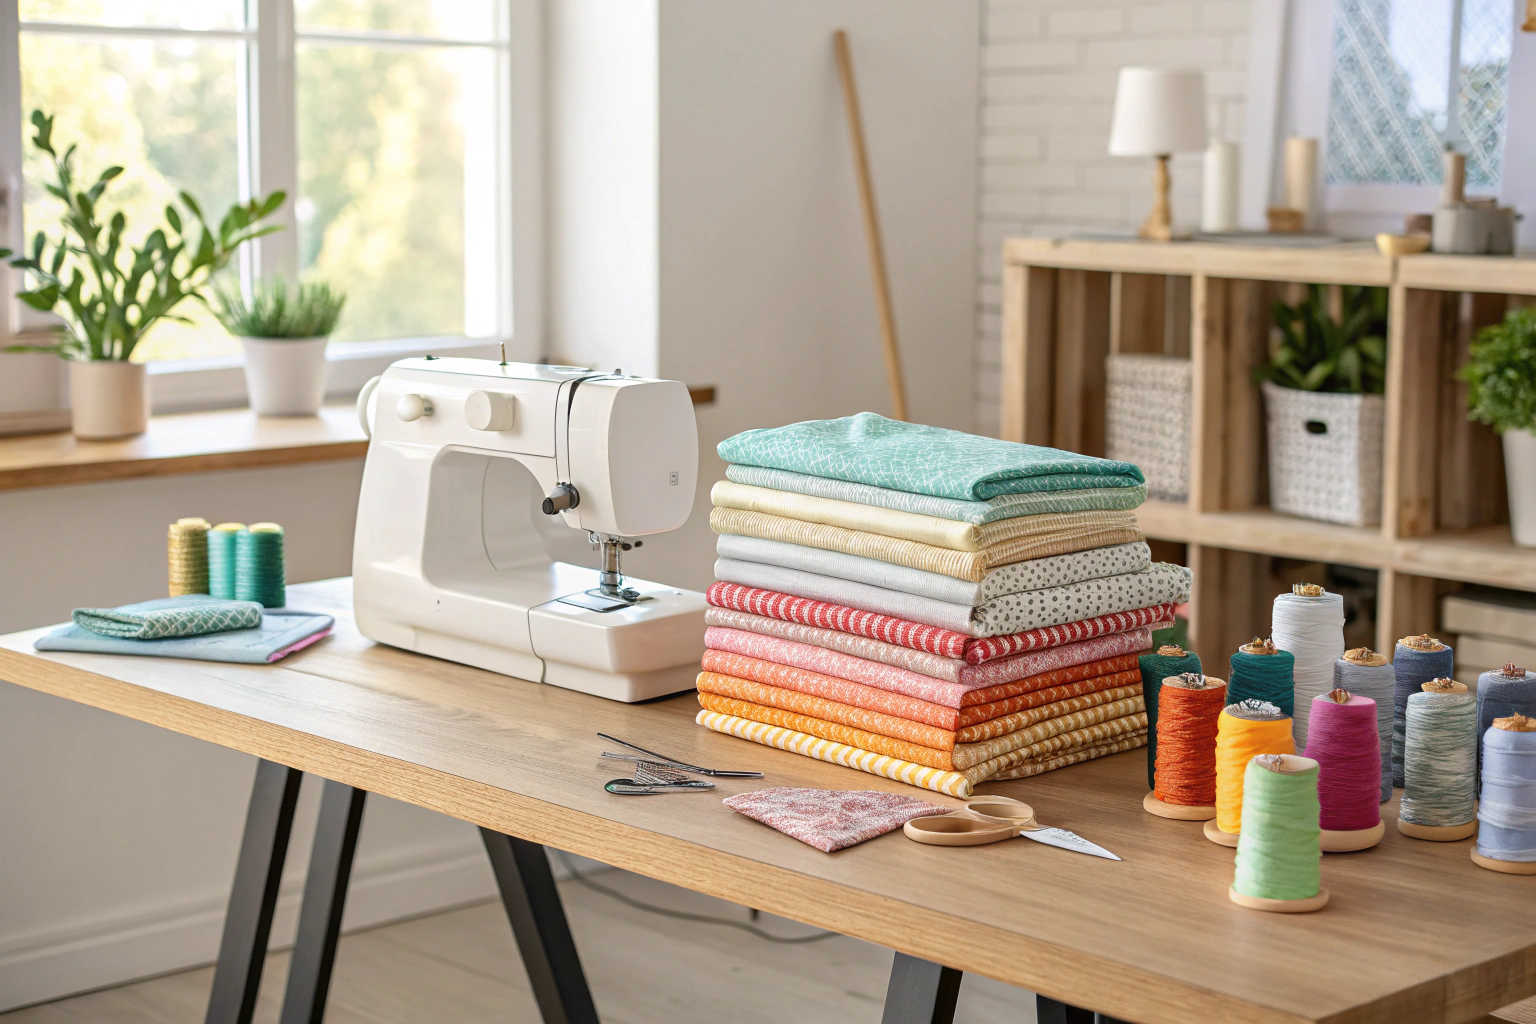
A mini backpack pattern is a template with instructions for sewing a small, stylish backpack, perfect for carrying daily essentials. These patterns are popular among DIY crafters and sewing hobbyists who want to create a custom bag tailored to their personal style. Many users seek clear directions for features like zipper pockets, adjustable straps, and lining, as a good pattern can make the difference between a fun project and a frustrating one. Using a pattern allows for complete creative control over fabric choices and final design.
If a backpack feels a little advanced for your current skill level, you might like to start with a simpler bag first. This tutorial on how to sew a tote bag with flat bottom is a great introduction to bag construction before you dive into zips and curved seams.
Key Benefits at a Glance
- Full Customization: Create a one-of-a-kind bag by choosing your own fabric, hardware, and pocket configuration.
- Cost-Effective Project: Save money by using affordable materials or upcycling fabric scraps instead of buying a retail backpack.
- Skill Development: Improve your sewing skills on a manageable project that teaches techniques like installing zippers and adding lining.
- Perfectly Sized: Make a bag designed specifically for your needs, ensuring it’s the ideal size for carrying a phone, wallet, and keys without extra bulk.
- Sustainable Crafting: Reduce waste by using leftover textiles or giving old materials like denim jeans or curtains a second life.
Purpose of this guide
This guide helps sewing enthusiasts of all levels, from beginners looking for a rewarding first project to experienced makers wanting a quick sew. It solves the primary challenge of transforming a digital or paper pattern into a high-quality, finished accessory. Inside, you’ll learn how to select the right mini backpack pattern for your skill level, understand sewing terminology, and follow assembly steps with confidence. By highlighting common mistakes to avoid—like incorrect interfacing choices or crooked strap placement—this guide ensures you create a durable and functional mini backpack you’ll be proud to use or gift.
Master the mini backpack pattern: my professional insights for sewers of all levels
After fifteen years of designing and teaching sewing patterns, I've watched mini backpacks transform from simple utility items into must-have fashion accessories. My journey began when a student asked me to help her create a compact backpack for her daughter's first day of kindergarten. That single request sparked my passion for mini backpack pattern design, leading me to develop over thirty different patterns that have been downloaded by thousands of sewers worldwide.
The beauty of mini backpack patterns lies in their perfect balance of functionality and style. They're small enough to complete in a weekend yet sophisticated enough to showcase advanced techniques. Through my workshops and online tutorials, I've guided everyone from nervous beginners to confident intermediate sewers through the process of creating these versatile accessories.
- Master professional mini backpack construction techniques
- Choose the right materials for durability and style
- Navigate skill levels from beginner to advanced patterns
- Select appropriate hardware for professional results
- Understand fabric properties for different backpack components
Why mini backpacks have become essential accessories
The evolution of mini backpacks from purely functional items to fashion statements has been remarkable to witness. In my early teaching days, students primarily wanted practical bags for carrying essentials. Today, they're equally interested in creating statement pieces that complement their personal style.
“The Park Mini Backpack is an Instant Downloadable PDF Digital Pattern providing step-by-step instructions and pattern pieces for a practical and stylish mini-sized backpack.”
— Etsy Listing, August 2025
What makes mini backpacks so appealing is their incredible versatility. I've received photos from students showing their creations being used in ways I never imagined. One grandmother made matching backpacks for her three grandchildren's nature walks, while a college student created a sleek version for campus life that perfectly held her laptop charger, wallet, and coffee tumbler.
The compact size doesn't compromise functionality. Modern mini backpack patterns incorporate smart design elements like interior organization pockets, adjustable straps, and secure closures. These features make them practical for active lifestyles while maintaining the aesthetic appeal that makes them suitable for various social settings.
- Daily essentials carrier for work and school
- Travel companion for day trips and sightseeing
- Festival and concert hands-free storage
- Children’s first independence accessory
- Fashion statement piece for casual outfits
- Hiking and outdoor activity lightweight option
- Shopping companion for hands-free browsing
Skill level classification for mini backpack patterns
Through years of teaching sewing classes, I've developed a clear system for categorizing mini backpack patterns by difficulty level. This classification helps sewers choose projects that match their current abilities while providing a clear path for skill development.
My beginner students typically start with patterns that focus on straight seams and basic zipper installation. These projects build confidence while teaching fundamental backpack construction principles. I've watched countless nervous beginners transform into proud backpack makers through these carefully designed starter patterns.
Intermediate sewers are ready for curved seams, multiple pocket construction, and adjustable strap mechanisms. These patterns introduce more complex spatial reasoning and require greater precision in measuring and cutting. The satisfaction level jumps significantly at this stage as the finished products begin to rival store-bought alternatives.
Advanced patterns challenge even experienced sewers with complex internal structures, reinforcement techniques, and professional-grade hardware installation. These projects often become cherished heirloom pieces that last for decades with proper care.
| Skill Level | Techniques Required | Time Investment | Example Features |
|---|---|---|---|
| Beginner | Straight seams, basic zippers | 4-6 hours | Single compartment, fixed straps |
| Intermediate | Curved seams, multiple pockets | 8-12 hours | Interior pockets, adjustable straps |
| Advanced | Complex construction, reinforcement | 15-20 hours | Multiple compartments, professional hardware |
Essential materials for your perfect mini backpack
Quality materials form the foundation of any successful mini backpack project. Over the years, I've tested countless fabric and hardware combinations to understand which materials provide the best balance of durability, workability, and aesthetic appeal. This knowledge has saved my students from countless frustrations and disappointing results.
Use sharp, high-quality fabric scissors for clean cuts on structured fabrics like canvas or denim: Best Scissors for Cutting Fabric.
“Mini backpacks are versatile and can be made with various fabrics, such as cotton or canvas, using patterns that provide detailed instructions for sewing enthusiasts.”
— Generic Sewing Patterns, September 2025
The importance of material selection cannot be overstated. I've seen beautiful patterns fail due to inappropriate fabric choices, and I've watched simple designs shine when executed with premium materials. Investment in quality materials pays dividends in both the construction process and the longevity of the finished piece.
| Fabric Type | Durability | Weight | Best Use | Care Requirements |
|---|---|---|---|---|
| Canvas | High | Medium | Exterior shell | Machine washable |
| Nylon | Very High | Light | Exterior/lining | Hand wash recommended |
| Cotton | Medium | Medium | Lining only | Machine washable |
| Leather | Very High | Heavy | Accent pieces | Special care needed |
Beyond fabric selection, hardware choices significantly impact both functionality and professional appearance. I always emphasize to my students that hardware is an investment in the long-term success of their project. Cheap zippers and flimsy strap hardware will compromise even the most expertly sewn backpack.
- Main zipper (12-14 inches depending on pattern)
- Pocket zippers (6-8 inches)
- Adjustable strap hardware (slides and D-rings)
- Magnetic snap closures for pockets
- Interfacing for structure and stability
- Thread in coordinating colors
- Bias tape for finishing raw edges
Fabric selection: making choices that last
My professional criteria for fabric selection have evolved through years of testing and student feedback. The most important consideration is matching fabric properties to the intended use of the finished backpack. A mini backpack for a toddler requires different fabric characteristics than one designed for adult daily use.
Choose tightly woven cotton or canvas that can withstand repeated use—just like fabrics used for flat-bottom totes: How to Sew a Tote with Flat Bottom.
Water resistance has become increasingly important in my fabric recommendations. Even if the backpack won't be exposed to heavy rain, the ability to wipe clean spills and resist staining significantly extends the life of the finished piece. For detailed sewing patterns and tutorials, you can explore Bagstock Designs for comprehensive guides.
Fabric weight presents another crucial consideration. Heavy fabrics provide excellent durability but can create bulk at seam intersections, making construction more challenging. Lightweight fabrics are easier to work with but may require additional interfacing for structure. Finding the sweet spot requires understanding both the pattern requirements and personal sewing capabilities.
- Choose water-resistant fabrics for exterior durability
- Select lightweight lining fabrics to reduce bulk
- Consider fabric stretch – avoid overly stretchy materials
- Test fabric drape before cutting pattern pieces
- Pre-wash all fabrics to prevent shrinkage issues
- Match fabric weight to intended use and wear
Hardware essentials: beyond basic supplies
Quality hardware transforms a homemade backpack into a professional-looking accessory. Through my workshops, I've learned that students often underestimate the impact of hardware choices on the final result. The difference between a backpack that looks handmade and one that appears professionally manufactured often comes down to hardware selection and installation quality.
Add a secure zipper pocket inside your mini backpack for small essentials—learn foolproof zipper installation: How to Sew a Zipper Pouch.
Zipper quality deserves special attention in mini backpack construction. The compact size means zippers endure frequent use relative to the overall project size. I've seen beautifully constructed backpacks become unusable within months due to zipper failure. Investing in quality zippers from reputable manufacturers pays dividends in user satisfaction and project longevity.
Strap hardware requires careful consideration of both aesthetics and functionality. The hardware must support the intended weight load while maintaining smooth adjustment capabilities. Mixing metal finishes within a single project creates an amateur appearance, while coordinated hardware elevates the overall design aesthetic.
- DO invest in quality zippers for smooth operation
- DO test hardware weight against fabric strength
- DON’T mix metal finishes within one project
- DO consider hardware color coordination with fabric
- DON’T skimp on strap adjustment hardware quality
- DO pre-test all closures before final assembly
Specialized tools for mini backpack construction
The specialized tools I've collected over the years have significantly improved both the efficiency and quality of my mini backpack construction. While not all tools are essential for every project, certain items make specific techniques much easier and produce more professional results.
A quality leather hole punch has proven invaluable for hardware installation. Clean, precise holes ensure hardware sits properly and reduces fabric stress around attachment points. Many students initially attempt to use awls or other improvised tools, but the investment in a proper punch pays dividends in both ease of construction and finished appearance.
Rotary cutting tools have revolutionized my pattern cutting process. The precision achievable with a sharp rotary cutter and quality cutting mat far exceeds what's possible with scissors alone. This precision translates directly into better seam alignment and overall construction quality. Additionally, tutorials on platforms like YouTube sewing channels offer step-by-step instructions for beginners.
- Leather hole punch for clean hardware installation
- Rotary cutter and mat for precise fabric cutting
- Heavy-duty sewing machine needles for thick layers
- Seam ripper for mistake correction without damage
- Fabric scissors dedicated to fabric only
- Measuring tools including curved ruler for straps
- Pressing tools including point turner for corners
Frequently Asked Questions
To learn how to measure waist for men, start by standing straight and using a flexible tape measure around your natural waistline, which is typically just above the belly button. Exhale normally and pull the tape snug without compressing the skin for an accurate reading. This method ensures precise sizing for clothing and health monitoring.
When figuring out how to measure waist for men, locate the natural waistline between the lowest rib and the top of the hip bone, often around the navel area. Avoid measuring at the hips or where pants sit, as this can lead to incorrect sizes. Consistent placement is key for reliable results in fitness or tailoring.
For how to measure waist men accurately, a soft, flexible measuring tape is essential, along with a mirror to ensure the tape is level all around. Avoid using string or rigid rulers, as they can distort the measurement. If possible, have someone assist for better precision.
Understanding how to measure waist for men is crucial for proper clothing fit, as waist size directly determines pant and belt dimensions in inches or centimeters. Brands may vary slightly, so always check size charts. Accurate measurement prevents uncomfortable fits and returns.
Knowing how to measure waist men properly helps assess health risks, as a larger waist circumference can indicate higher chances of conditions like heart disease or diabetes. Aim for under 40 inches for most men to maintain optimal health. Regular measurements track changes from diet or exercise.
